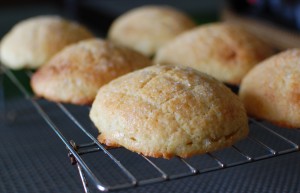
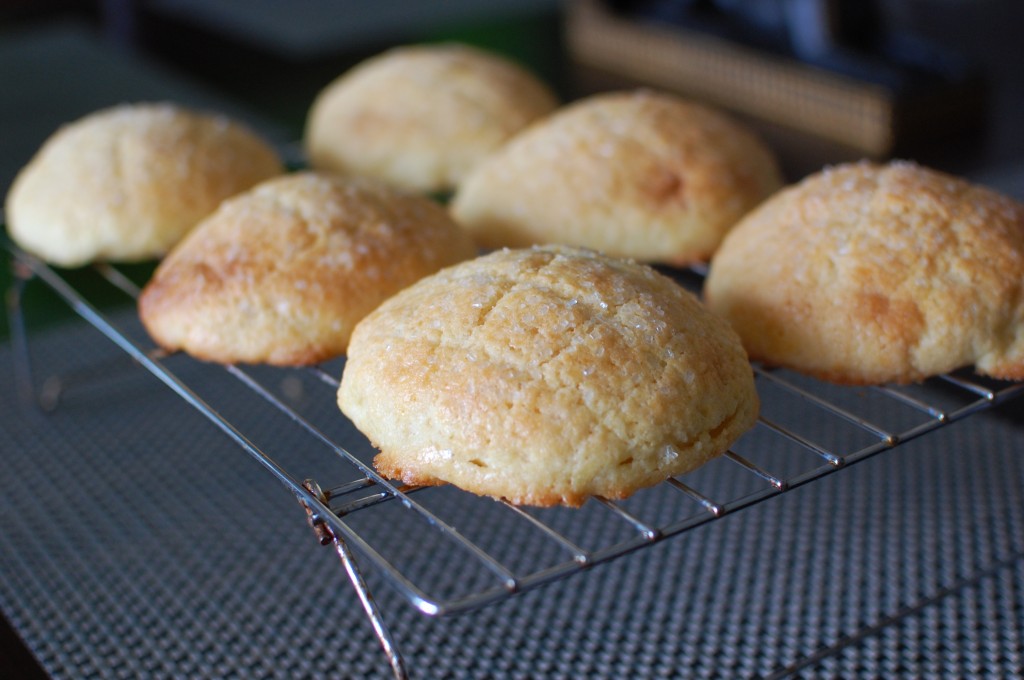
What do “Melon Pan” (from Japan) and “Pineapple Bun” 菠蘿包 (from China) have in common? Well, for starters, neither contain any fruit – there is traditionally no melon in Melon Pan, and no pineapple in Pineapple Bun. Rather, each bun is named for the fruit based on appearance alone – the final baked bun is said to resemble the rind of the fruit. Both Melon Pan and Pineapple Bun are made from a soft milk bread dough, and are covered with a crunchy cookie like crust. They really are the same thing. I know, everyone says they are different… but if you study the recipes – they are virtually identical.
Soft and fluffy milk bread buns… covered with a sweet crunchy cookie crust… yum! These are a perfect treat to serve with tea – they also make a wonderful light breakfast served with coffee.
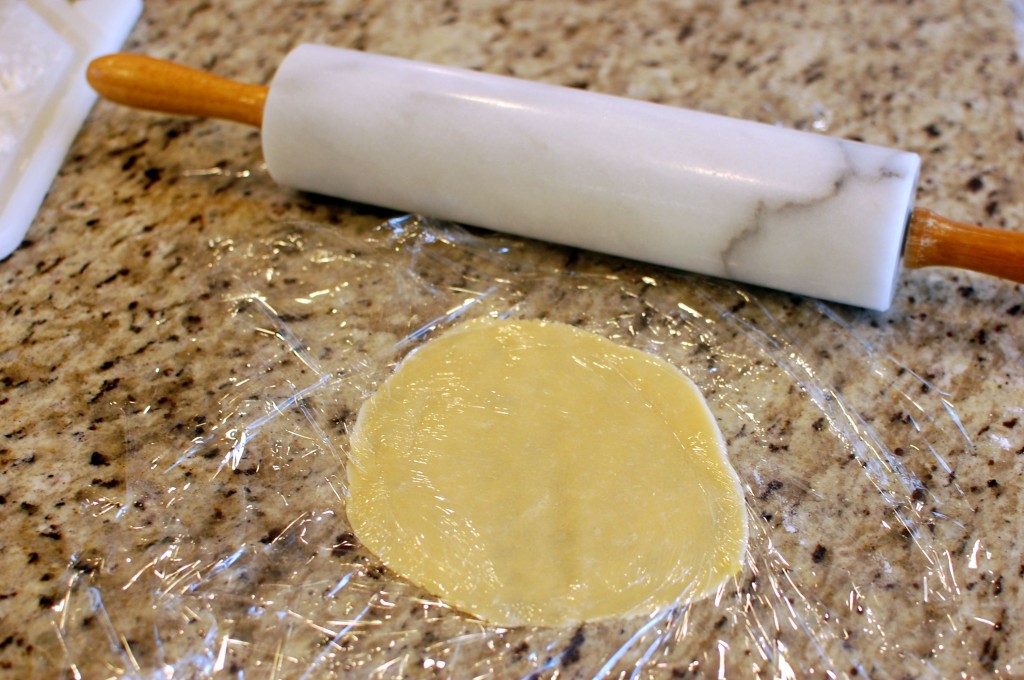
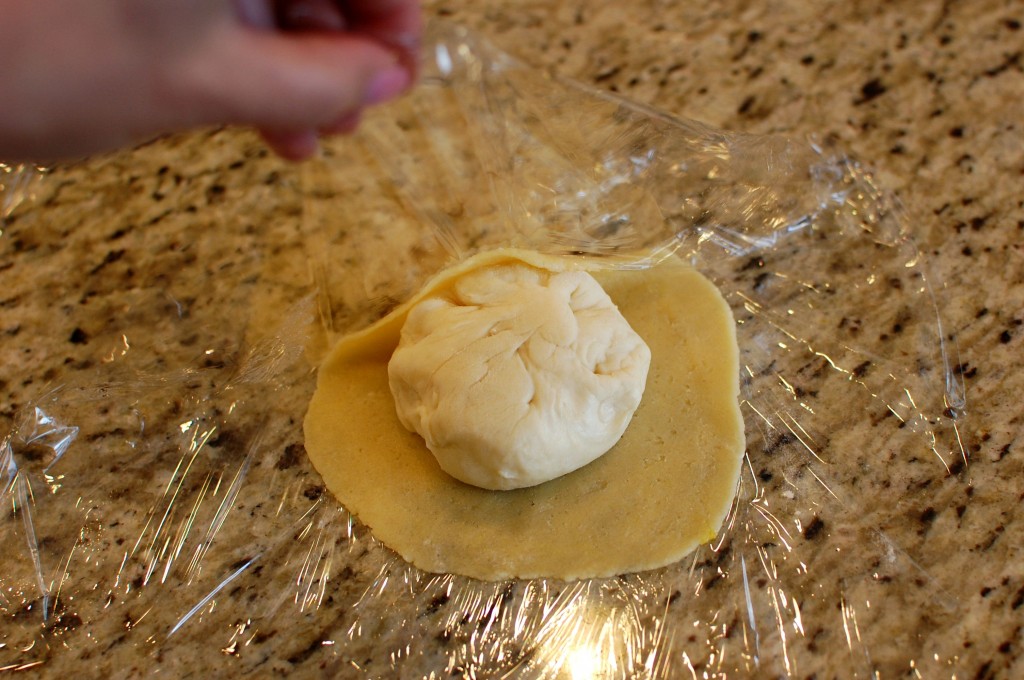
The tricky part of making pineapple buns (or melon pan) is getting the cookie dough wrapped around the ball of bread dough. The cookie dough is really soft and sticky – so when you roll it thin, it’s almost impossible to pick up and use to wrap the bread dough. Plastic wrap is the key! Basically, you roll the cookie dough out between two oiled pieces of plastic wrap, then remove the top piece of plastic, and use the bottom piece to help you wrap the thin cookie layer around the bread dough. Flip it over (seam side down) directly onto the baking sheet, then slowly (and carefully) pull the sheet of plastic wrap off of the cookie dough. Voila!
Milk Bread Dough:
- 2 1/2 c. bread flour
- 1/2 c. milk
- 1 egg
- 4 T. sugar
- 3 T. unsalted butter
- 1/2 tsp. salt
- 1/2 c. tang zhong (water roux)
- 2 tsp. active dry yeast
Tang Zhong (water roux):
- 1/3 c. bread flour
- 1 c. water
Cookie Layer:
- 1/2 c. unsalted butter
- 1/2 c. sugar
- 1 egg
- 1/2 tsp. salt
- 1 tsp. vanilla
- 1 c. flour
- 1/2 tsp. baking powder
- 1 egg yolk + 1 T. water
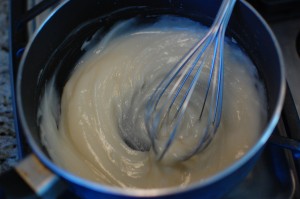
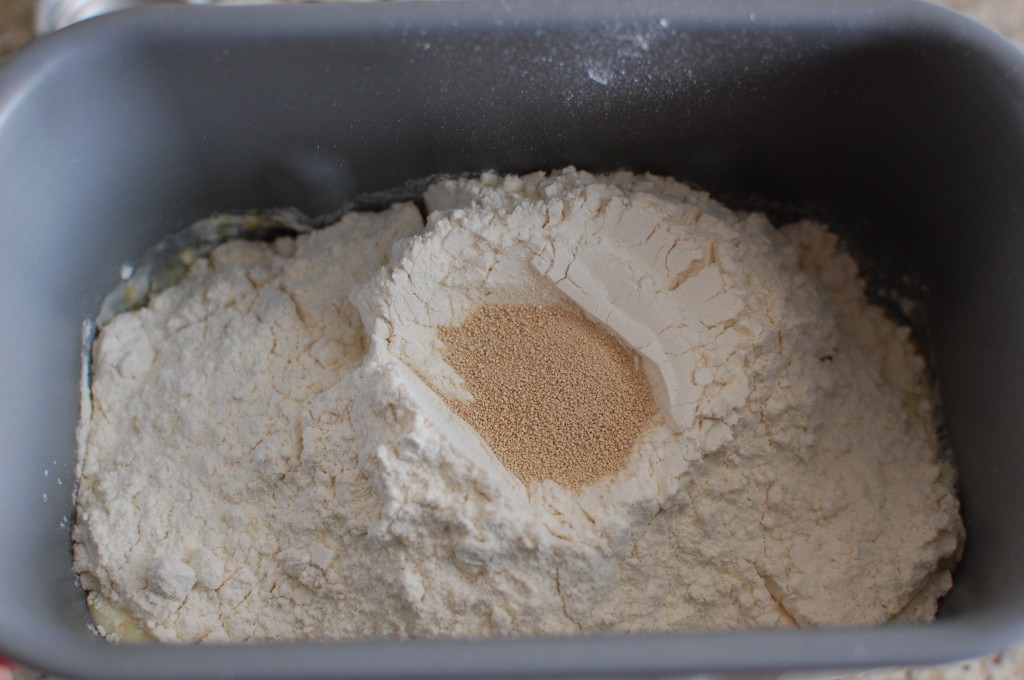
1. Make the tang zhong and the bread dough. (See my post on Japanese Milk Bread for detailed instructions.) For the tangzhong, whisk the flour and water in a sauce pan over medium heat until thick and swirl lines appear. Cool, then add with the remaining dough ingredients into a bread machine – set the bread machine to make “basic dough”.
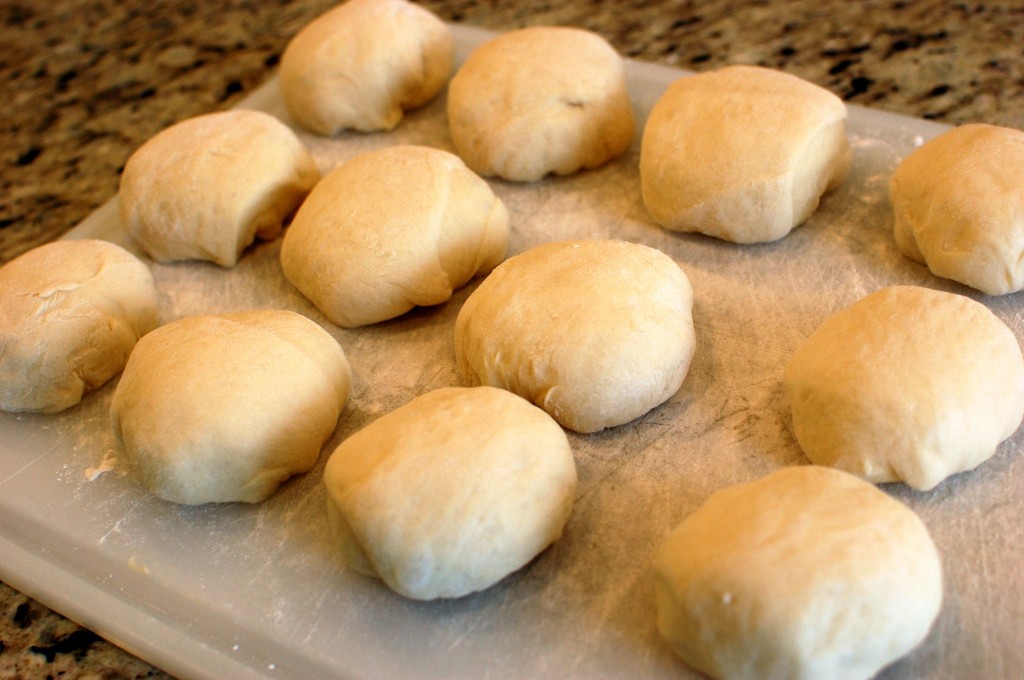
2. Once the dough has risen, divide into 12 balls and allow to sit (covered) for about 1 hour to rise.
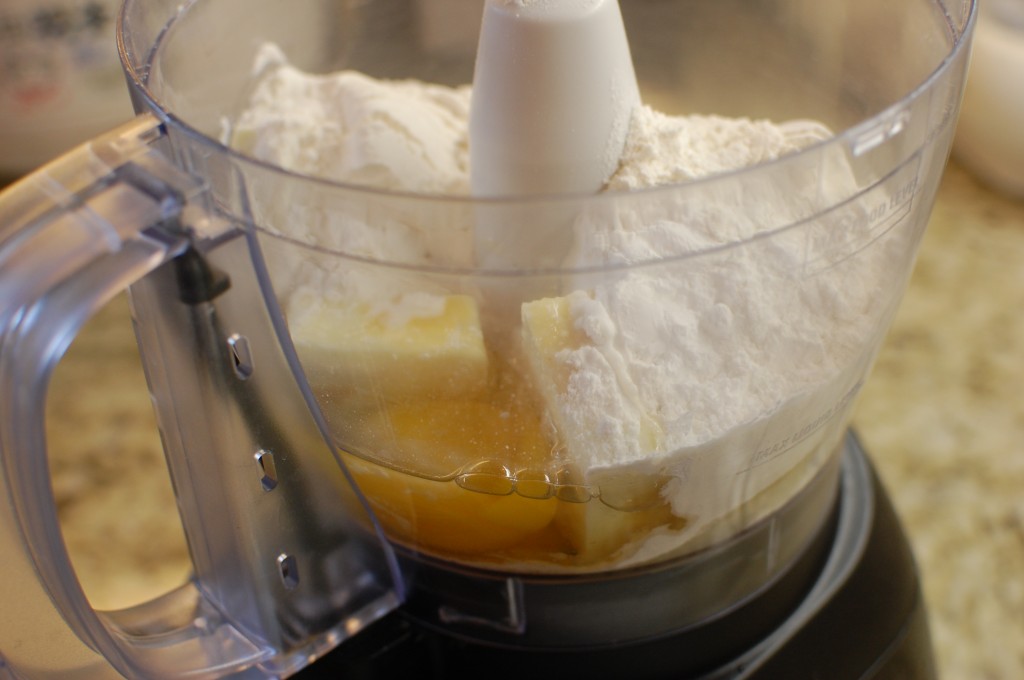
3. Meanwhile, make the cookie layer. Put all ingredients in the work bowl of a food processor, and pulse until combined. Refrigerate for 30 minutes. You want to make sure the cookie dough is as cold as possible – if it is too warm when rolling, it will be much harder to work with.
4. Preheat the oven to 350 degrees. Divide the cookie dough into 12 pieces, and roll out between 2 layers of plastic wrap into a 5 inch circle. (It helps if you put a drop or two of cooking oil on the plastic wrap and use your fingers to spread it over the surface – this keeps the cookie dough from sticking to the wrap.)
5. Remove the top layer of plastic wrap, and set a ball of dough on top. Use the bottom piece of plastic wrap to help you wrap the cookie dough layer around the bun.
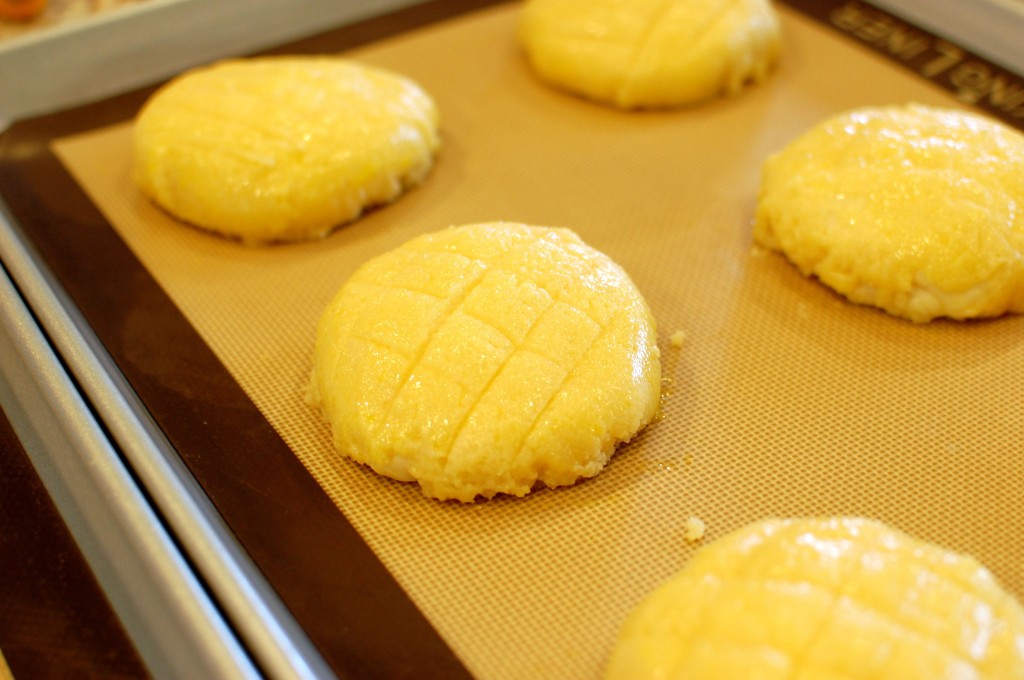
6. Set the cookie wrapped buns seam side down on a silicone lined baking sheet. Pull the plastic wrap off carefully. Brush with egg wash, and score with a cross-hatch (grid) pattern with a sharp knife. Sprinkle with large crystal decorating sugar or regular sugar (optional).
7. Bake at 350 degrees for 15 minutes. Set aside to cool on a wire rack before serving.



Hi Mika,
I loved eating these in japan- you’re right about the crunchy topping. Delish! Thanks for experimenting with this recipe and offering it up here. I’m definitely going to make these.
Hey Mary! I hope you like it. Let me know how yours turns out – and how it compares to the Okinawa Bakery versions!
I made these the other day and they were delicious! They do require some work but they are worth it!!! Mine did not come out as pretty as yours cause the top layer was pretty sticky but was so good! I’ve tried 3 of your recipes and they have been amazing! You are a great Baker!
Thank you!
The Japanese version of pan dulce from Mexico!
They look even better than the ones I get at the local bakery! Definitely trying these once I get all the ingredients~
Let me know how it turns out for you!
Hi,
thanks for sharing this recipe
I want to try and make it but how do I make it without a bread machine?
and is it ok, to use plain flour?
and instead of using a food processor, can I use a mixer to combine the ingredients??
sorry for all the questions but my parents love these kind of buns and I would love to make these for them + I <3 'em too :p
Yes, you can knead the dough and let it rise without the use of a bread machine… but it will take a little bit more work and rising time. Mix the dough ingredients together, knead about 15 minutes, then allow to rise in a warm place (covered) for 1 hour. Punch down, then allow to rise again for 30-60 minutes.
For the dough, it is better to use high protein bread flour. You can substitute with regular all purpose flour, but it will not turn out exactly the same. For the cookie dough part… it might be better to cut the ingredients together with a pastry hand blender, or use two knives to cut it together. I’m not sure if a stand mixer will work out very well, but you can try.
YOU REALLY NEED TO PUT F CAUSE WHEN PEOPLE JUST SAY DEGREES PEOPLE USUALLY ASSUME ITS C!!!!!
OUR OVEN SMELLS BURNED WITHOUT ANYTHING IN IT
AND C OVENS DONT GO UP TO 350 WHICH IS CRAZY!!!
sorry but kinda panicked
No need to yell.
The name of my blog is “the 350 degree oven,” and I make it quite clear that this is a US site, using US volumetric measurements. I make no apologies for that, as I started this website to make certain recipes and food items accessible to the average American cook, using standard American measurements, instruments, and ingredients. Most baked goods recipes in the US call for baking temperatures around 325 to 375 degrees Fahrenheit (which works out to about 165-190 if you are using a Celsius scale)… so considering that 350 would be awfully high (662 degrees F, actually) if I meant Celsius… most people can use common sense and realize that I don’t mean for you to burn your baked goods to a crisp.
So if people assume 350 degrees Celsius… all they need to do is look at their oven and realize, “Hmm, 350 degrees Celsius doesn’t exist…” so no need to panic.
Hi, I was just wondering if I could use a hand mixer instead of a food processor. Thanks:) love your website btw,it’s so helpful since you’re also using a bread machine.I will try this soon
Hi Charlene, Yes you probably can use a hand mixer instead of the food processor. I like the food processor though because it can form pastry very quickly using a “cutting” action. You can also use a hand-held pastry blender to cut the cookie dough together.
How long is the basic dough setting in the bread machine? Thanks
The basic dough setting on my machine (Zojirushi) is about 1 hour 50 minutes. Basically, enough time to mix the ingredients, knead the dough, allow it to rise, then punch down, and one final rise step.
i followed the measurements.. but my dough was ALL thin and sticky, could not do anything with it. Had to put ALOT of extra flour in it to even be able to knead the dough a tiny bit, when that i did that it dident rise….
My cookiedough was all thin too.. did not get “harder” in the fridge… damn.. it like melted off my buns.. nothing like cookie, more like melted crust on the sheet…
The dough is supposed to be very sticky – that’s what gives it the light & fluffy texture. If you put too much flour in it, it will negatively affect your final result. If you find it hard to work with sticky dough, it’s easier to just oil your hands with cooking oil when kneading instead of adding too much extra flour. Also keep in mind that you do not add the full recipe of tangzhong – if you add the full amount, you will have to much moisture. Only add 1/2 cup. I find it easiest just to make the dough in a bread machine – if you have one, give it a try.
As far as the cookie dough goes… I’m not sure what to tell you. My recipe works really well for me. But atmospheric conditions (very dry or very humid) can wreak havoc on many recipes.
I followed your recipe in making it today and it turned out great! Thank you so much for sharing your recipe with us. My dad and husband loved it.
I tried making it exactly as the recipe said, make the roux and then put it all togeher in the bread machine on a dough program.. It was way to fluid ish… it did not raise at all.
Did you use 1/2 cup only of the tangzhong? If you use all of it, that will be too much. Make sure you only used 1/2 c. You also want to make sure your tangzhong was cooled down – if it is hot, or too warm, it will kill your yeast. Lastly, make sure your yeast is fresh and not expired – dead yeast will not rise.
I made this yesterday, and it turned out great! Thanks for the recipe. My husband said it wasn’t exactly like bo lo bao, but it was still delicious. Your blog is great!
Thanks!
I love your recipes!
I’ve been so successful with all the bread recipes I’ve tried on your site.
I would like to try this recipe for a gathering. If made a day ahead, does it taste just as good?
Should I leave it to completely cool before wrapping it or when it’s warm? Thanks once again for all the wonderful recipes!
Hi there! Yes, you can probably make this the night before and it should be fine. Do not wrap when it is warm – make sure it is completely cool before you wrap.