I’m always looking for ways to make my food look appealing and visually enticing. What is the saying? We eat with our eyes first? That’s so true… when food is carefully plated, or intricately decorated… I think our brains trick us into thinking the food is better or more special than if it was just thrown together. When my soon to be sister-in-law asked me to make cupcakes for her bridal shower, I figured this was my opportunity to take it up a notch and make something really special for her. Surprisingly, it wasn’t that hard to make fondant roses and flowers.
It’s a little bit time consuming at first when learning the technique… but once you see how cute your creations look (especially when adorning cupcakes, cakes, or little tea cakes)… it’s totally worth it. I looked up a few tutorials online and went to work. The methods posted below worked really well for me… and I can see myself making these much faster next time.
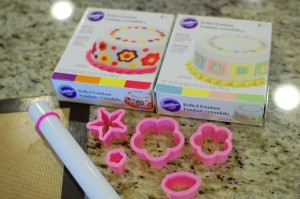
You will need to buy some stuff… Most of the tools needed can be found in the “Wilton Gum Paste and Fondant Student Kit” (I got mine online for about $25). Technically, you could probably improvise with small cookie cutters and plastic spoons/knives/skewers… but I thought the kit was a good value (you get a lot of useful stuff for the $), and you don’t have to scrounge around the kitchen trying to figure out what you can use to substitute for a particular tool. Plus, you can store everything in the box, and pull out the entire box when needed. I probably could have made it work without this kit, but it would have been much harder and taken a little bit longer.
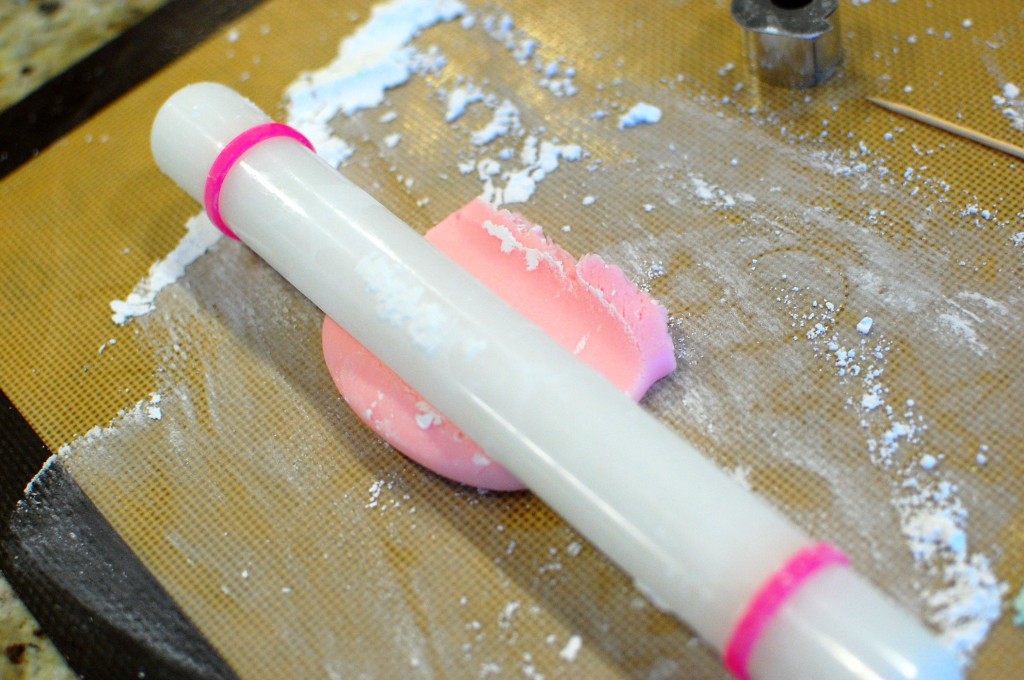
You will also need a large silicone baking mat and a “Wilton Fondant 9 Inch Rolling Pin“. I really recommend this particular rolling pin since it comes with two rubber bands that help you roll out your fondant to a perfect 1/8″ or 1/16″ thickness (and it was only $7). Wilton also sells a “roll-and-cut fondant mat” – but it looked somewhat small and flimsy… and the reviews mentioned that it slips around the counter a lot. So instead of using the Wilton mat, I improvised and used one of my silicone cookie sheet liners – which worked out perfect (it was large enough, and didn’t slip around). If you want to learn to work with fondant mainly for small decorations, I wouldn’t bother with the Wilton mat – it’s unnecessary.
You can make your edible fondant from scratch… but I purchased my fondant pre-made (which is much easier!) I used the colored fondant from the Wilton Pastel Colors Fondant Multi Pack (you get pastel blue, pink, yellow, and green for about $10). Wilton also makes a neon color kit (bright purple, yellow, orange, and hot pink), and a primary color kit (basic green, red, yellow, blue). If you need a lot of one color, they also sell the colors in large quantities (individually) – but for my purposes, since I was using the fondant to make accent decorations for about 50 cupcakes… the multi-colored kits gave me more than enough fondant (and I have a lot leftover for future use – which you can store tightly wrapped in plastic, inside a Ziploc bag). I bought my fondant on amazon.com – but I have also seen if for sale at craft stores like Michael’s in the baking aisle.
Although icing is different topic from fondant – when decorating cupcakes and cookies, I use Royal Icing all the time. Royal Icing is pipe-able, and dries hard and opaque – it’s perfect to use for frosting designs or lettering onto cookies/cupcakes or fondant – so I included my technique for making it here. Due to the risk of salmonella contamination, it’s best to stick with pasteurized eggs or pasteurized egg whites. You can buy pasteurized eggs at the supermarket, or buy one of the pasteurized egg white products that come in a carton.
Fondant Roses & Flowers:
- colored fondant (pre-made)
- flower shaped cutters
- thin foam board
- fondant rolling pin
- silicone baking mat
- toothpicks
- fondant modeling tools
- powdered sugar
- small paintbrush (for water)
- cardboard box
Royal Icing:
- 1 egg white (about 2 T. pasteurized egg white)
- 2-4 c. powdered sugar
- food coloring
SIMPLE FONDANT FLOWERS
1. Dust the silicone mat with a little bit of powdered sugar (to prevent sticking). Roll out the colored fondant to 1/16″ thickness using the pink bands on the Wilton fondant rolling pin.
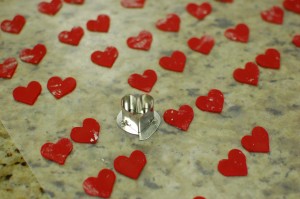
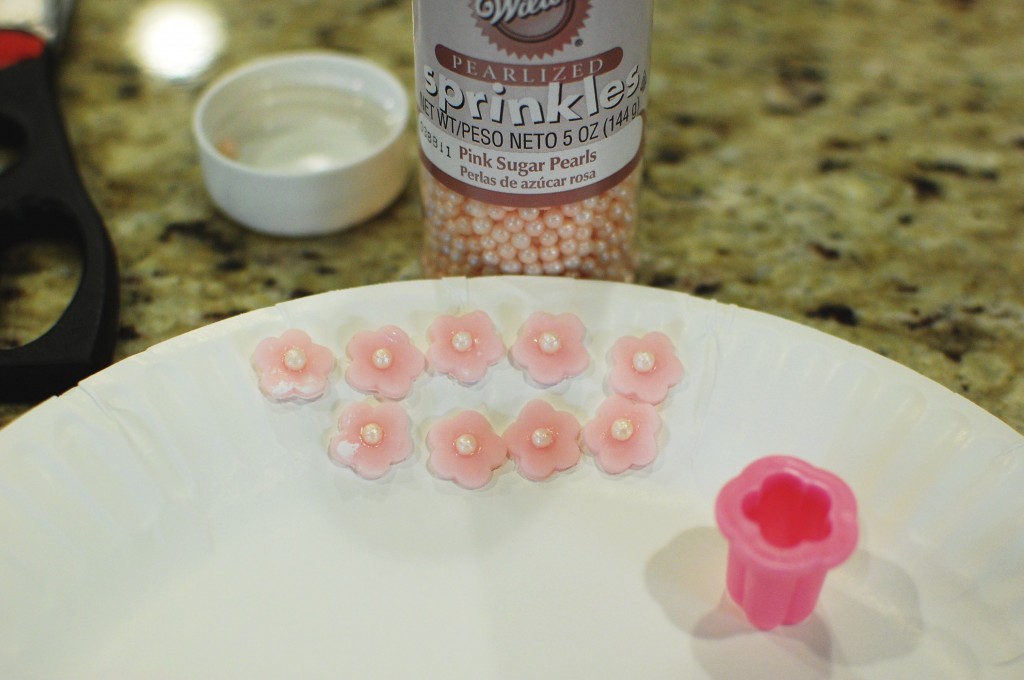
2. Using a small flower shaped cookie cutter (dime sized), cut out as many flower shapes as you can. (Knead the scraps together, then re-roll, and repeat.) When finished, transfer the flower shapes to a piece of waxed paper (or other non-stick surface), and dab a tiny bit of water into the center of each flower with the paintbrush. Push one sugar pearl (Wilton Pearlized Sprinkles) into the center of each flower. Set aside to dry for several hours before using. (You can use this same technique to cut out other shapes – leaves, hearts, etc.)
FONDANT ROSES
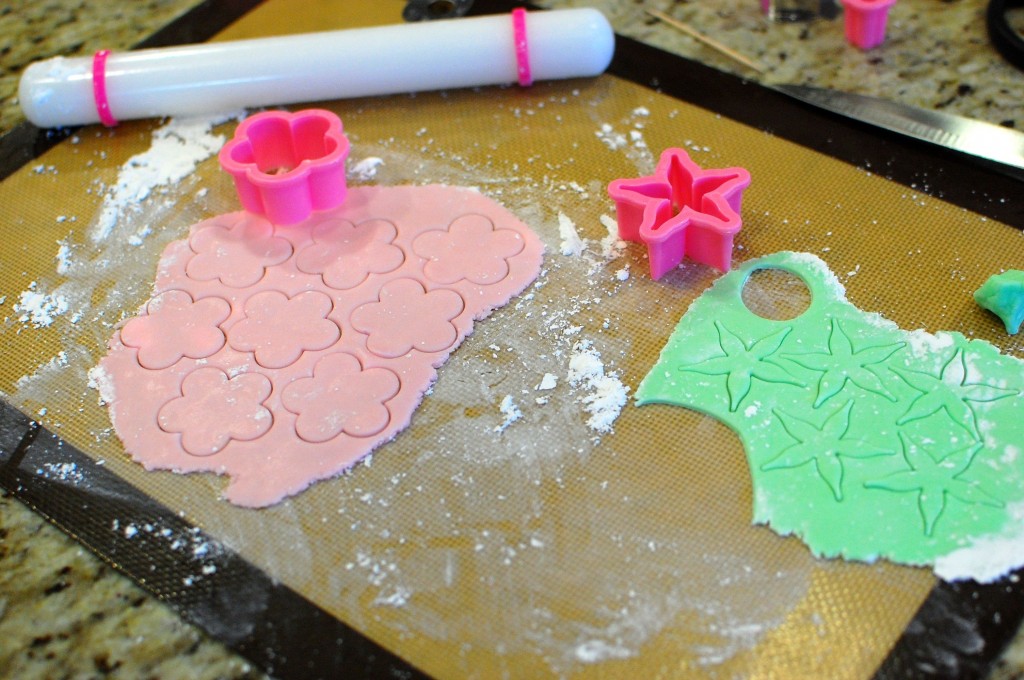
1. Roll out the rose petal colored fondant to 1/16″ thickness (as in the simple flower example above.) You will also want to roll out some green colored fondant for the calyx (sepals) of the rose. Using the medium flower shaped cookie cutter and the calyx (star shaped flower) cookie cutter on the fondant to cut out as many shapes as possible. (Cover the extra cut out shapes with plastic wrap to prevent them from drying out.)
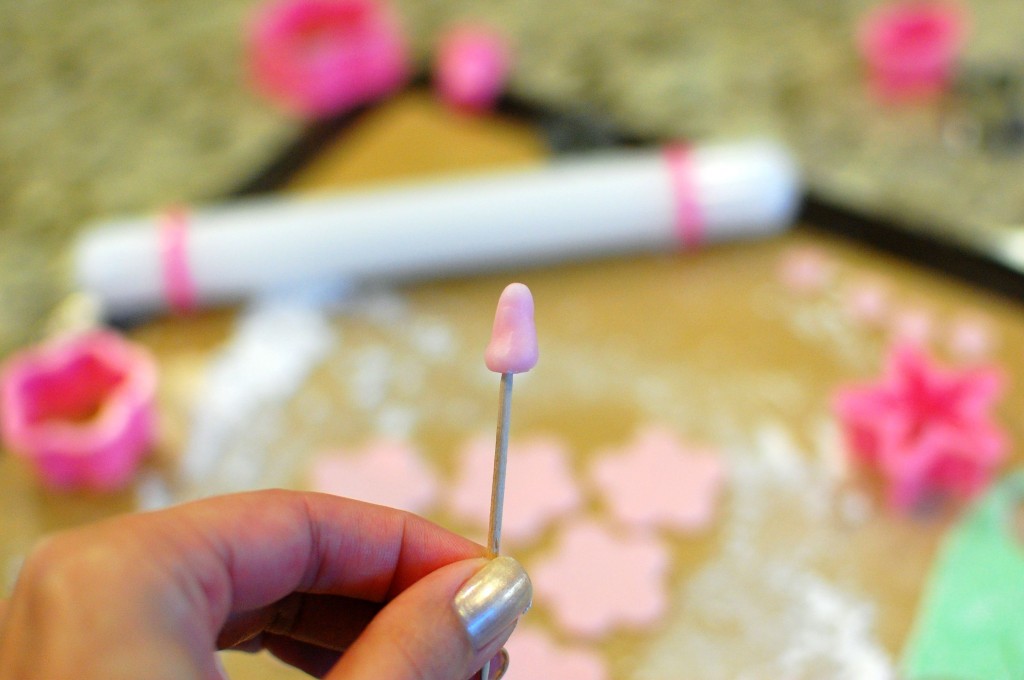
2. Knead the scraps from the rose colored fondant, and pinch off a small pea sized portion. Shape the fondant into a cone, and stick a toothpick into the bottom of the cone. Make as many of these cones as you have flower shapes. (This will become the inner support structure for your rose.)
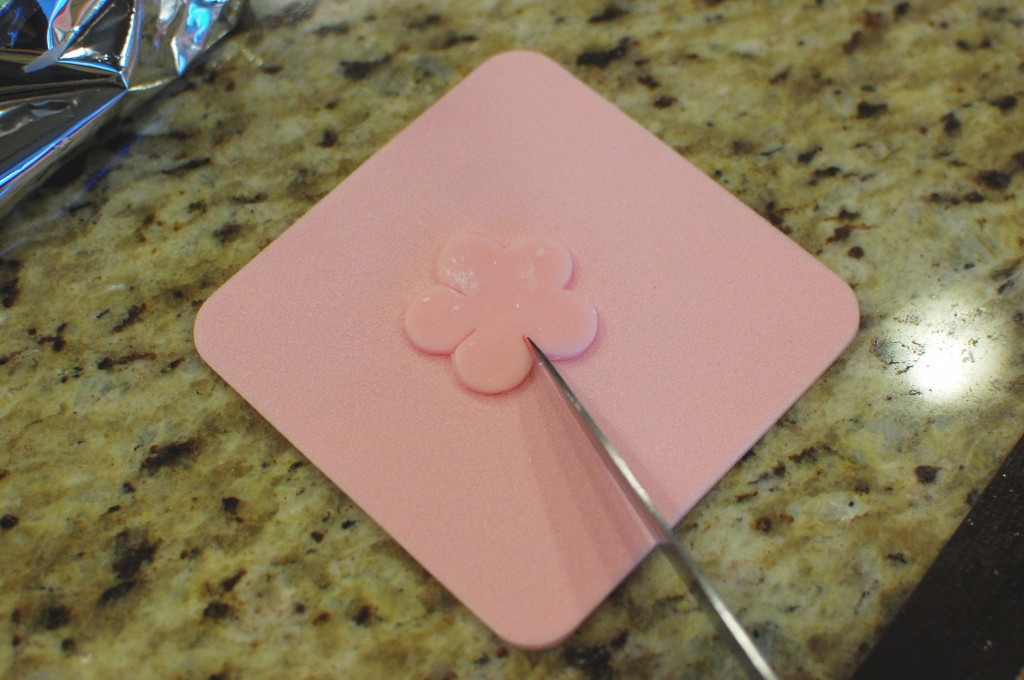
3. Place one of the flower shapes on the thin foam mat. Use a small knife to cut inward slightly between the petals.
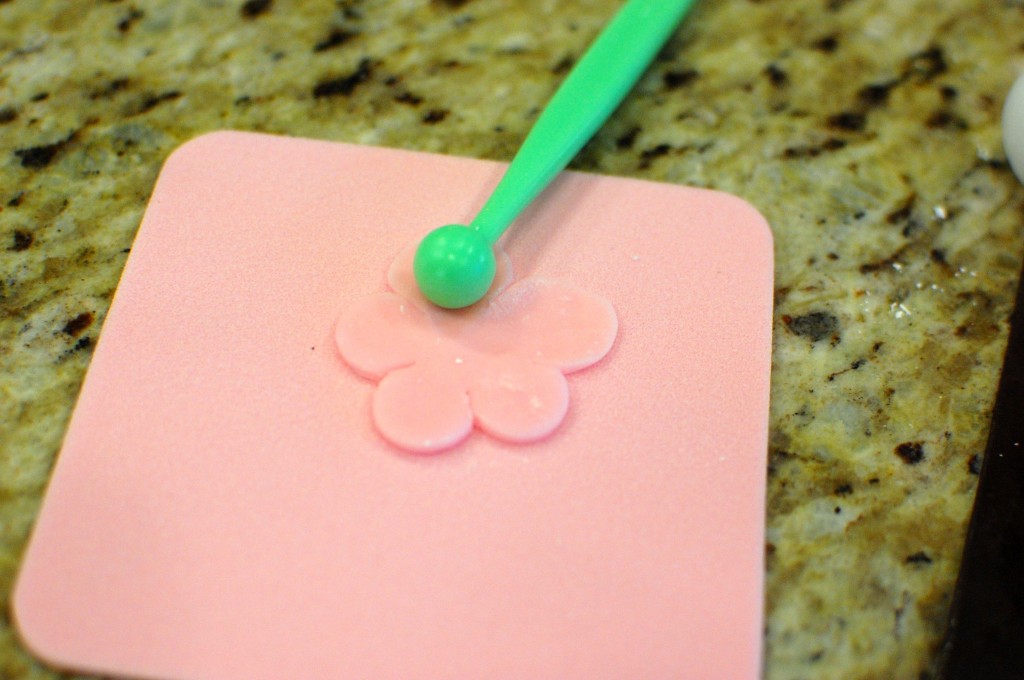
4. Use the plastic fondant tool (the one that has the ball on the end) to roll each petal (with gentle pressure) outward from the center. This thins the petals, and makes them a little bit larger. (You can see in the photo below that the one petal on the right has already been rolled, and I am working on rolling out the upper petal.)
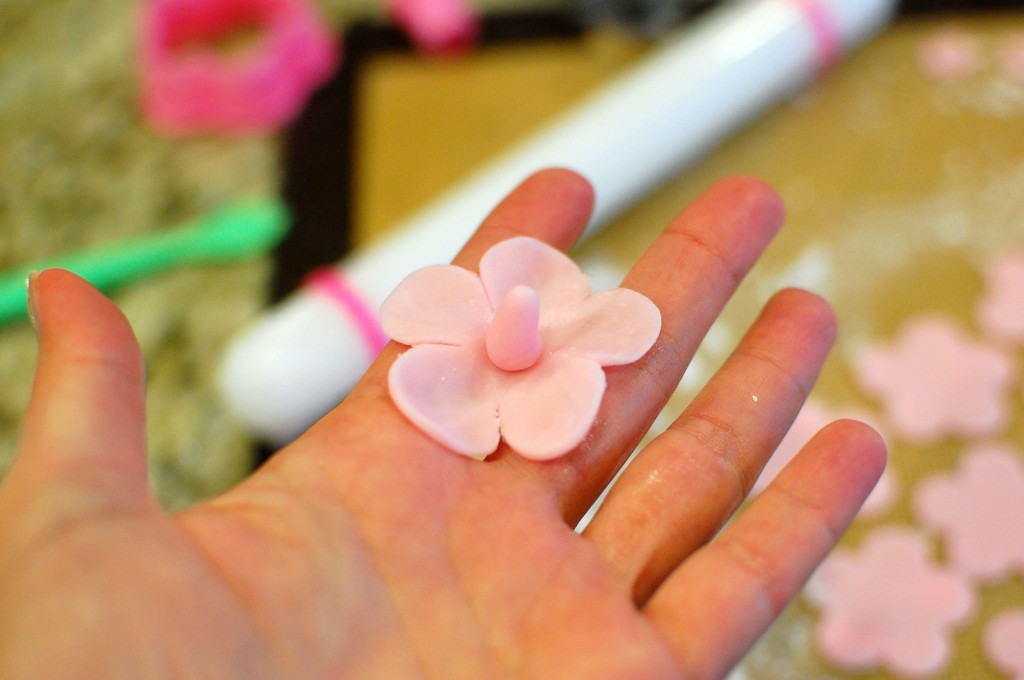
5. Place the rolled flower shape into your hands. Dab a tiny bit of water into the center of the flower (to help it stick), then push the toothpick with the fondant cone through the center and down.
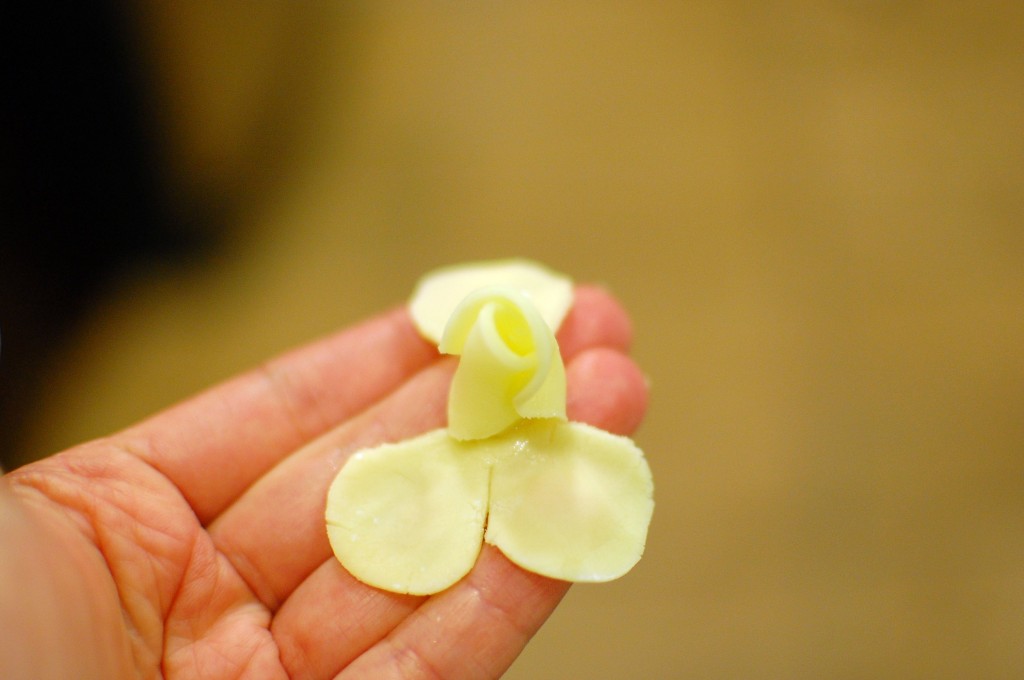
6. Brush a little bit of water onto the cone of fondant. (Water helps fondant stick to itself.) Fold one petal (Petal #1) around the cone.
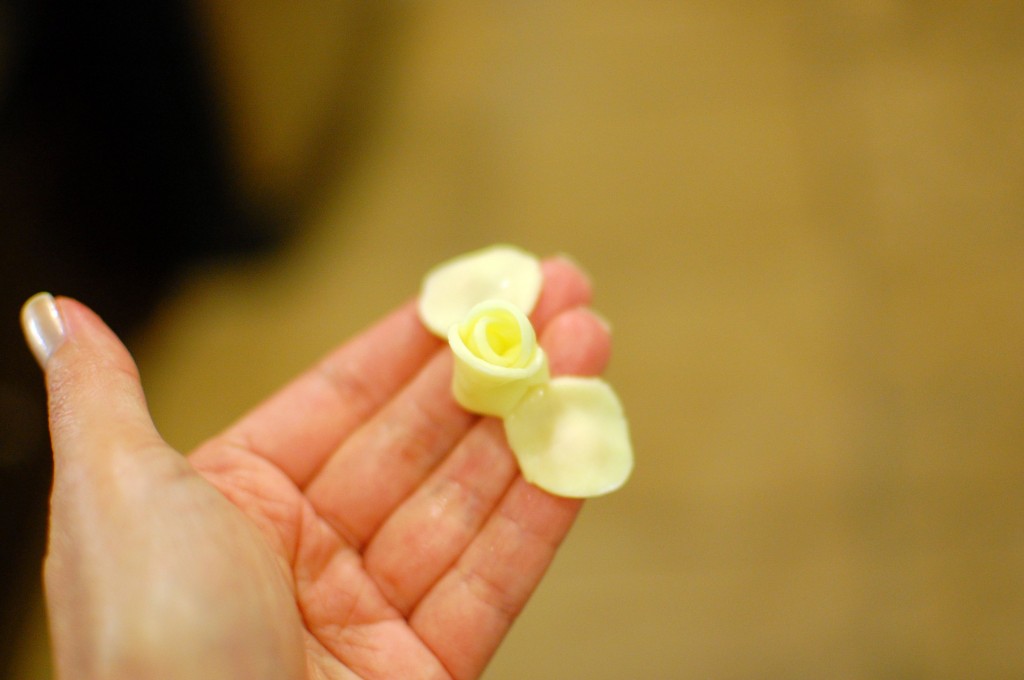
7. Skip the adjacent petal (#2). Brush a little bit of water onto the next petal (#3), then carefully wrap that petal around petal #1 (which is already wrapped around the cone).
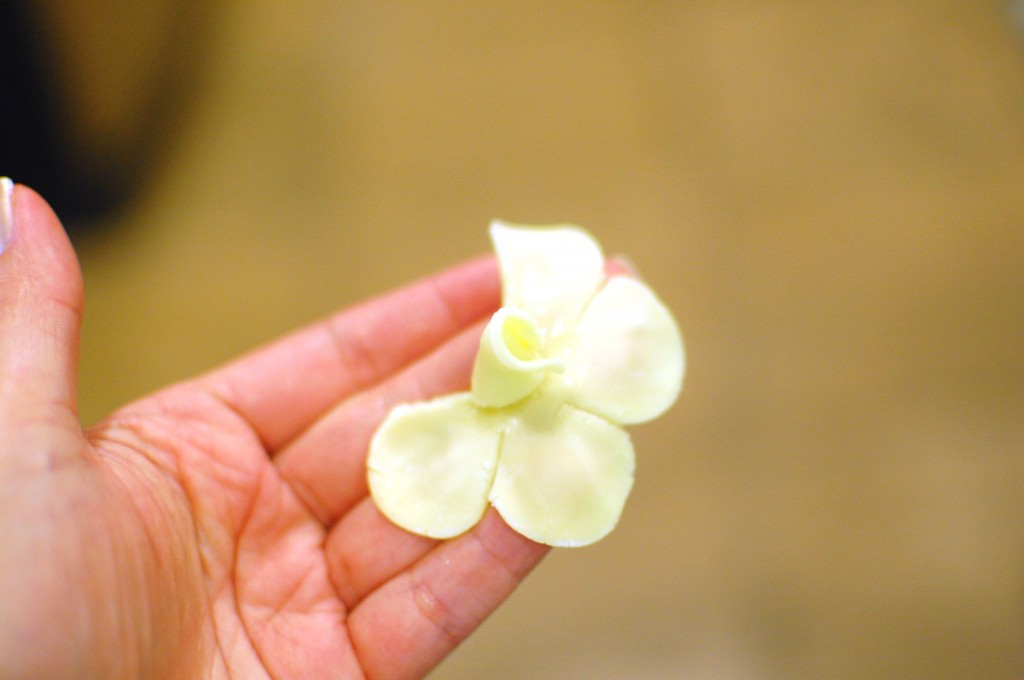
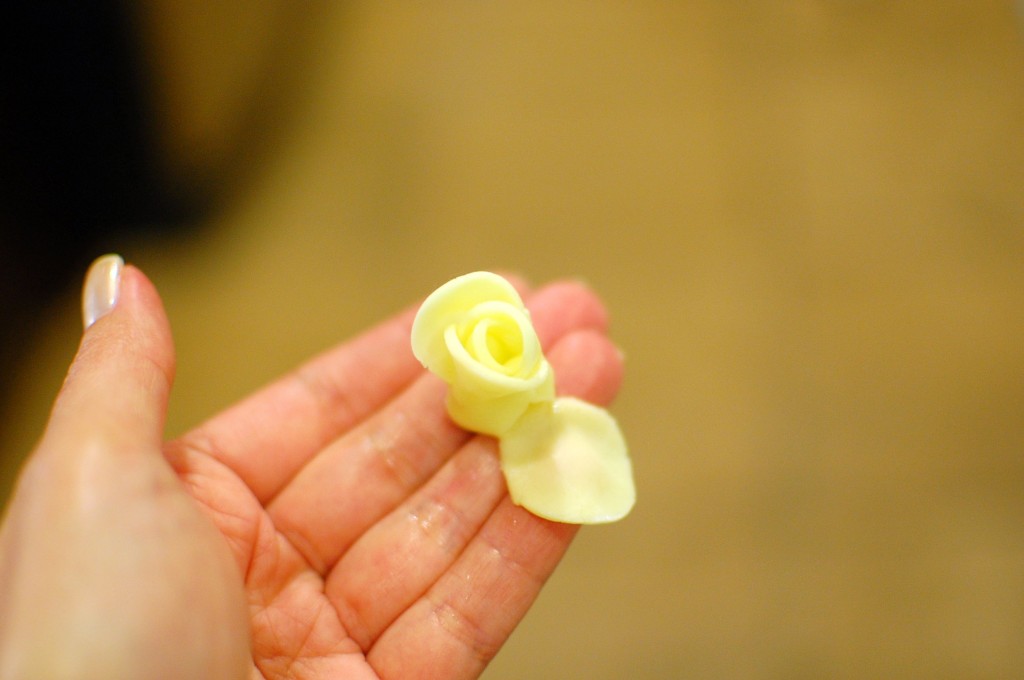
8. You will now skip the next adjacent petal (#4), and brush a little water on petal #5 (the bottom left petal in the picture above). Wrap petal #5 around the whorl of petals in the center, allowing the top part to flare out away from the whorl slightly (as seen below).
9. Now you will brush water on petal #2 (the one on the top left in the photo above), and wrap that petal around the whorl.
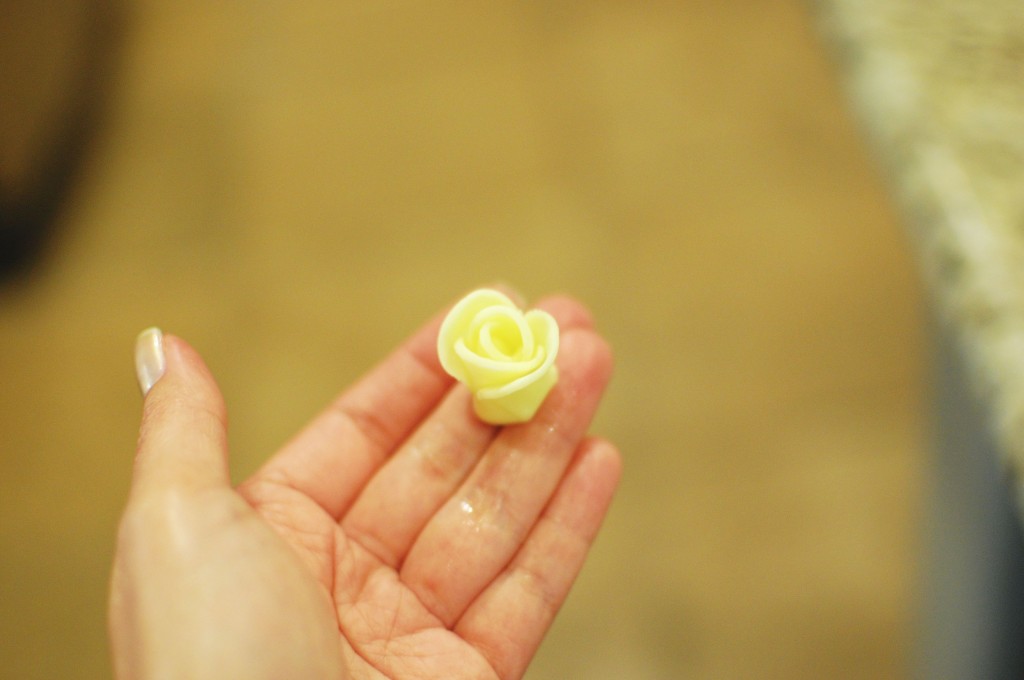
10. Finish the flower portion by wetting the remaining petal (#4) and wrapping that around the whorl.
(**If you would like a really full rose, instead of the “bud rose” pictured here, you will want to add two more layers of petals… repeat steps 3-10, twice. If you would like to see what a full rose looks like, see my post on fondant decorated baby shower cupcakes – the blue roses that you see in that post have 3 layers of petals.)
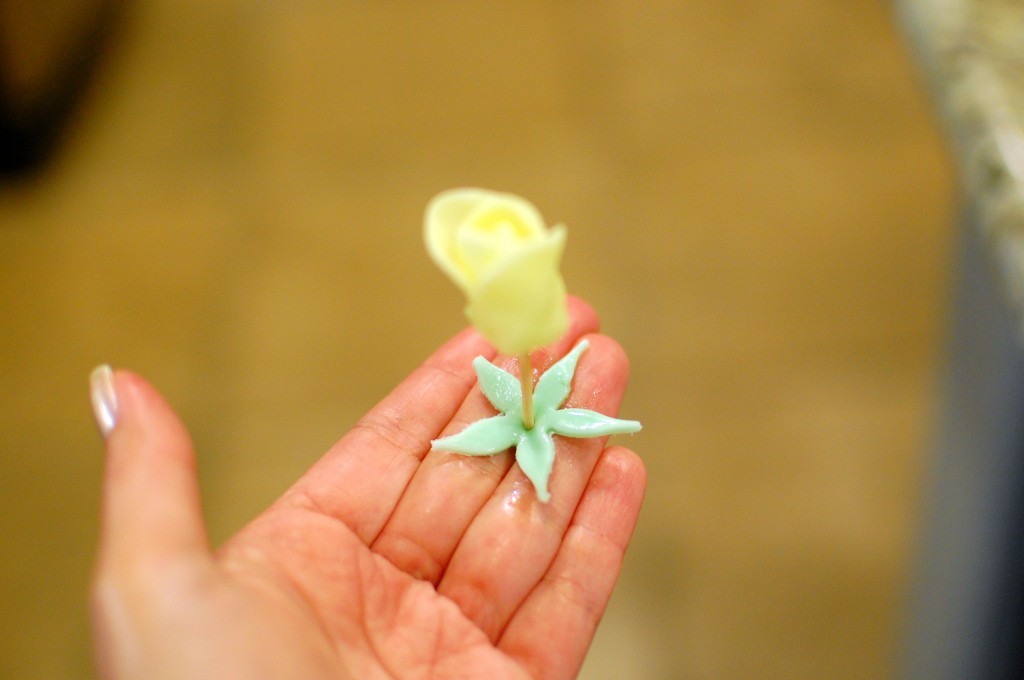
11. Now it’s time to add one of the green cutouts to form your calyx. Brush a little bit of water on the surface of the green calyx, then poke the toothpick of the flower through the center. Push the calyx up against the bottom of the rose, and shape the individual sepals around the flower.
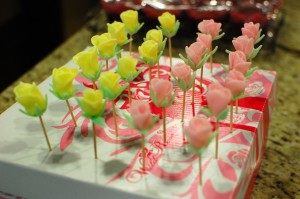
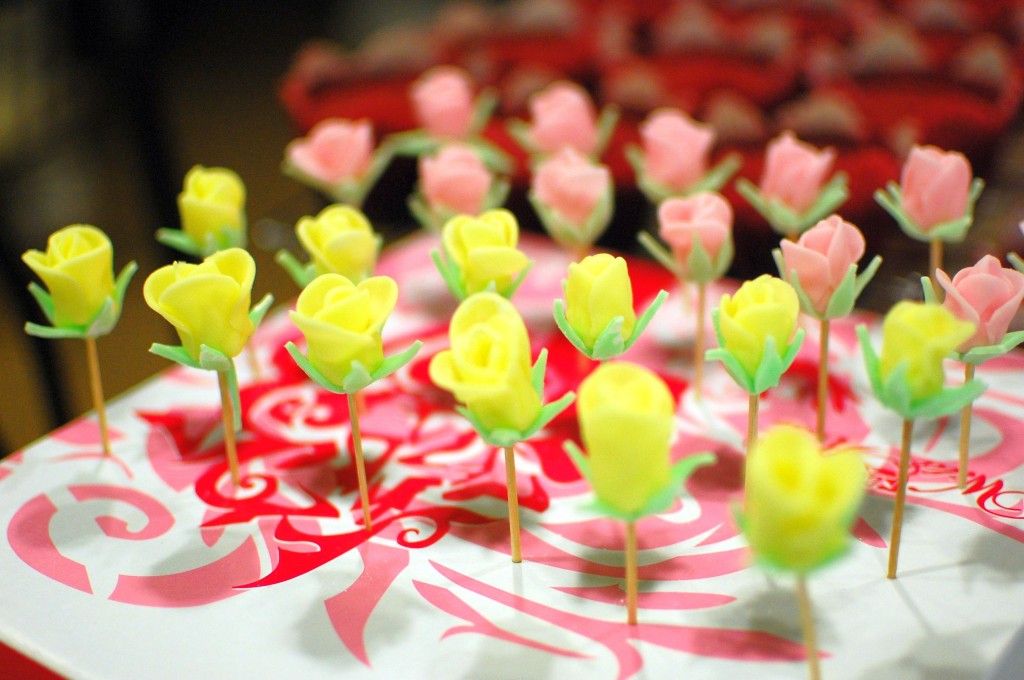
12. Now you need to set your rose aside to dry. The easiest way to do this, is poke the toothpick into an upside down cardboard box or shoe box. Allow to dry for about 1-2 hours until mostly stiff. At this point, I slowly twist out the toothpick, then carefully lay the rose on a piece of waxed paper to dry several more hours or overnight. (If you wait too long, the toothpick might be harder to remove and you will destroy your rose trying to get it out).
FONDANT CHERRY BLOSSOMS
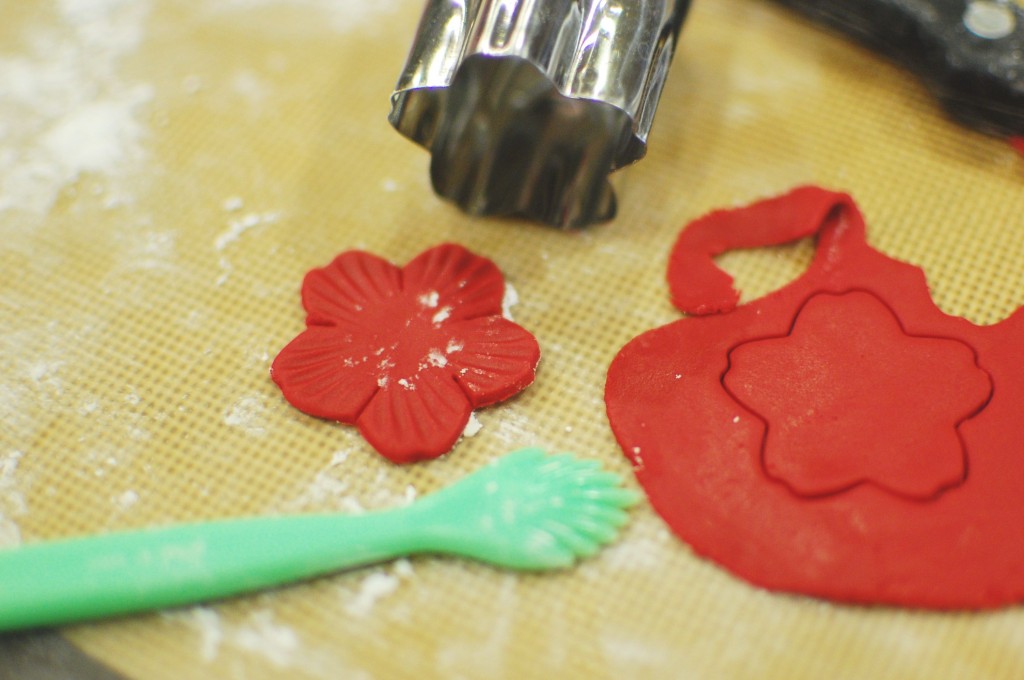
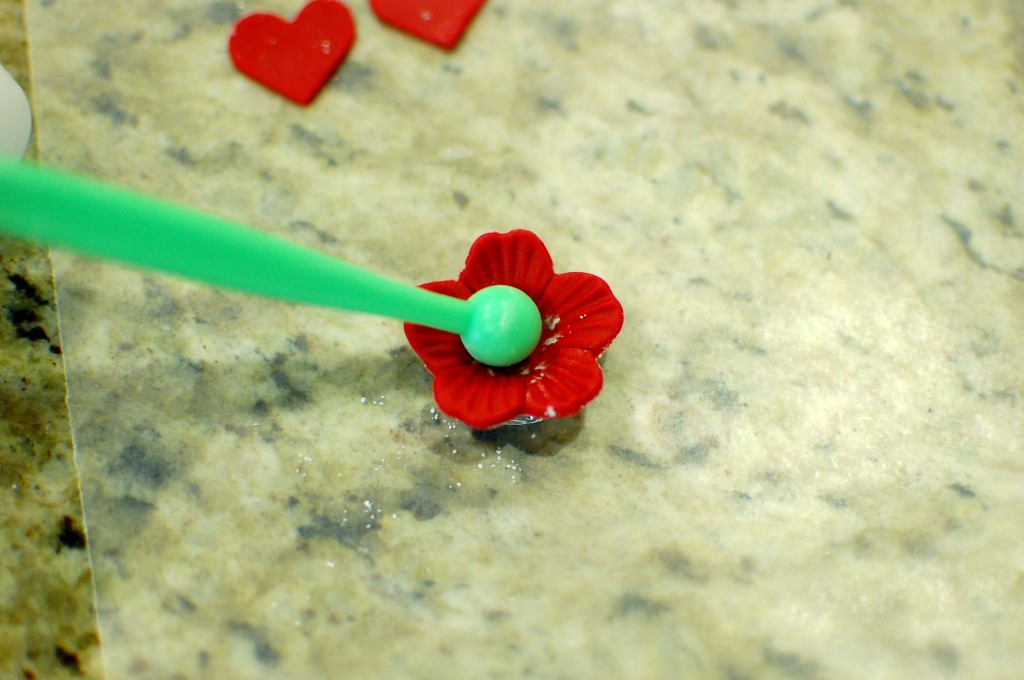
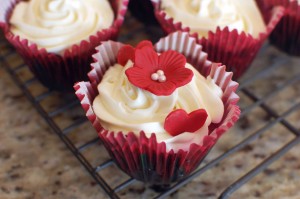
1. Roll out your colored fondant. For cherry blossoms, I should have used pink… but I was decorating red velvet cupcakes, so I made them red instead. Using a sakura (cherry blossom) shaped Japanese vegetable cutter, cut out as many blossoms as you can. The green Wilton fondant tool that has the large ball on one end, has a ridged fan-shaped piece on the other end (see the photo below). I pressed that fan shape into the fondant flower petals to create the ridged design. (You can use this technique to make other types of cupped flowers… use whatever flower shaped cutter you have.)
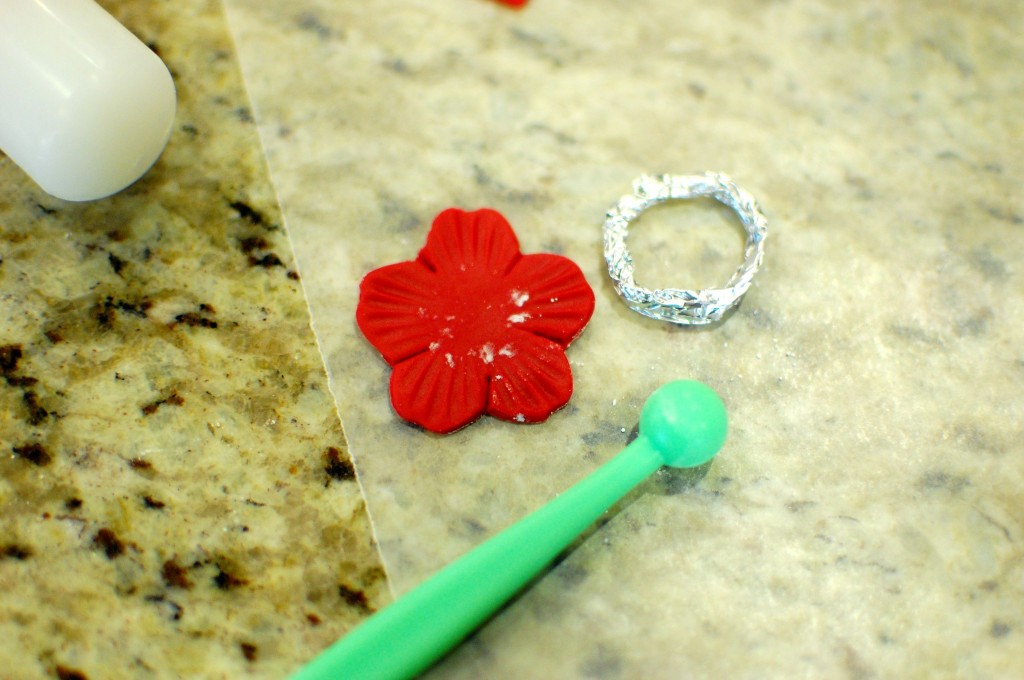
2. I wanted my flowers to look more “real” – so I wanted them to dry with a slightly cupped shape. Tear off pieces of aluminum foil, and scrunch it into a 3-4 inch tube. Roll that tube into a circle, to make a foil “ring”. Make as many of these as you need for each flower. (You can save and re-use these aluminum foil rings – just put them in a small plastic sandwich bag, and store with your fondant kit.)
3. Place the fondant flower on top of the ring, and use the round ball end of the green Wilton fondant tool to press gently into the center of the flower to make it cupped.
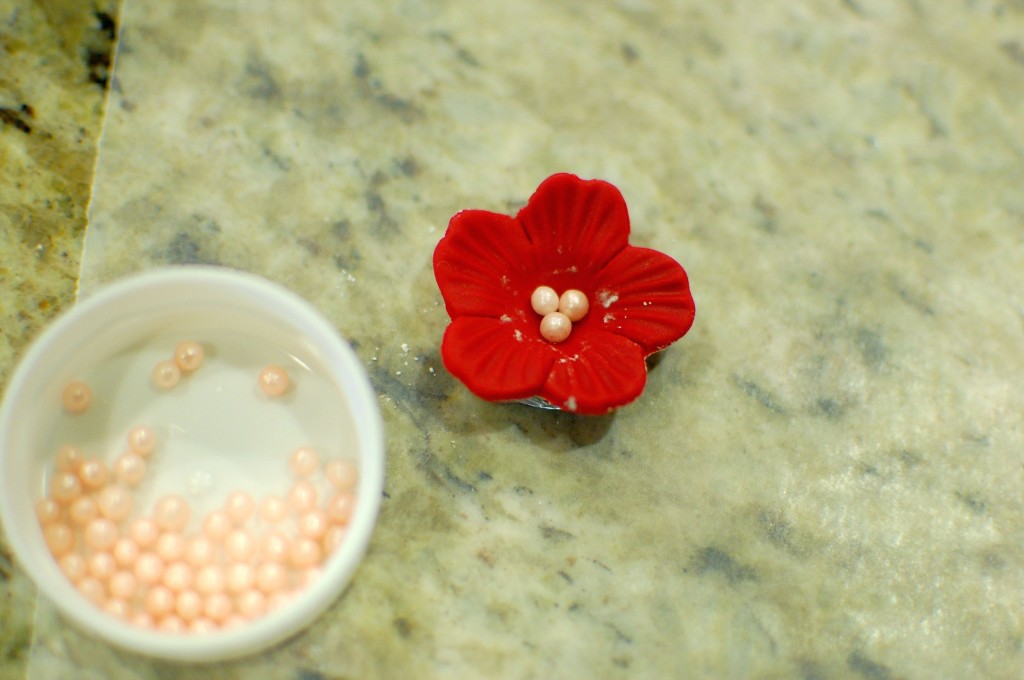
4. Use a brush to paint a little bit of water into the center (to make the fondant sticky), then add a few Wilton Pearlized Sprinkles into the center. Press the sprinkles in gently to make sure they stick. Allow the flowers to dry and harden (overnight is best) before using.
ROYAL ICING (Dries hard and opaque, great for frosting cookies, or using as writing on fondant cutouts)
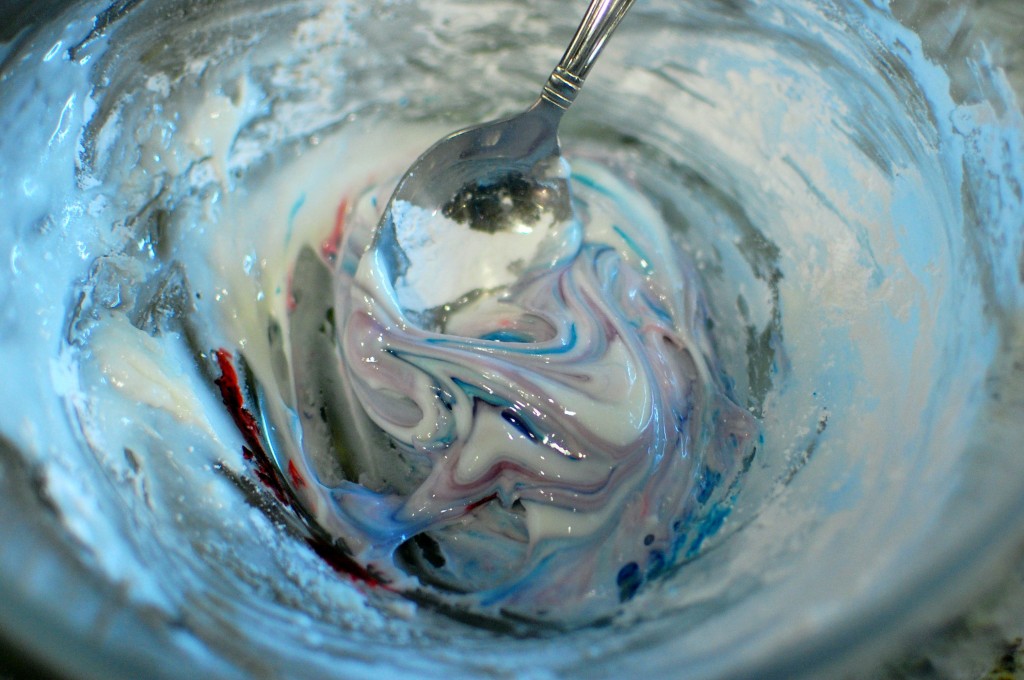
1. Mix the pasteurized egg white, a little bit of powdered sugar (I would start with 1-2 c.), and a few drops of food coloring. (Omit the food coloring if you want your icing white.) You will need to play around with adding a little bit more powdered sugar, and continuing to mix, until you get the right consistency – you want the icing to be thin enough that you can pipe it, but thick enough so that it will hold its shape when you pipe it (similar to toothpaste texture).
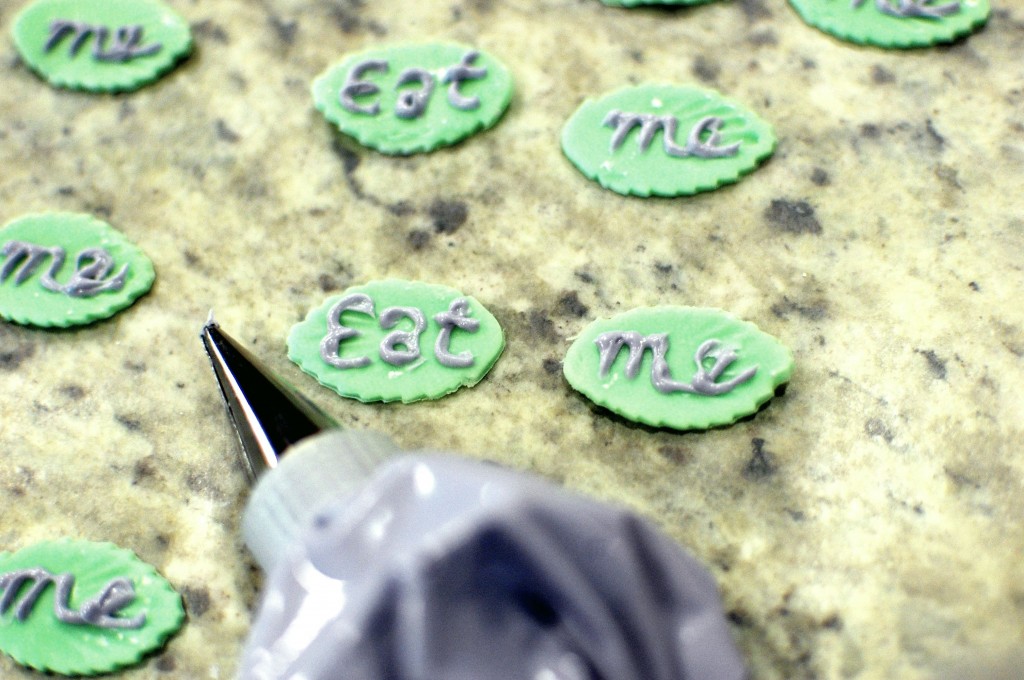
2. Fit a small piping tip into the corner of a ziplock bag (that has been cut off), and fill with icing. Pipe your designs or lettering onto cookies, fondant shapes, or whatever. Allow to dry for several hours until hard. This icing also works great for “gluing” edible objects together – I use it to make Graham Cracker “gingerbread houses” for Christmas. (I was making “Alice in Wonderland” themed cupcakes for my soon to be sister-in-law’s bridal shower… and I piped the words “eat me” onto fondant leaves.)
Here are some examples of cupcakes that I decorated using the fondant roses, flowers, and shapes:
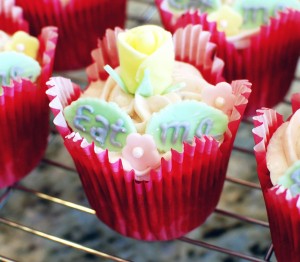 <– White Cupcakes with Strawberry Cream Cheese Frosting
Red Velvet Cupcakes with Cream Cheese Frosting –>



Hi Mika,
Can one eat the fondant flowers (etc) or is the fondant mainly for decoration purpose?
Amy,
You can totally eat the fondant flowers! Fondant is basically just sugar with a few other things added (flavorings, glucose or corn syrup, sometimes gelatin, sometimes vegetable shortening.) I wouldn’t eat a bowl of fondant… (too sweet!)… but as toppings on your cupcakes, it’s no problem!
thank you very much for the steps which are easier to follow.
You’re welcome!
Thanks! These steps are way easy 2 follow
What a fab tutorial – thanks so much for sharing! Just ordered some calyx cutters especially so I can make little roses.
Thanks its lovely
Where did you get your little cookie cutters used for the simple fondant flowers? I love this by the way
I found most of the little flower shaped cutters in my Wilton student fondant kit. It’s a good value for what you get:
Wilton Gum Paste and Fondant Student Kit
I’ve already made fondont flowers but how do I stick them to the fondont cover on the cake
I would use a dab of frosting on the bottom of the flower – royal icing if it’s a bigger/heavier flower. If it’s something rather flat and small, just a dab of water might work fine.
Thank you
Thank you this gives me a lot of help and a lot of good ideas