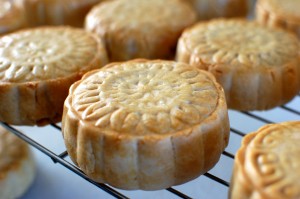
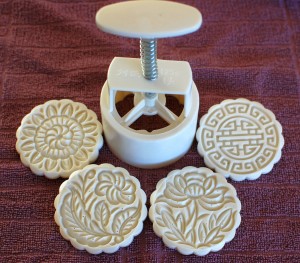
Last week, I made homemade Chinese Mooncakes… freeform style (basically just hand shaped, using a flat acrylic stamp on the top). Those mooncakes were fun to make… but I wanted to figure out how to make them a little more intricate – so that they looked more like the ones at the bakery. So, I bought a round Mooncake Press online! This press comes with four interchangeable plates, and can also be purchased in other designs… also in a square version for people who prefer a squared mooncake.
Now, I tried using my original recipe and technique for making homemade mooncakes… but it didn’t work with this press. The proportions of the dough and filling were not enough, so the mooncake press created a flat pancake, rather than thick mooncake. Also, as the mold pressed down on the ball of dough with filling inside, the pressure smushed it too much and created cracks where the filling leaked out all over the place. What a disaster!
I figured it out though… I doubled my dough recipe, and increased the filling portion…. and I came up with a new technique for enclosing the filling with the mooncake dough. It was much easier to form an almost mooncake sized cylinder – using a top and bottom piece of dough, then putting that into the press. Because it was already cylindrical, the pressure from the press did not stretch the dough too much in any one location, causing any filling eruptions or leakage. Also, the new technique helped me create mooncakes of appropriate size, instead of the smaller ones I made by hand last week.
This week, I decided to use sweet mung bean filling (recipe below)… but you could also use canned sweetened red bean paste, or any other filling. If you want to include salted egg yolks, you might want to decrease your filling amount by about 1 T. For easy proportioning, use a standard cookie scoop for the filling – about 3 level scoops was the perfect amount of filling (approximately 6 level Tablespoons).
Mooncake Dough:
- 2 c. flour
- 1 tsp. salt
- 1 tsp. baking soda
- 4 T. canola oil
- 1/2 c. golden syrup (can substitute with corn/karo syrup)
Sweet Mung Bean Filling:
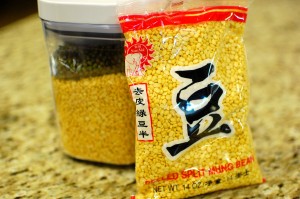
- 1 c. dry peeled split mung beans
- 4 c. water
- 2 1/2 T. coconut oil
- 1 tsp. salt
- 1 1/4 c. sugar
Hardware:
- Mooncake Press
- 1 egg yolk + 1 T. water
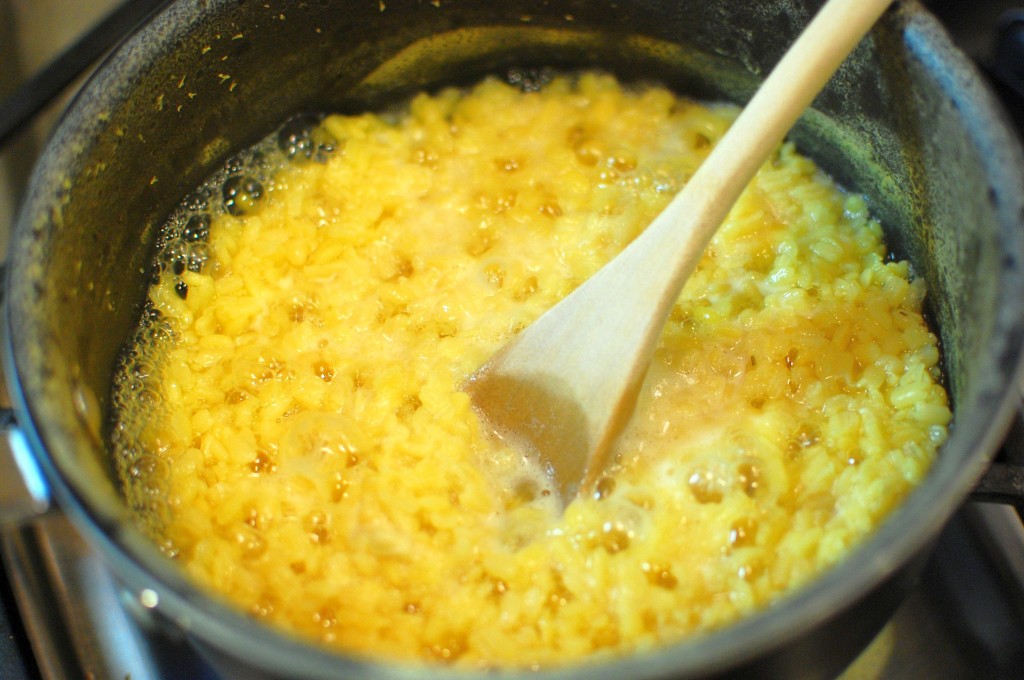
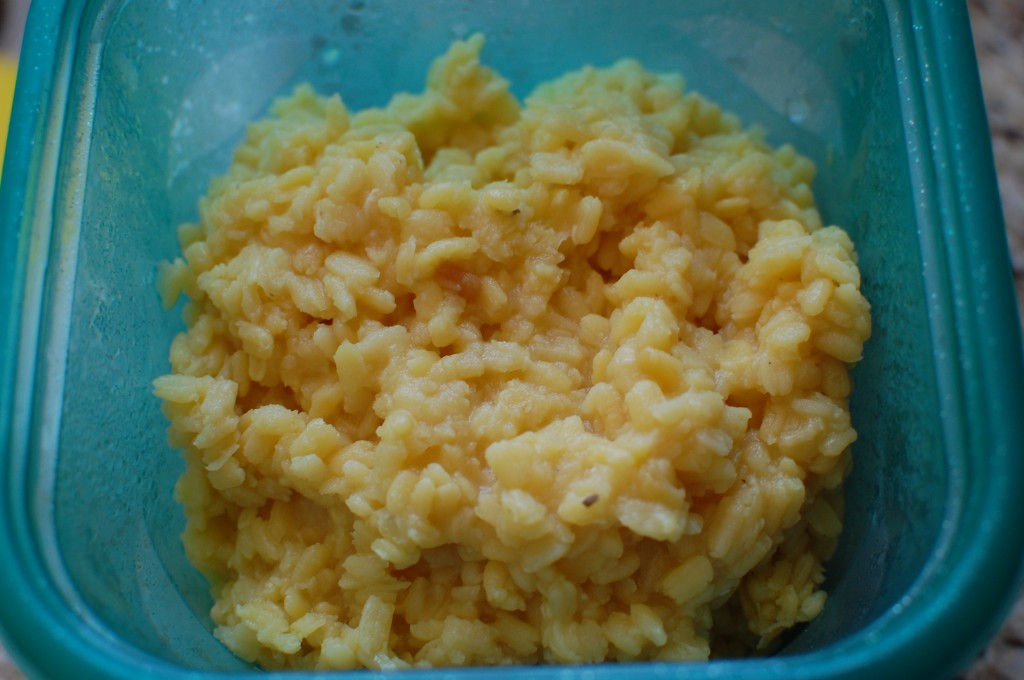
1. First, make the filling. (I generally do this a day ahead of time, but if you have plenty of time to allow the filling to cook and cool, then you can do it the same day.) Put the mung beans and the water in a small saucepan. Simmer over medium to medium-low heat (uncovered) for about 30 minutes, stirring occasionally. (Check often to make sure that the mixture is not drying out and burning.)
2. Cover the saucepan with a lid, and turn the stove off. Allow the mixture to sit for another 30 minutes (do NOTopen the lid – the residual steam will help finish cooking the mung beans). At this point your mung beans should be soft and thoroughly cooked. Cool completely, then discard any extra liquid. (You can put the cooked mung beans in a container in the refrigerator to cool faster, if needed.)
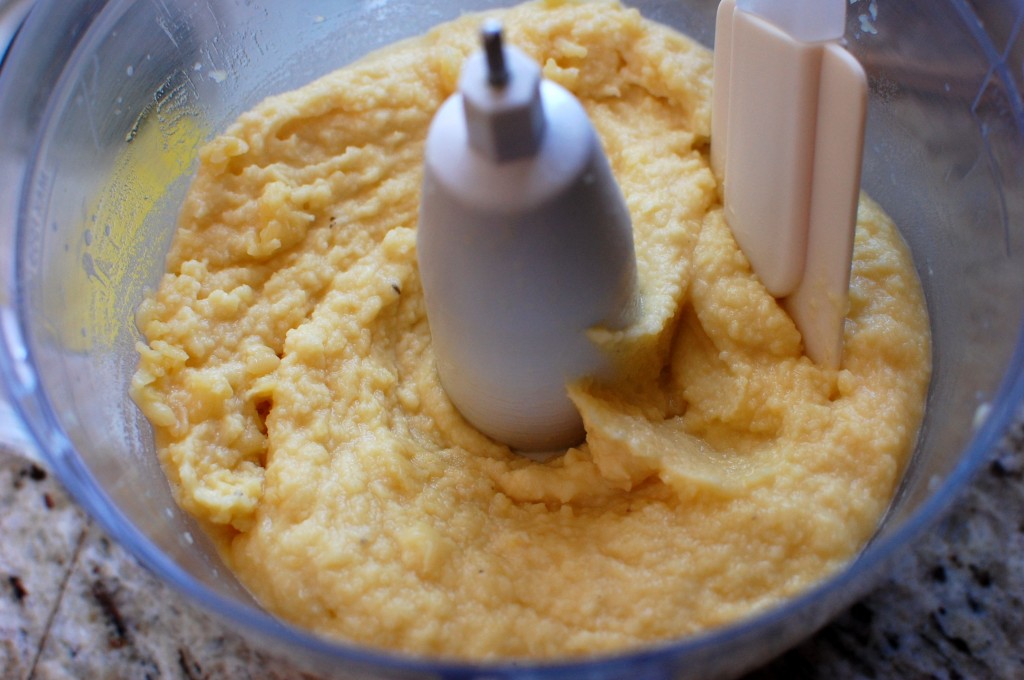
3. Puree the mung bean mixture in a food processor until the texture desired. (You can make your mung bean paste very smooth or somewhat chunky – it depends on what you prefer).
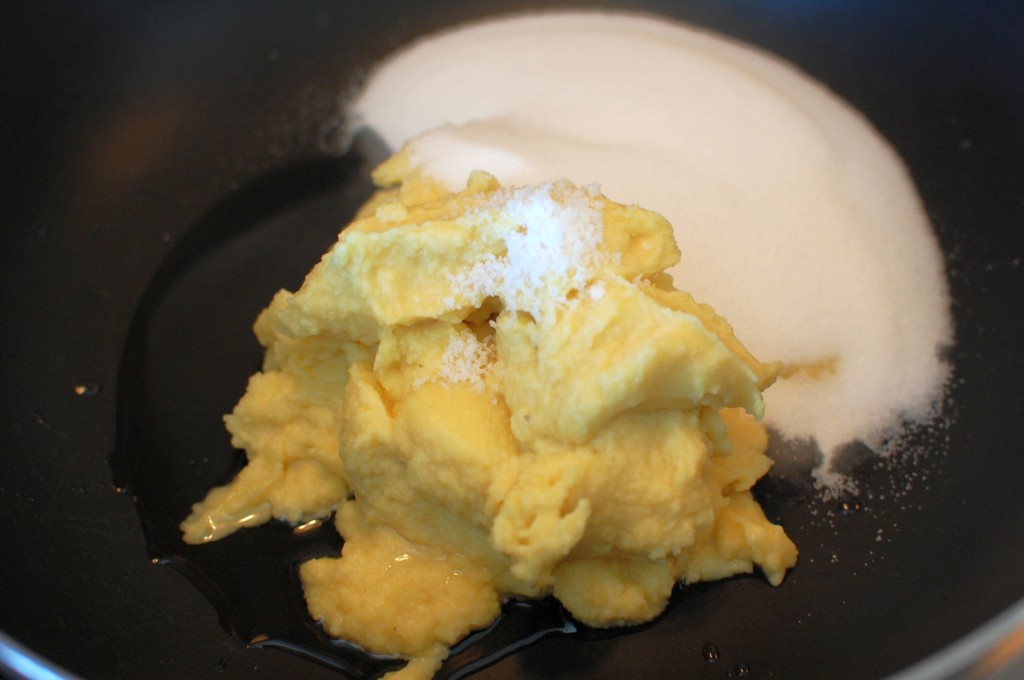
4. Melt the coconut oil in a large wok. Add the mung bean puree, salt, and sugar. (If you do not have coconut oil, you can use shortening to substitute.)
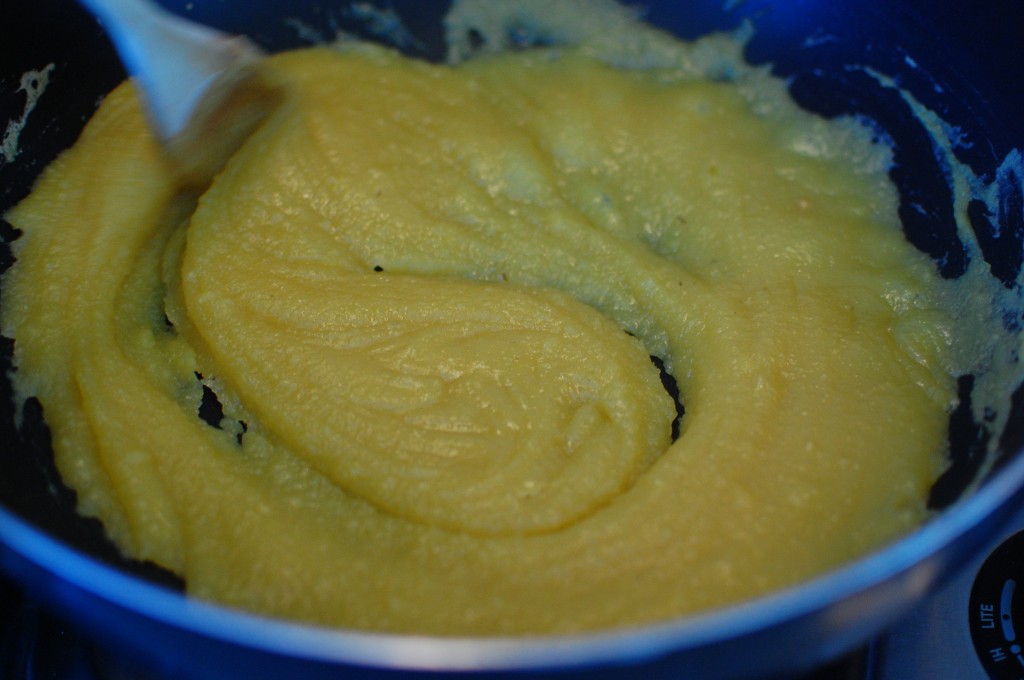
5. Cook the mixture over medium to medium-high heat, while stirring, for about 10-15 minutes until the mixture is thickened. A good rule of thumb – when you stir the mixture, you should see the bottom of the pan as your spoon moves across the pan – and the filling should slowly fill back into your spoon “streak”. Cool the mixture completely before using. (You can refrigerate overnight at this point, if desired.)
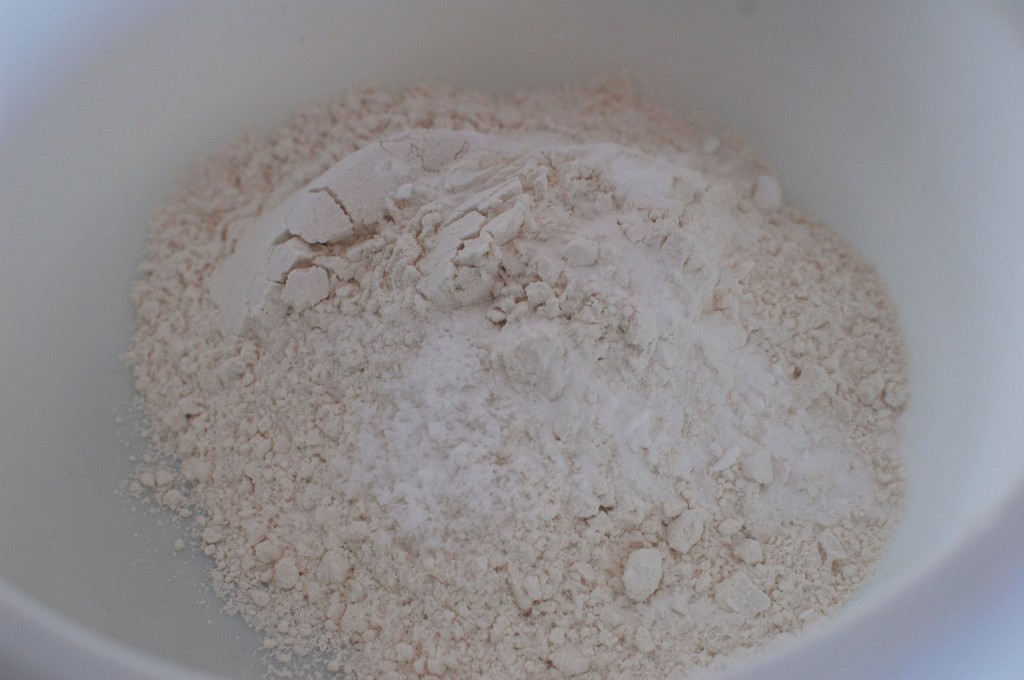
6. Now, make your dough. Sift the dry ingredients in a medium bowl.
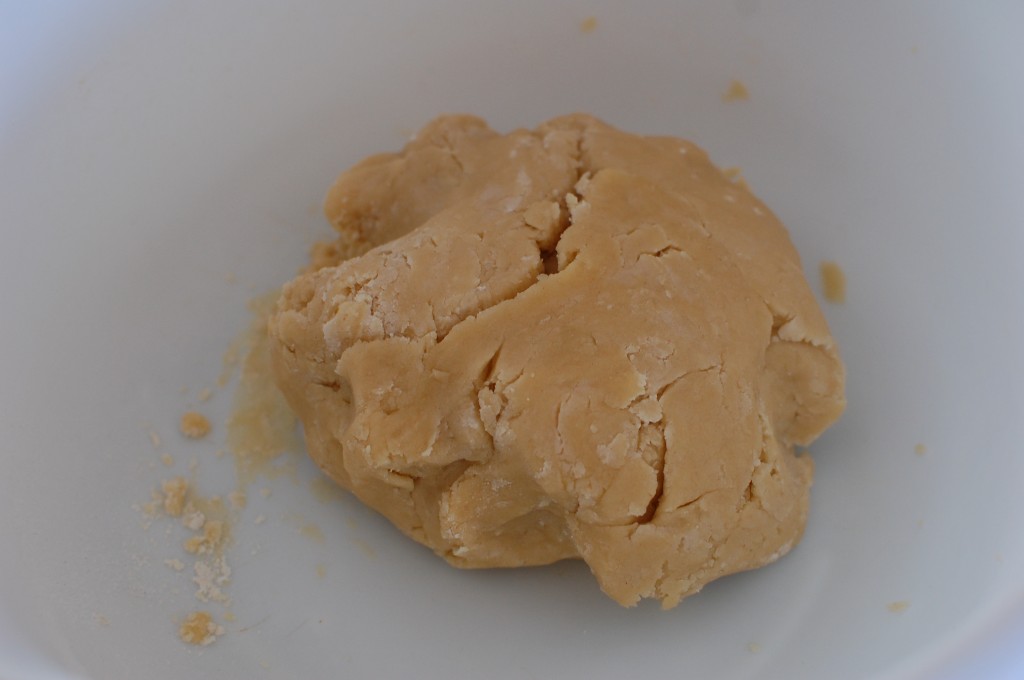
7. Add the golden syrup and oil, then stir. Knead together to form a smooth play-doh like ball.
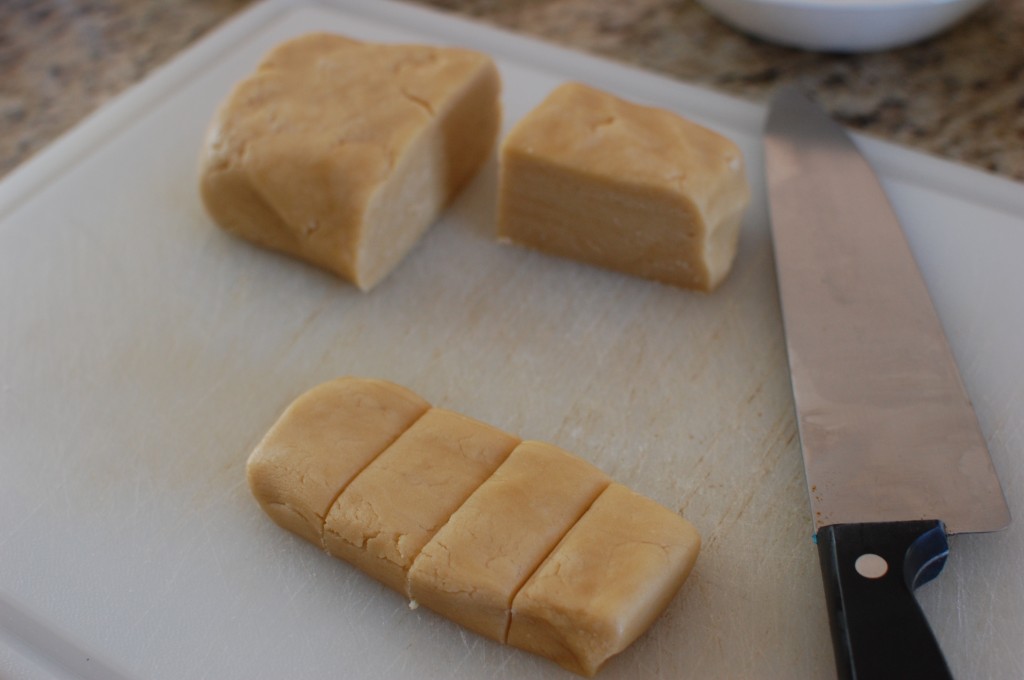
8. Divide the dough into 16 pieces. You will use 2 pieces of dough for each mooncake – one piece will be the top, the other piece will be the bottom.
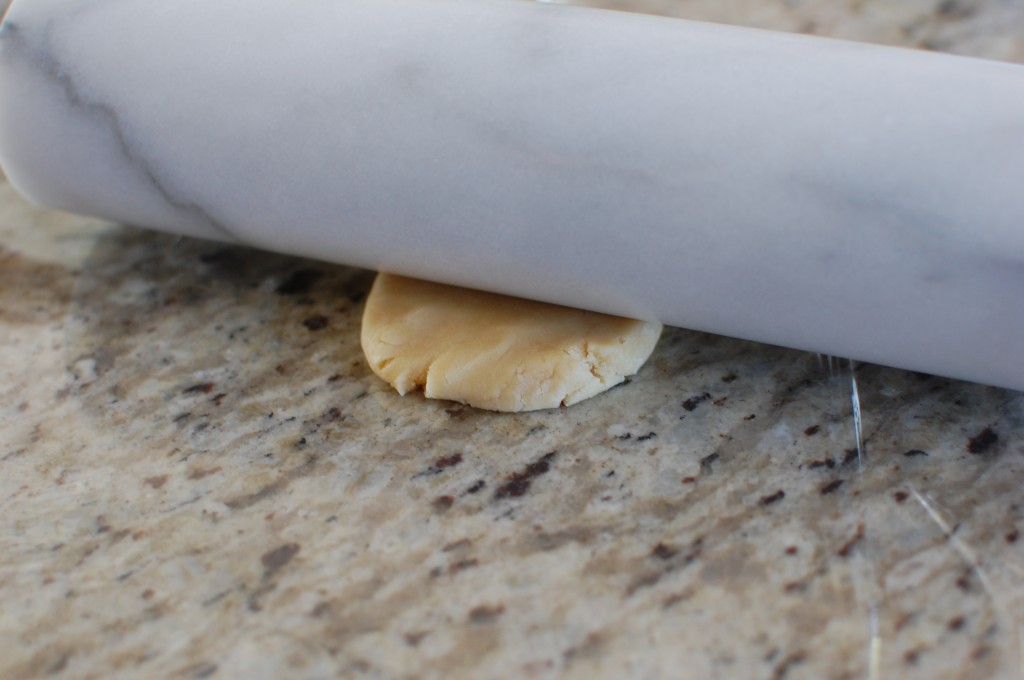
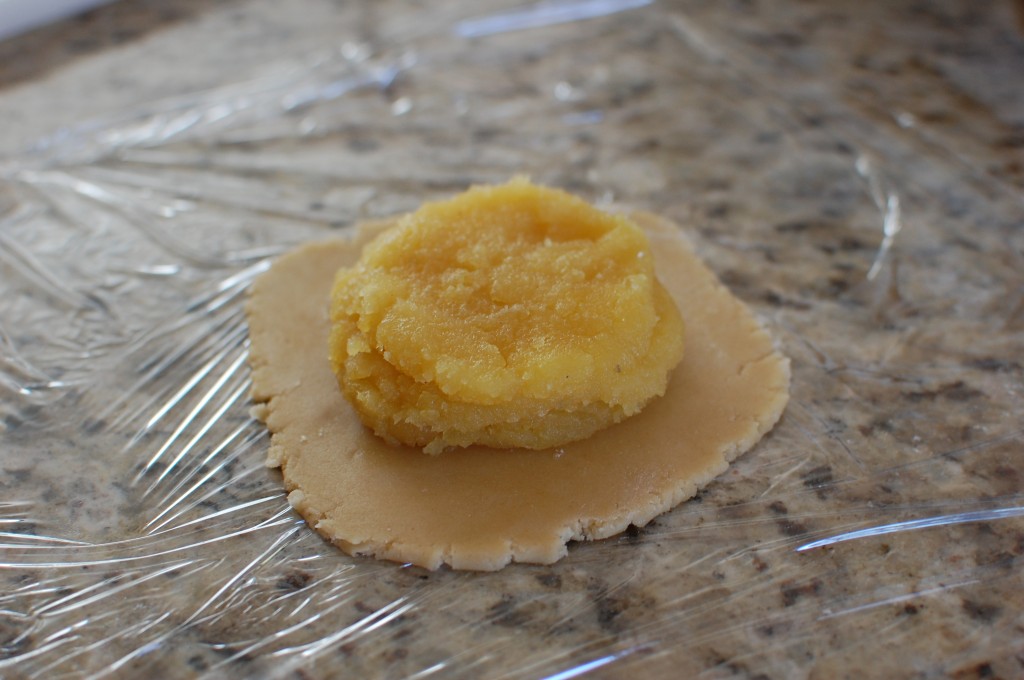
9. Set two pieces of plastic wrap on the countertop. Using a rolling pin, roll out a 4″ circle of dough on each piece of plastic wrap.
10. Place about 6 T. (about 3 cookie scoops) of filling into the center of one piece of dough.
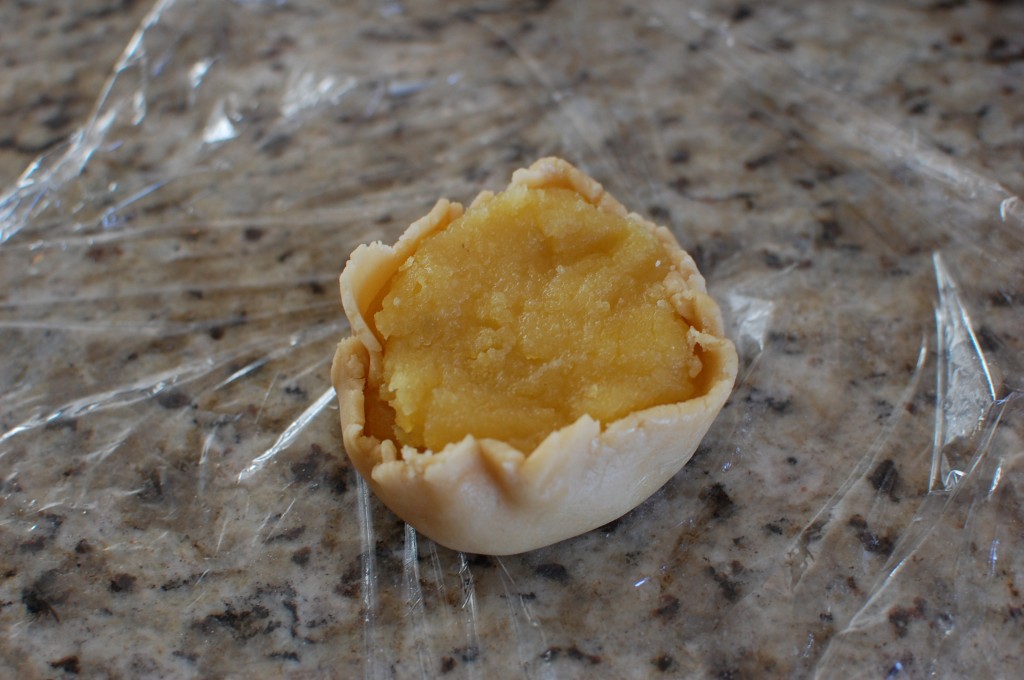
11. Using the plastic wrap to help, push the outer rim of dough up the edges of the filling, to “cup” the filling.
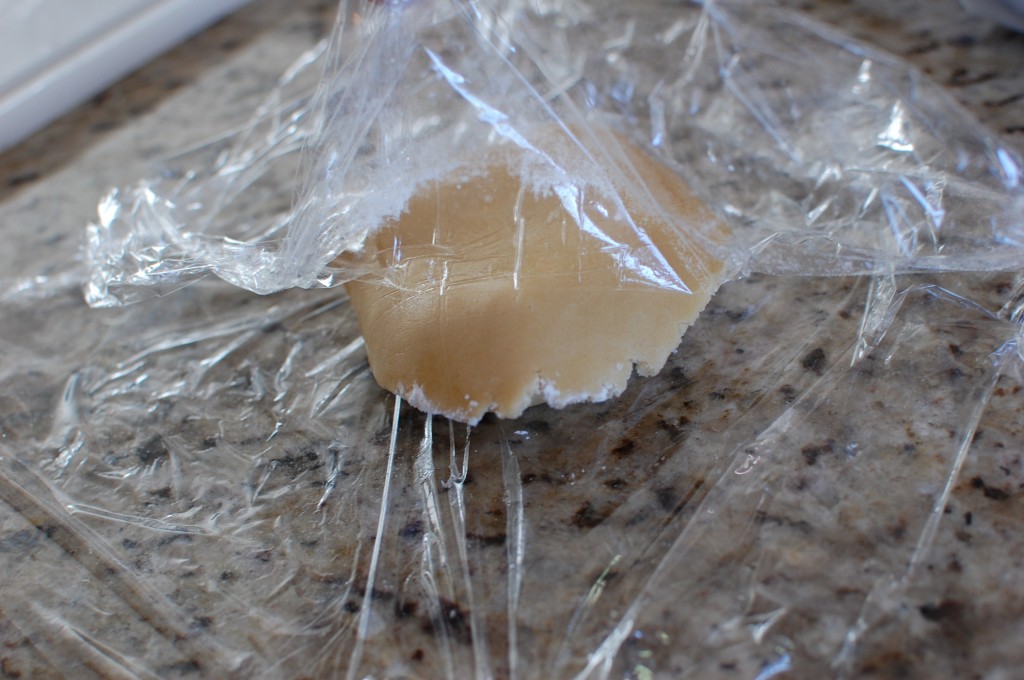
12. Place the other piece of dough on top. Peel the plastic wrap off the dough.
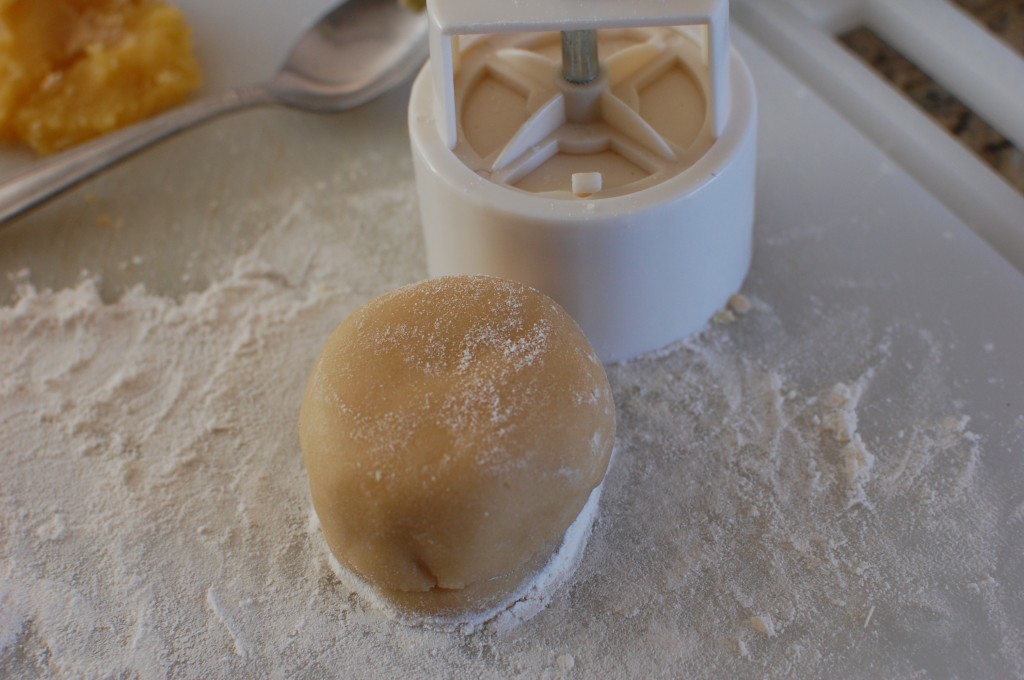
13. Using your fingers, push the dough on the sides together to seal into an enclosed cylinder. Transfer to a floured surface, and continue to shape into a cylinder, flouring the sides/bottom/top as you go. Basically, you want to form a cylinder that will just fit into the mooncake mold without scraping against the sides.
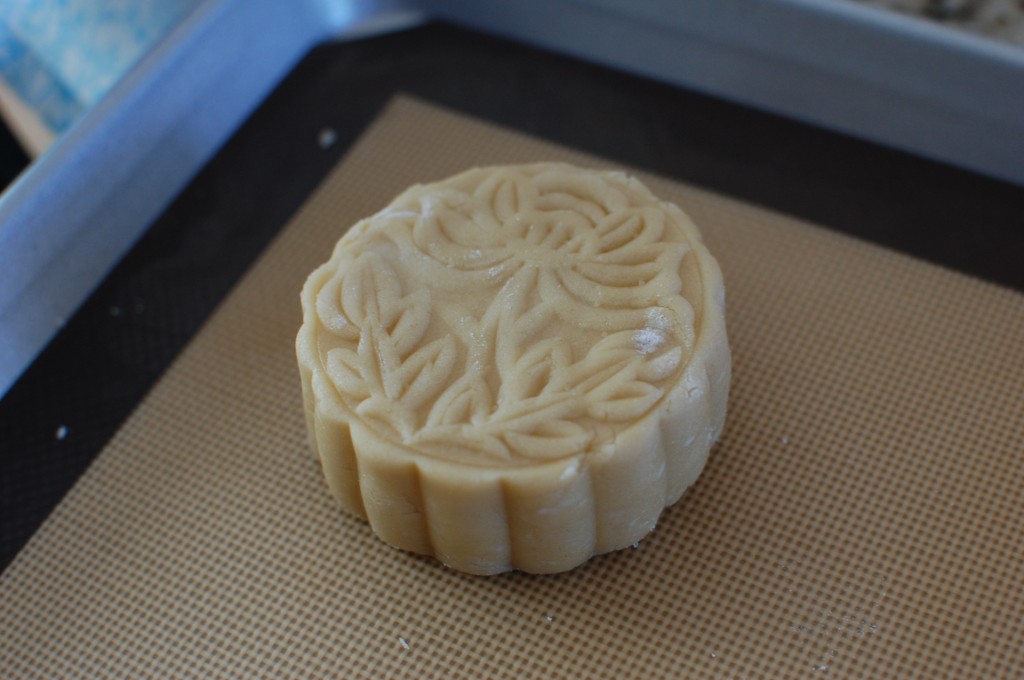
14. Slide the mooncake mold/press over the cylinder of dough, and slowly and firmly push down with the plunger. You want to make sure your design is imprinted into the dough firmly – too light, and your design will disappear when you bake it.
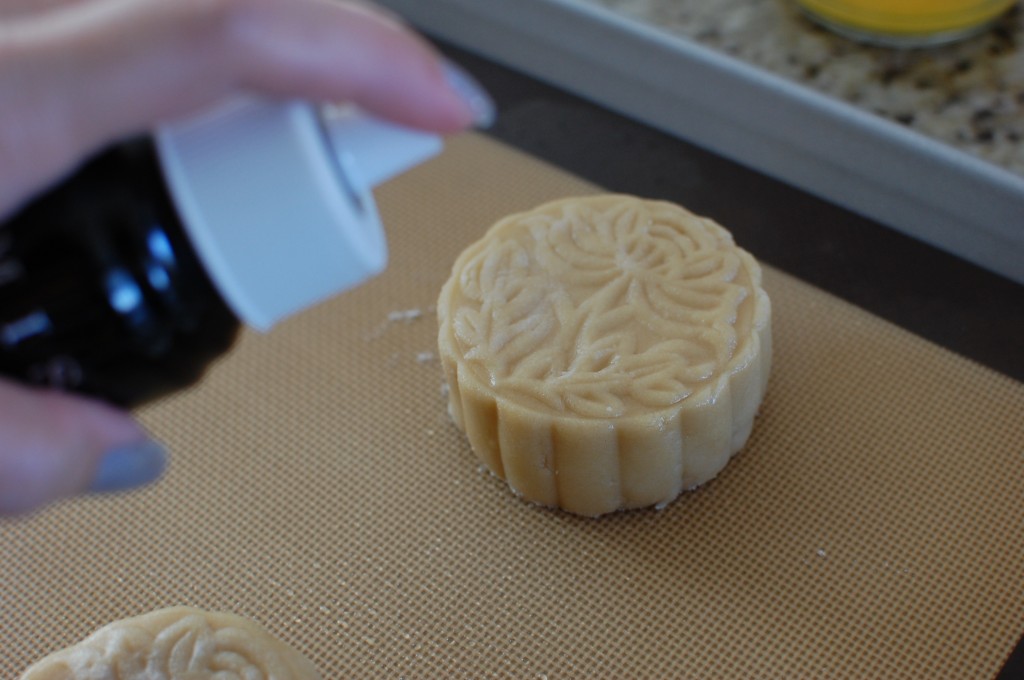
15. Transfer the unbaked mooncakes to a silicone lined baking sheet. Spritz the top and edges with a little bit of water. (This prevents the dough from cracking while baking.) I used some water in my Misto sprayer. (If you don’t have a sprayer, then lightly brush on some water with a pastry brush.)
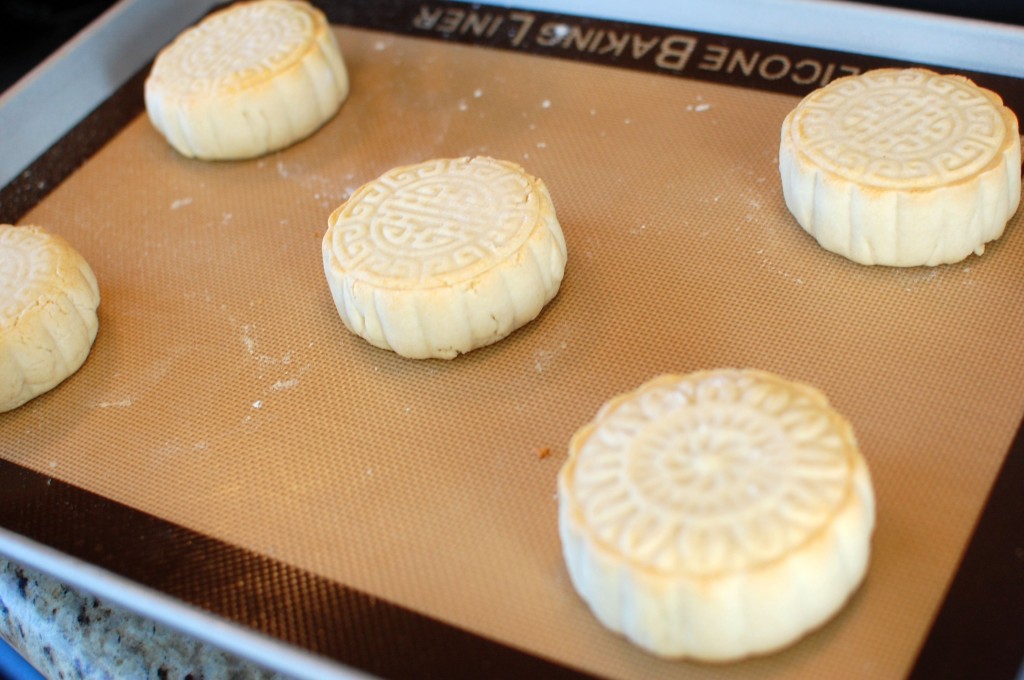
16. Bake the mooncakes for 10 minutes in a 325 degree preheated oven. Remove and cool for about 15 minutes.
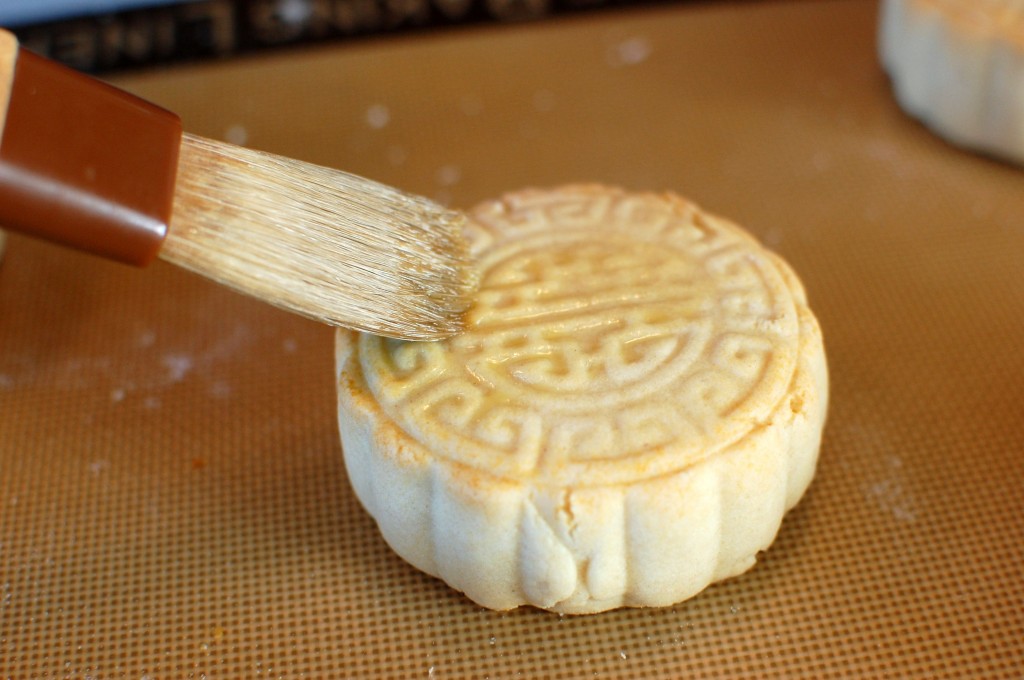
17. Decrease the oven temperature to 300 degrees. Brush the tops and sides of the mooncakes with a thin layer of eggwash. Return the mooncakes to the oven, and bake another 10 minutes.
18. Remove, and cool on a wire rack.

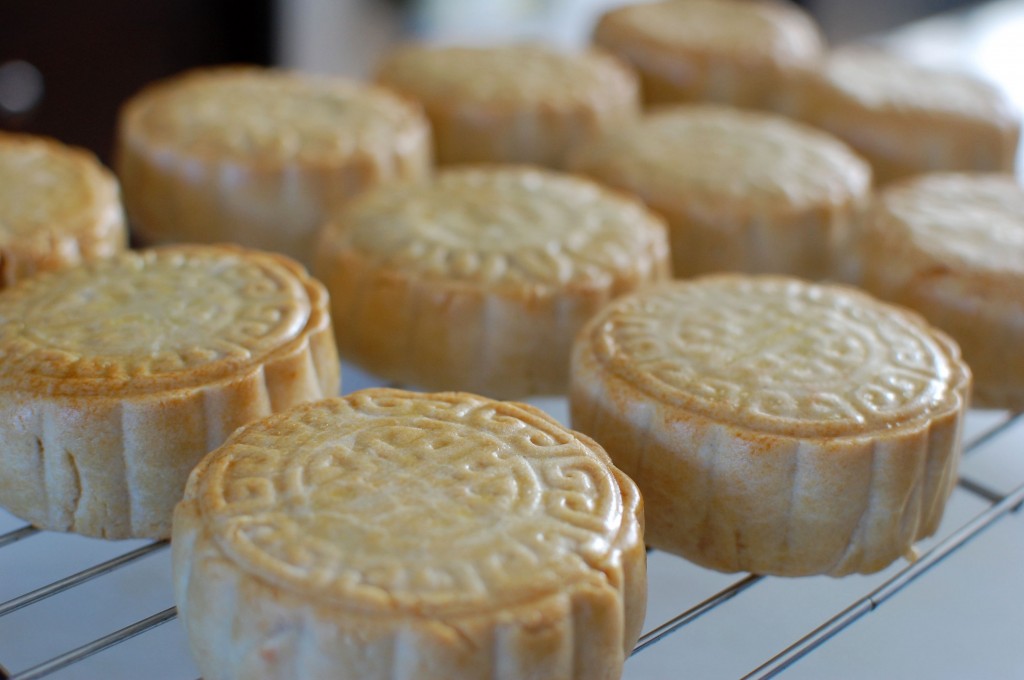


Wow!. I’m impressed! A must try recipe. BTW, how come your cakes are rather pale even with the egg wash? Thanks for the posting the recipe. I bought a mooncake molds from ebay since I’m kinda cheap to buy from Amazon. Since it is from China, my molds probably won’t arrive until after the moon festival . Big mistake..Sigh. Have you ever make the snow skin mooncakes. I bet they would look really cool with your molds
If you want your mooncakes to be darker, you can bake them an extra 3-5 minutes. The camera flash makes the mooncakes look a little bit paler than they actually are in the photo above. I haven’t tried to make the snow skin mooncakes… but maybe one of these days!
Hi Mika. what is the weight of the cake make by your mold? 50gm? What is the estimate ratio of the dough vs filling? The one mold that I have look much bigger than yours.
The mooncake mold that I used says “125g” – it created mooncakes that were 2 3/4 inches in diameter (about 7 cm diameter), and about 1 1/4 inches thick (or 3 cm thick). I just weighed one of my baked mooncakes – and it is approx 5 oz or 140 grams. Hope that info helps!
I just bought a mooncake mold 125g. I was wondering should I follow the recipe you posted.
According to the company that I purchased the mooncake mold set… (Browncookie.com) these molds that I used are designed to hold 125 grams. So I think you should be fine.
Hi mika, i was wondering what your dough to filling ratio was?
Sorry, I don’t weigh the dough and filling, so I can’t tell you. Using this recipe, though, I can tell you that I end up with 16 circles of dough (2 circles for each mooncake), with about 6 T. filling in each one.
where can i buy mooncake mold
where can i buy mooncake mold
Try amazon:
http://amzn.to/1NmNsOS
Hi I’m confused about the 16 equal parts, how do you make them even into 16 parts
Usually I will pat out the dough into an even rectangle. Use your knife, cut that rectangle in half. Then cut each half in half. Now you will have 4 equal pieces. Cut each quarter in half. Then cut each of those halves in half. Voila, 16 equal pieces!