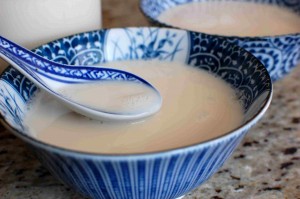
Last week, I posted a recipe for Dan Bing (a savory pancake filled with egg), which is a popular Taiwanese breakfast food – often served with a bowl of hot soy milk. (In the summer, people tend to prefer a glass of ice cold soymilk with their breakfast.) In that post, I mentioned making soy milk at home – much fresher and tastier than anything you can buy at the store!
About 3-4 years ago, my husband bought me a Soyabella Soymilk Maker. Basically, you soak dried soybeans overnight, then load them into the machine with some water, turn it on, then in 15-20 minutes you are supposed to have fresh hot soy milk… it works relatively well, but there is an additional step – you definitely have to filter the soy milk through a cotton cloth, otherwise the milk is just too gritty. The machine definitely speeds up the process… but if you don’t have one, you can make soy milk the old fashioned way! All you need is a BIG pot, a blender, and some cotton cloth to strain the soy milk. (I prefer the machine, because it does most of the work for you, there is less stuff to clean, and you don’t have to babysit the pot – but you don’t absolutely NEED one, unless you plan to drink soy milk everyday.)
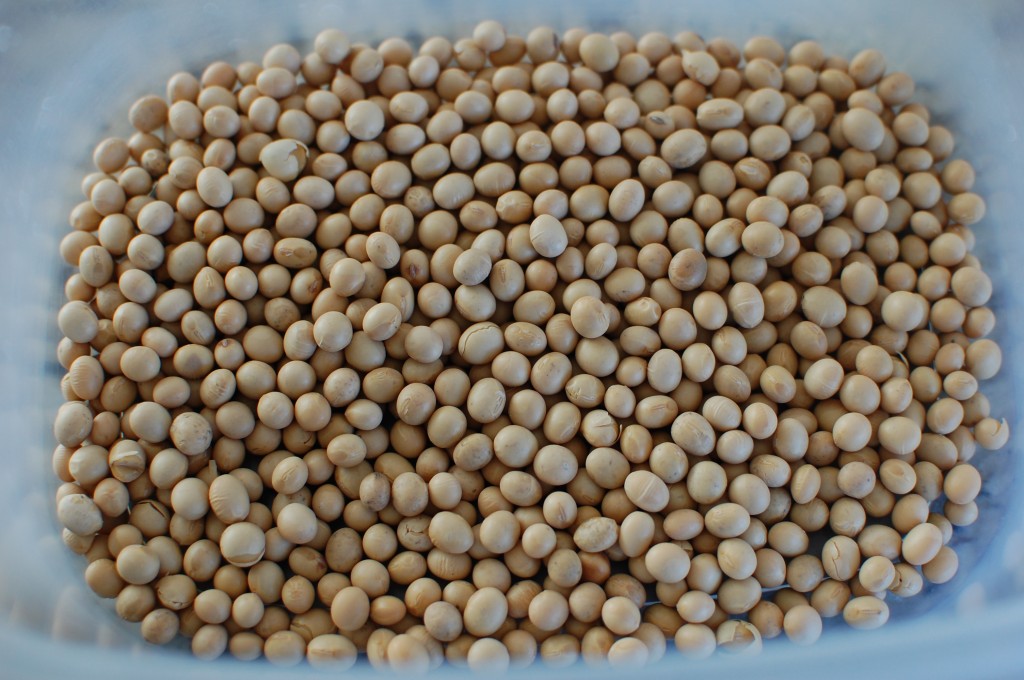
I purchase soybeans from the bulk bin at the health food store – they are very inexpensive, and store well in a closed container in the pantry.
Homemade Soy Milk:
- 1 c. dried soy beans
- 8 c. water
Hardware:
- large stock pot
- wire mesh strainer/colander
- cotton/muslin cloth or bag (Chinese markets sell 100% cotton bags specially made for soymilk making, or you can just use a clean cotton kitchen towel or cloth)
1. Place your dried soybeans in a large bowl or plastic container. Check and discard any shriveled or discolored beans.
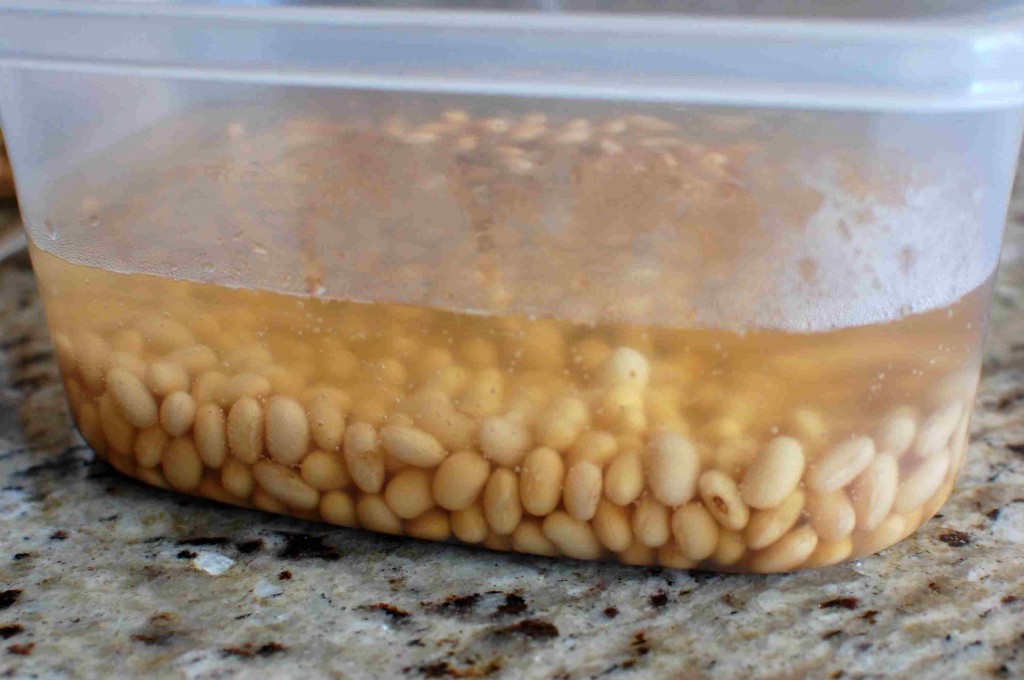
2. Fill the container with water, and allow your soybeans to soak over night (8-12 hours).
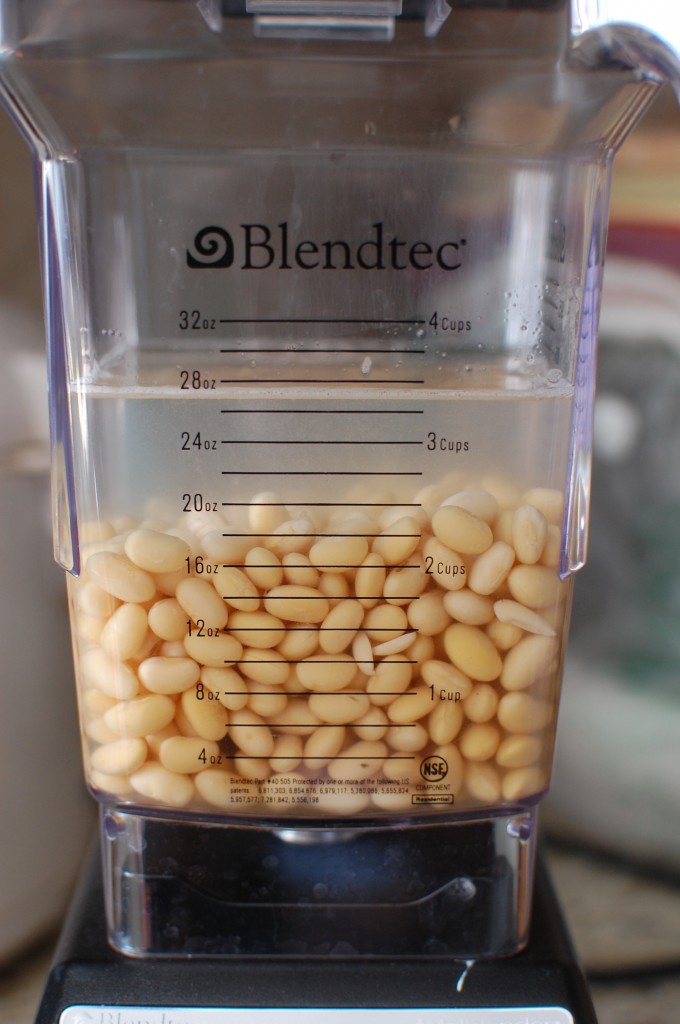
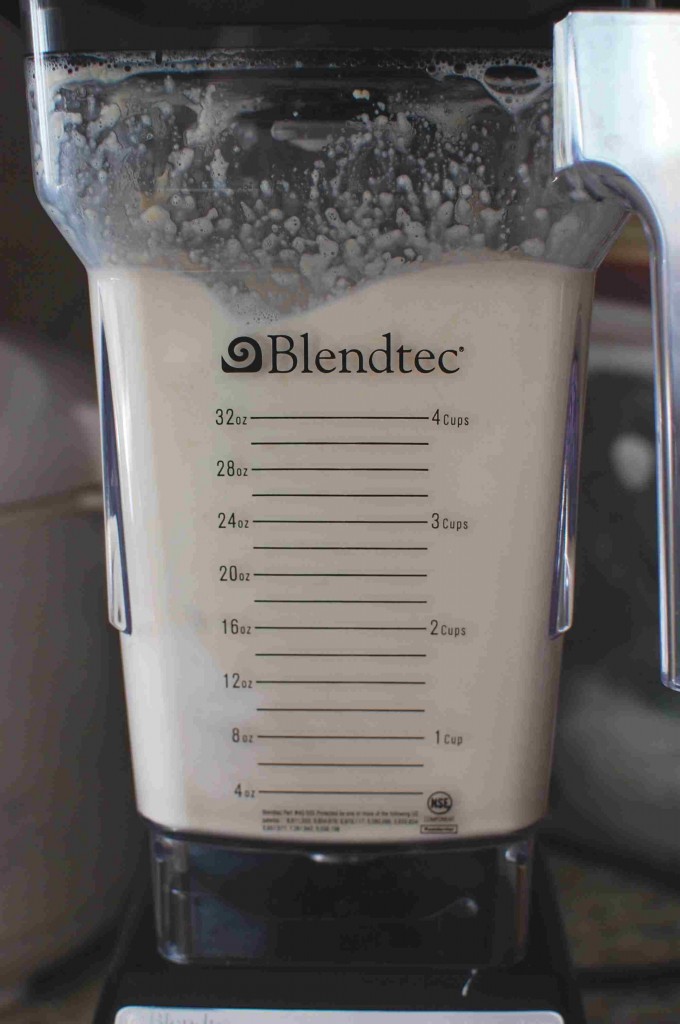
3. In the morning, discard the water, and put the soaked soybeans into a blender with 2 c. of fresh water.
4. Blend until the soybeans are pulverized and liquid is milky white.
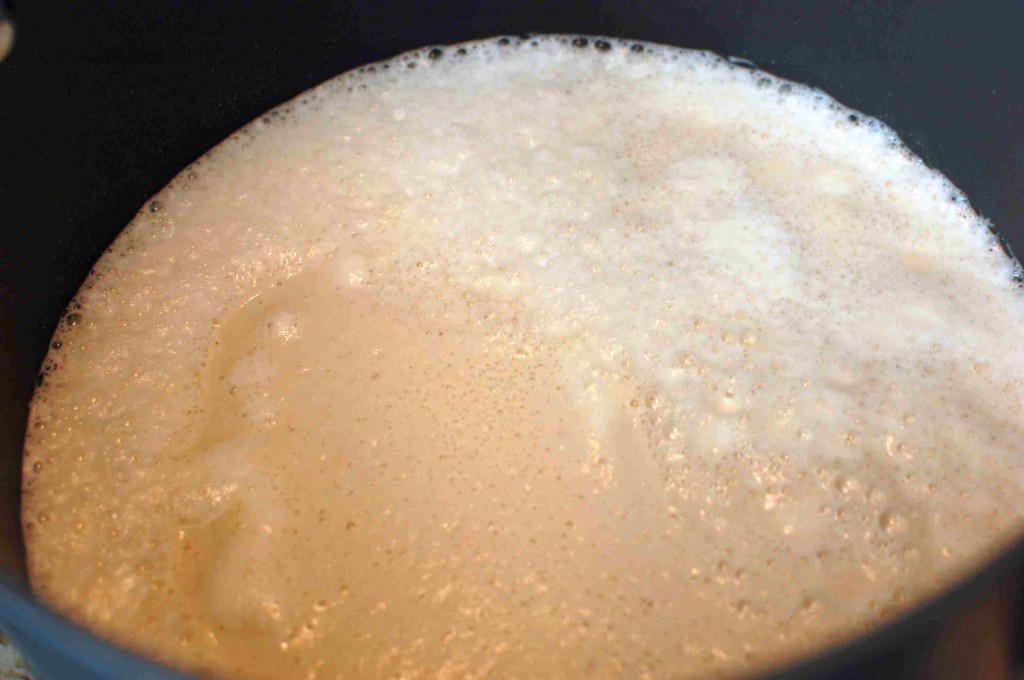
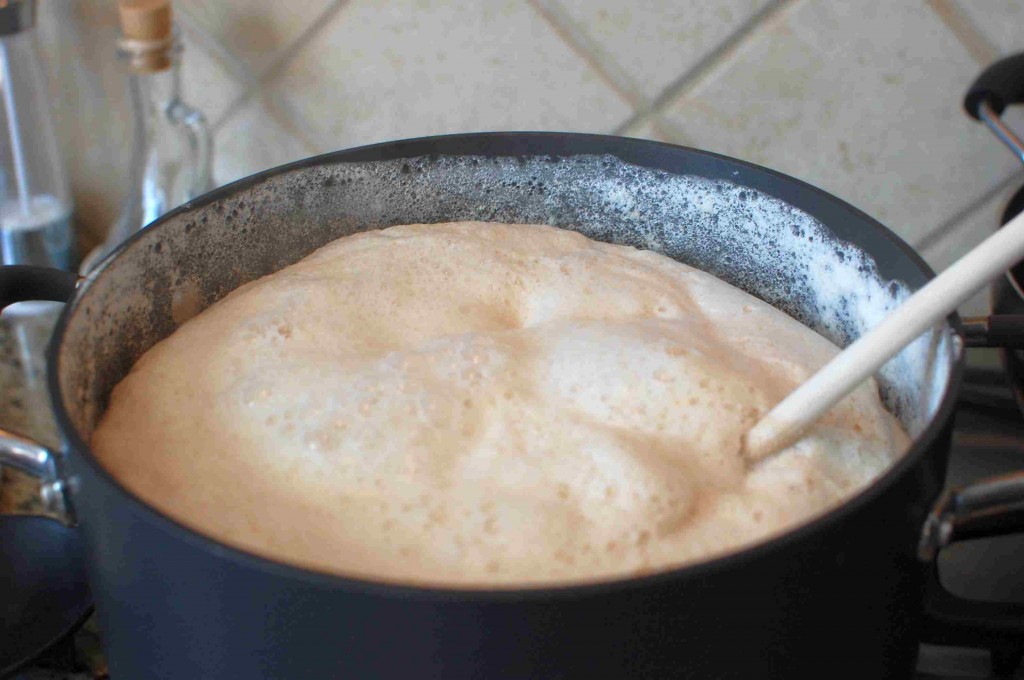
5. Pour your soybean mixture into your stockpot, and add the remaining 6 cups of fresh water. Heat over medium until it reaches a simmer. (You will want to have a large enough stockpot that the liquid only goes 1/3 the way up the side… in the cooking process, it will foam up quickly all the way to the top – so you want plenty of room.)
6. At this point, you will cook your soybean mixture for about 18-20 minutes. Stay close, because the soybean will begin to foam up all the way to the top of the pot (See the foam marks up the side of the pot below?). When this happens, add about 1/2 c. cold water and stir it back down. (This will happen about 2-3 times while cooking).
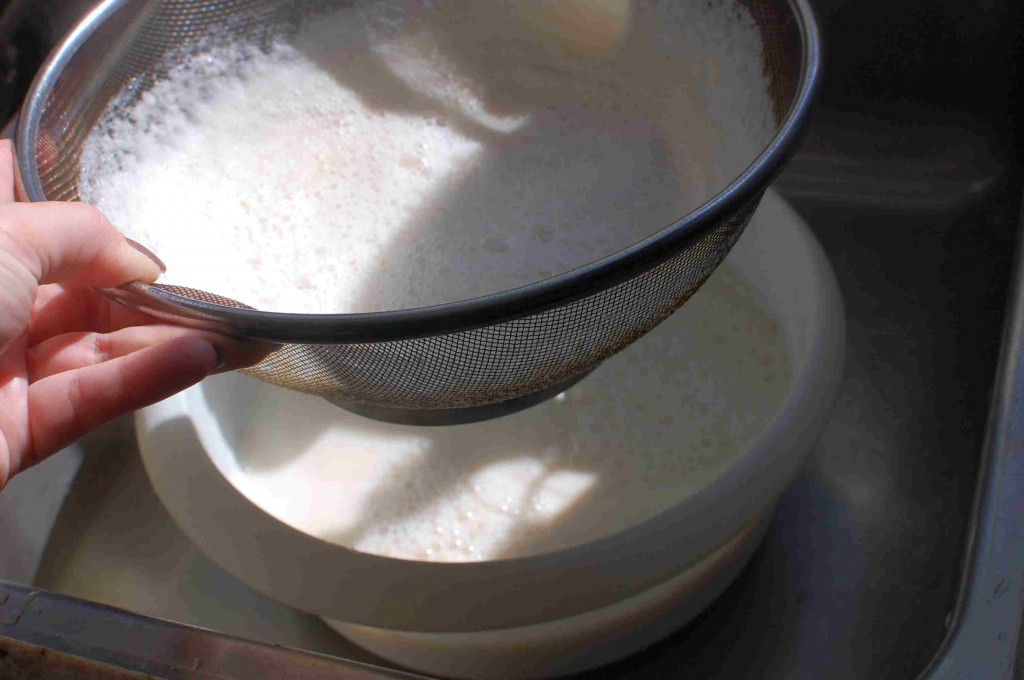
7. When done, turn off the heat. You can do all your straining through the cotton cloth if you wish, but to speed it up, I strain through a wire mesh first (to remove all the big pieces). Push down with a spoon to squeeze out as much liquid as you can. (If you happen to be using a Soyabella soy machine… this is the step it leaves you at when “done” – there are still fine pieces of soy grit floating in the milk that you will want to strain out, as shown in the next step.)
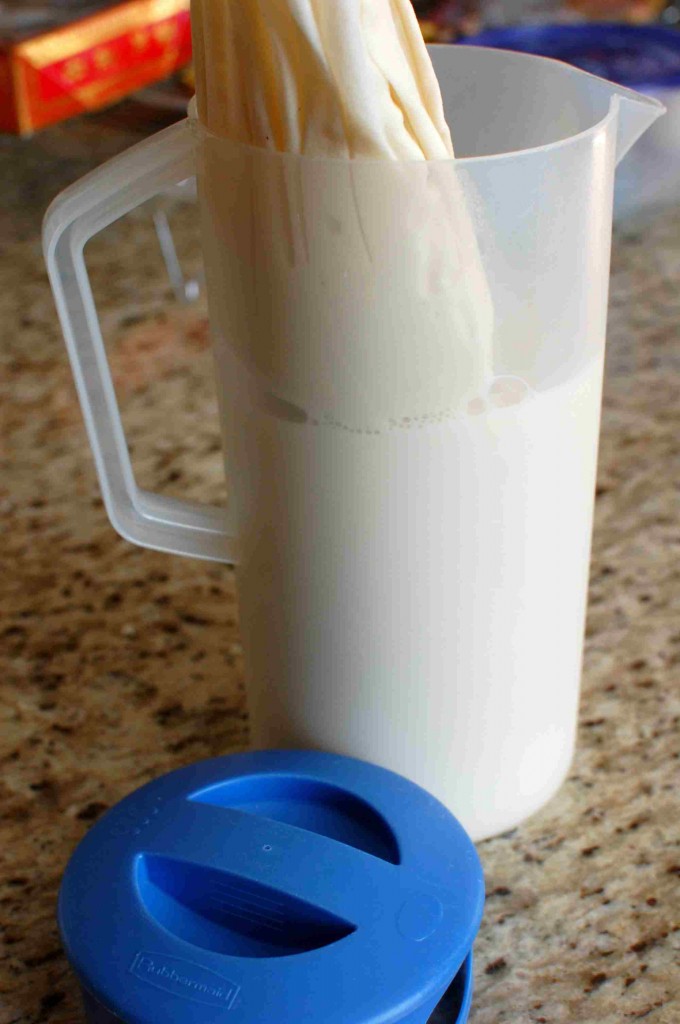
8. At this point, line a pitcher (or bowl) with the cotton bag or cloth. Pour the strained soymilk through, and lift up the edges. If you have rubber gloves (to protect your hands from being burnt), you can put them on and squeeze the soymilk out while twisting the cloth. If you don’t have rubber gloves, then squeeze it to the side with the back of the spoon while twisting the cloth up (to wring out as much milk as you can) – avoiding the hot part. You can either discard the leftover soybean paste (okara) or add it to your compost pile. You could also use the okara in a recipe… it’s a bit “beany” in taste and somewhat gritty – but it does have a lot of protein and fiber. Try my Okara Banana Bread recipe, or my Okara Meatloaf recipe.
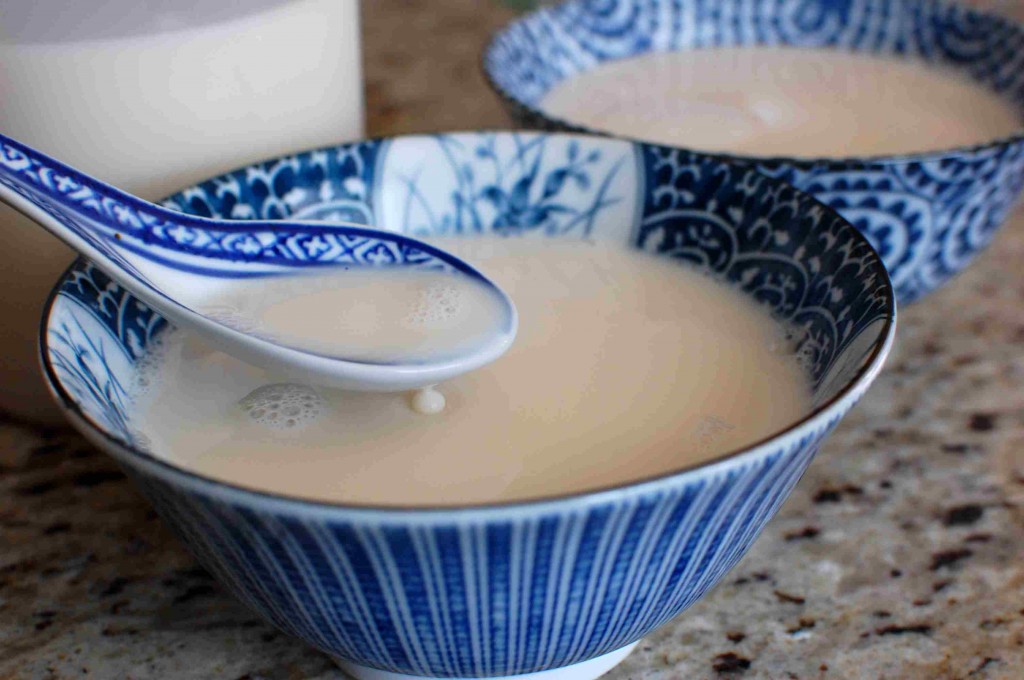
9. Serve your soy milk hot with a little bit of sugar to sweeten, or refrigerate until cold. This recipe will make about 4 servings.



Hi Mika, do you know if cheesecloth would work the same as the cotton cloth? Thanks!
Hi Joyce,
I think several layers of cheesecloth might work… but depending on how loose the weave is, you may not want to squeeze too hard (you don’t want the grit to get out into your soy milk). If you have an old clean white T-shirt that you can cut up – you might try that if you don’t have a cotton dishtowel or cotton soy milk straining bag.
Hey Mika, since you’re a champ at copycat recipes… I was wondering what I might add to make my soymilk taste like Yeo’s Brand soymilk (the one in the can that’s produced in Malaysia ). Do you have any thoughts? I looked at the can, but don’t remember any sweeteners or flavoring mentioned.
I’ve never had that one… maybe one of these days I will try it and see.
Well I just bought a few cans and I know why I don’t remember any flavorings being listed in the ingredients. It’s cause the ingredients are simply soymilk and cane sugar. ㄟ(≧◇≦)ㄏ derp
I would still recommend Yeo’s brand. It’s tasty and convenient.
Hey, do you think I could try this same idea with soy flour?
I don’t know… I would think that it wouldn’t turn out well.