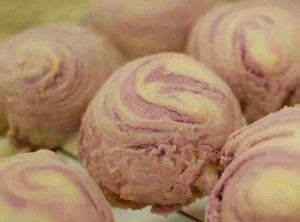
The first time I had these spiral pastries was in Westminster, CA. We were on our way back from lunch with some friends, and one of my friends mentioned wanting to stop at a bakery to buy some of these mooncakes to take home. I only bought one (just to taste)… and boy did I regret getting only one! I have been trying to re-create the recipe to make them ever since.
My husband is insistent that these should not be called “mooncakes”. To some extent – he’s right, these are not traditional mooncakes (like the kind eaten during the autumn moon festival). These are a regional variety – the Teochew (Chaoshan) style “spiral mooncake” – and are typically made with lard, and are often fried. (My recipe does not use lard – I prefer the taste and texture that coconut oil brings to the dough. I also bake mine instead of frying.)
You can make these spiral mooncakes with any filling that you choose… and you can color them pink, green, purple… whatever color goes along with your filling. I have seen these made with mashed yams, sweet potato, and taro – generally any type of sweetened mashed starchy root or tuber. Rolling out the dough is a little bit time-consuming, but once you get the hang of it, you can roll a bunch of them out at once then wrap the filling all at once – and that speeds things up a bit. Enjoy!
Spiral Moon Cake Pastry:
Water dough:
- 1 3/4 c. flour
- 1/4 c. powdered sugar
- 1/2 tsp. sea salt
- 6 T. coconut oil (melted)
- 4-5 T. water
Oil dough:
- 1 1/2 c. flour
- 1/2 tsp. sea salt
- 7 T. canola oil
- few drops purple food coloring
Taro Filling:
- 2.5 pound taro
- 1 tsp. sea salt
- 1 c. sugar
- 4 T. coconut oil
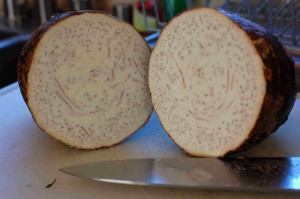
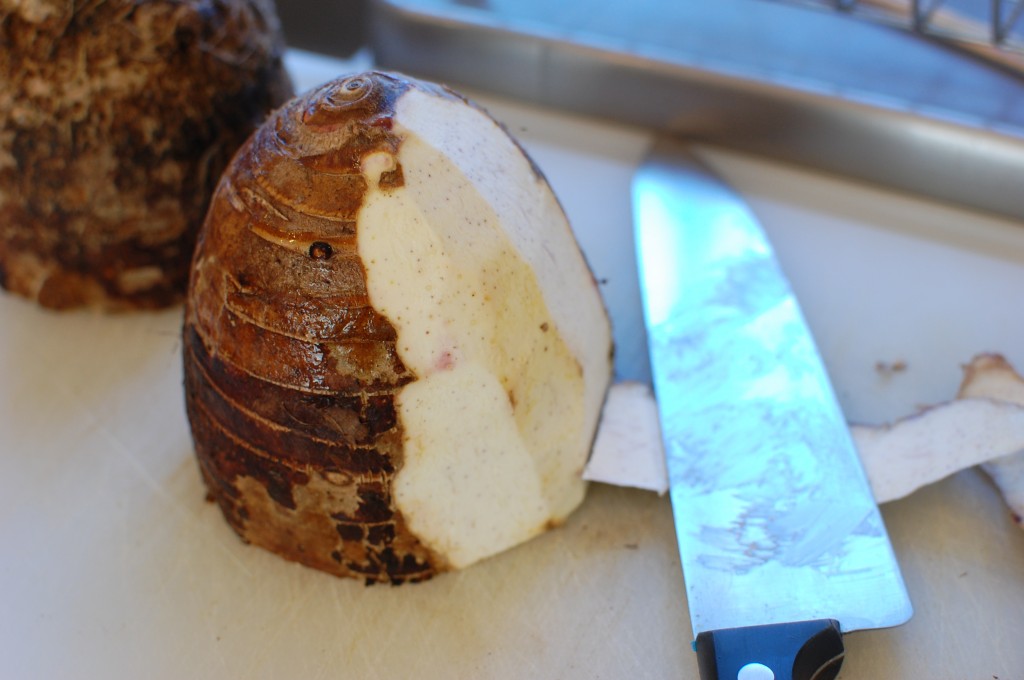
1. First, make the filling. Peel the taro, and cut into cubes.
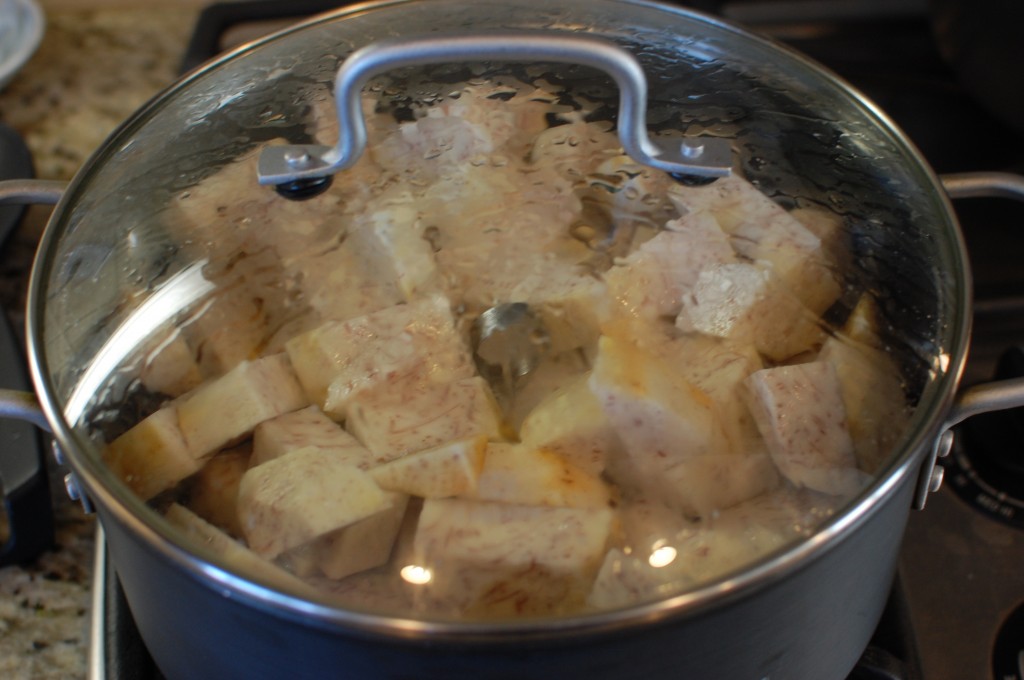
2. Place a steamer just over 1-2″ boiling water in a large pot, and place the taro chunks inside. Cover with a lid, and reduce the temperature to low, and steam for 20-25 minutes until the taro is fork tender.
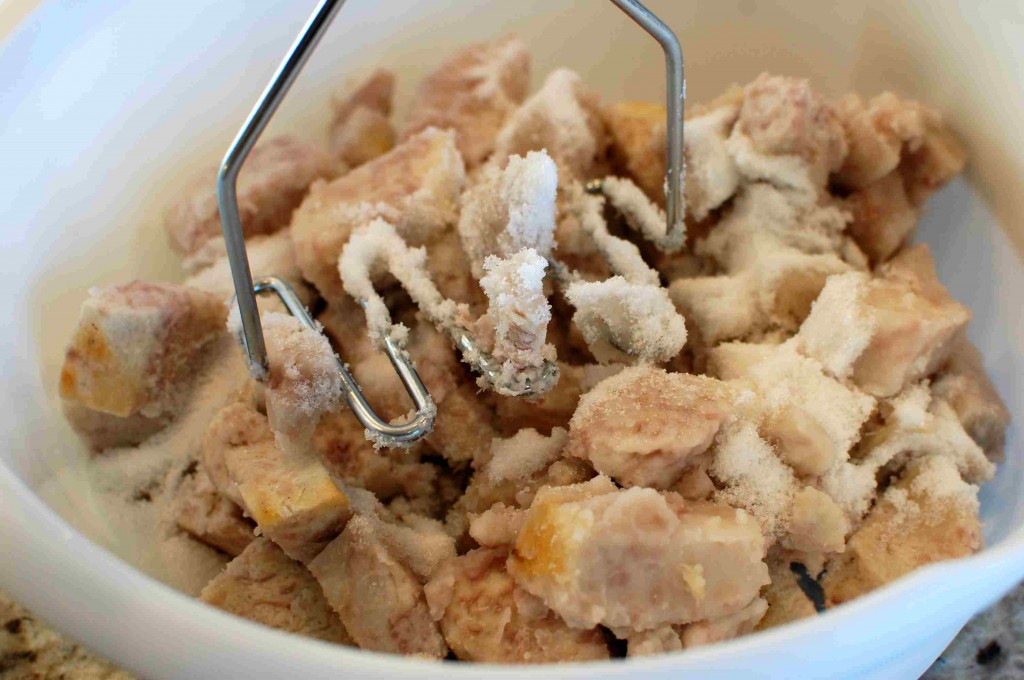
3. Remove the taro, add the other filling ingredients, and mash. Set aside to cool, and portion into 20 balls (Divide 1 cup of filling into about 5 balls).
4. Sift the flour, powdered sugar, and salt in a large bowl for the water dough. Sift the flour and salt in another bowl for the oil dough.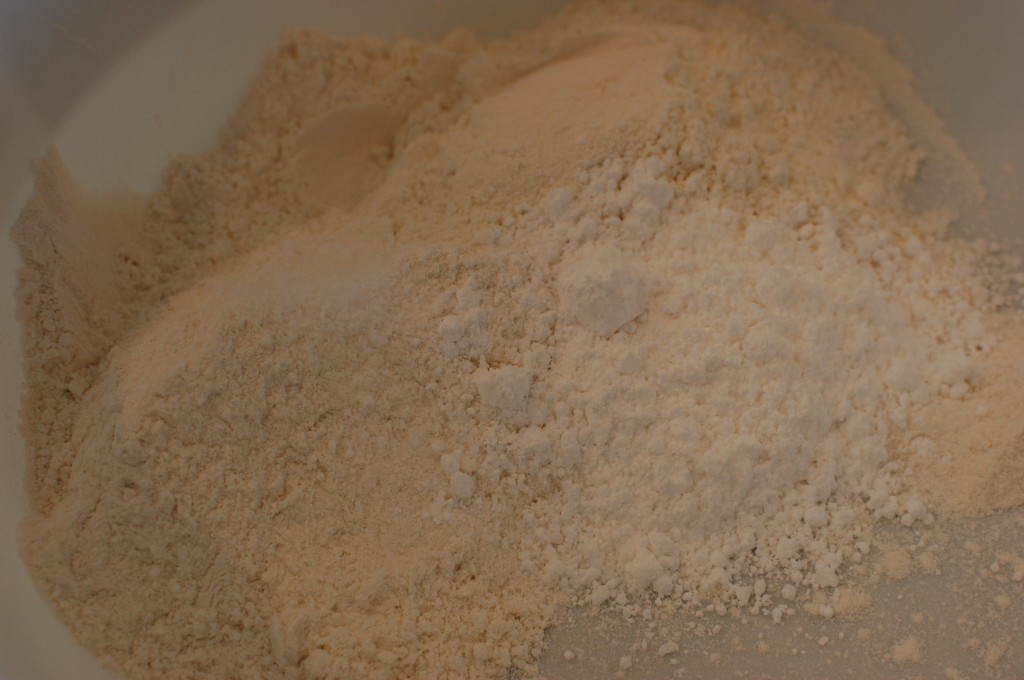
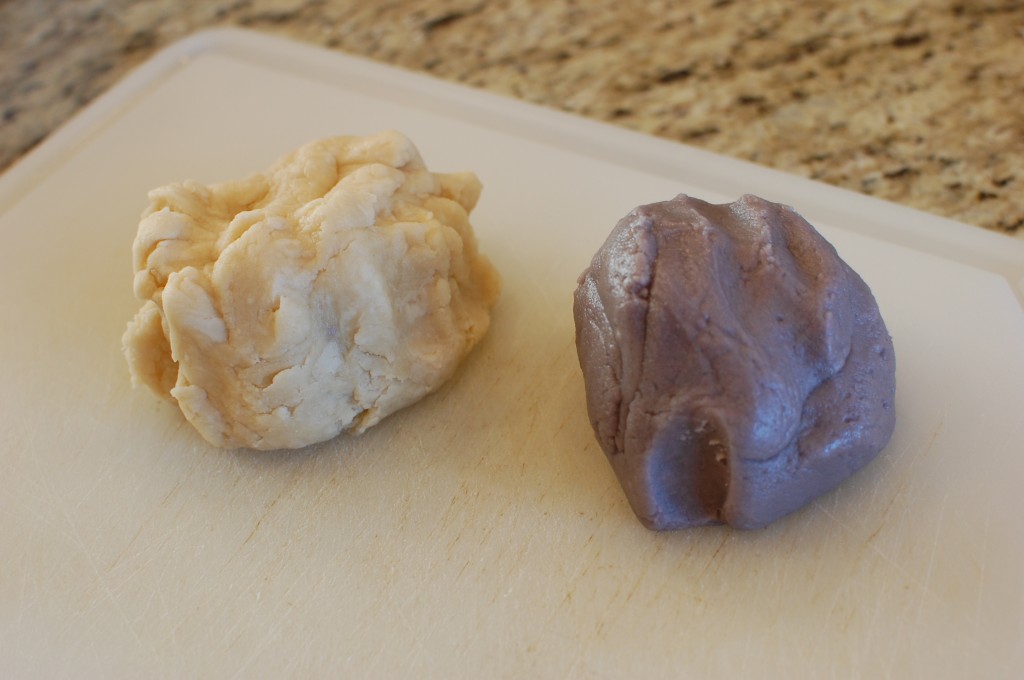
5. Add the coconut oil and water to the flour in the first bowl, and knead to make a smooth dough. (Depending on the humidity in your kitchen you may need slightly more or less water.) Add the oil and food coloring to the second bowl, and knead to form a purple colored dough (it will be fairly soft and oily).
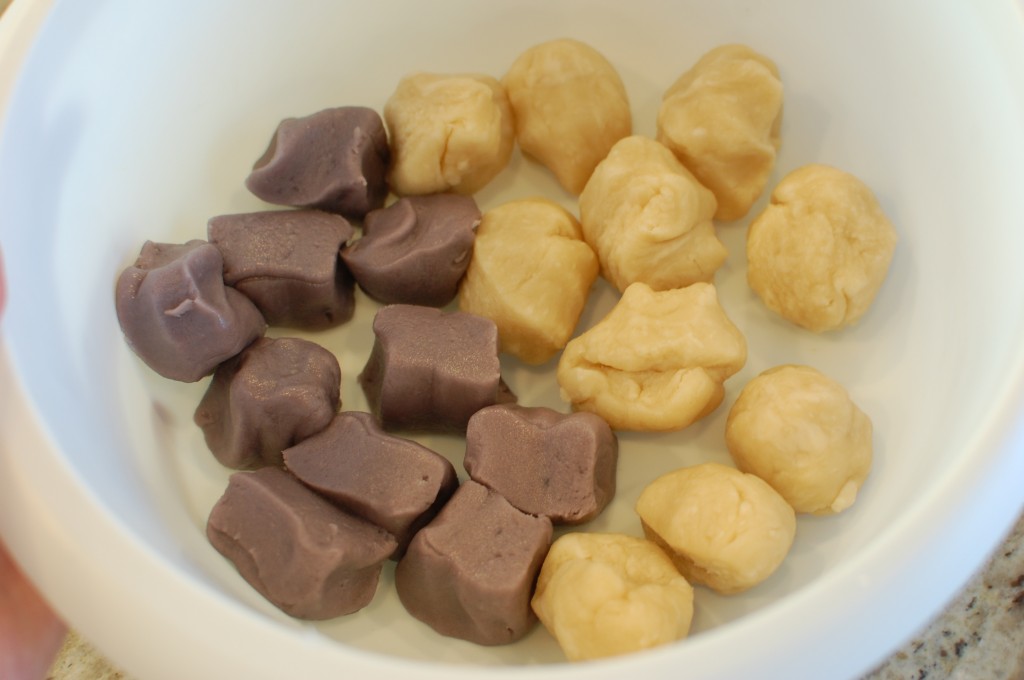
6. Divide the water dough into 10 pieces, and divide the oil dough into 10 pieces. Put the dough balls into a bowl and cover with plastic wrap, refrigerate about 20 minutes to chill slightly.
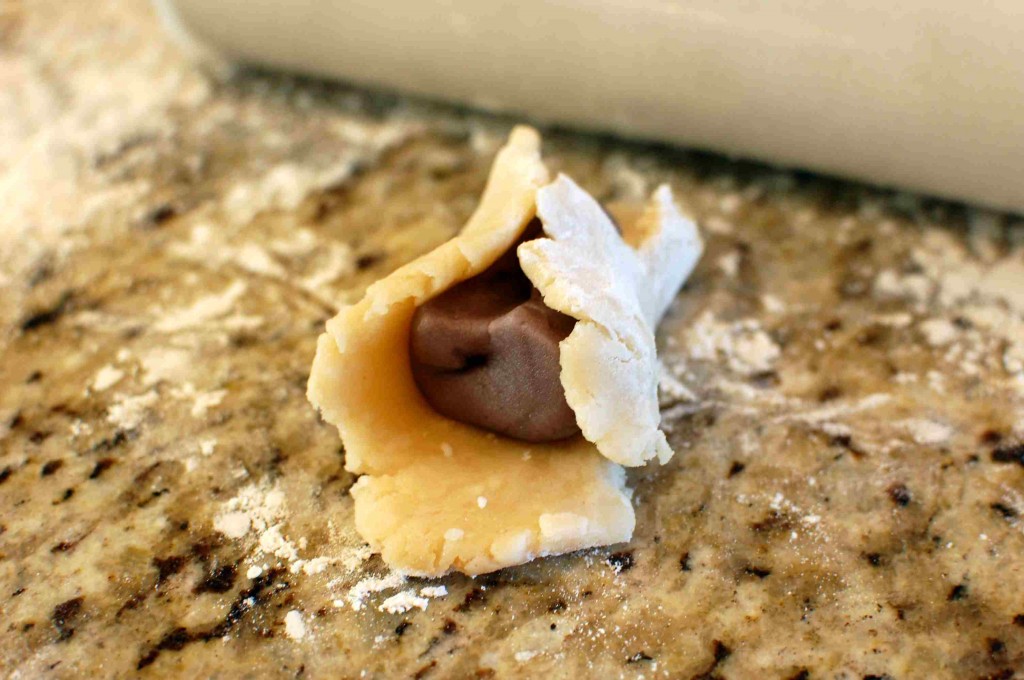
7. Preheat the oven to 350 degrees. Take one ball of water dough, and wrap one ball of purple oil dough inside it, sealing the water dough completely around it.
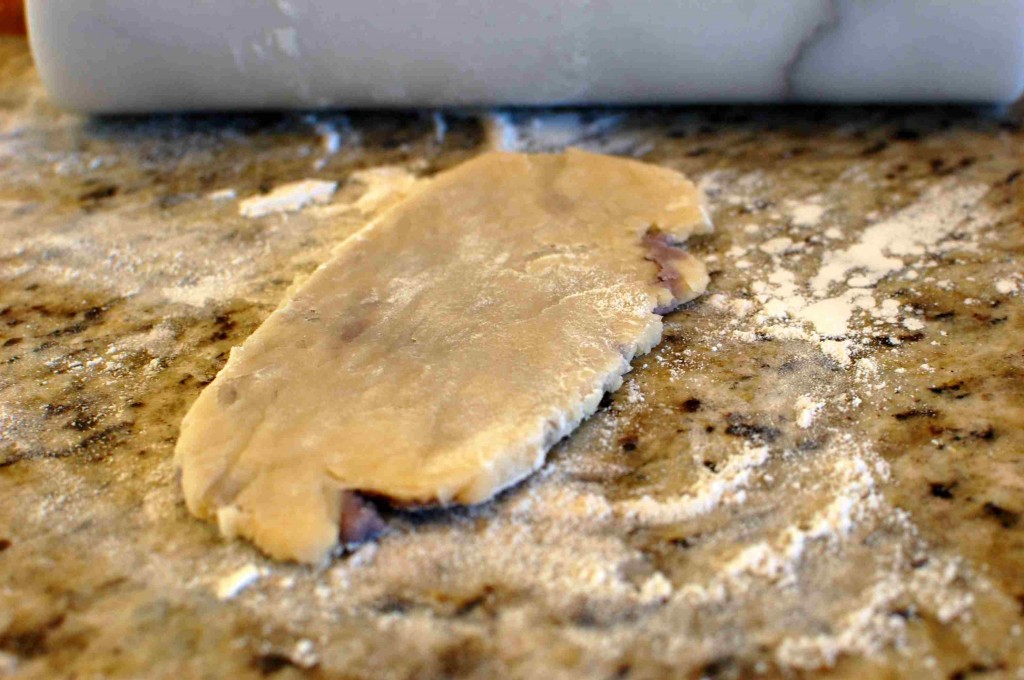
8. Flour your countertop, and roll the ball of dough into a rectangle with a rolling pin.
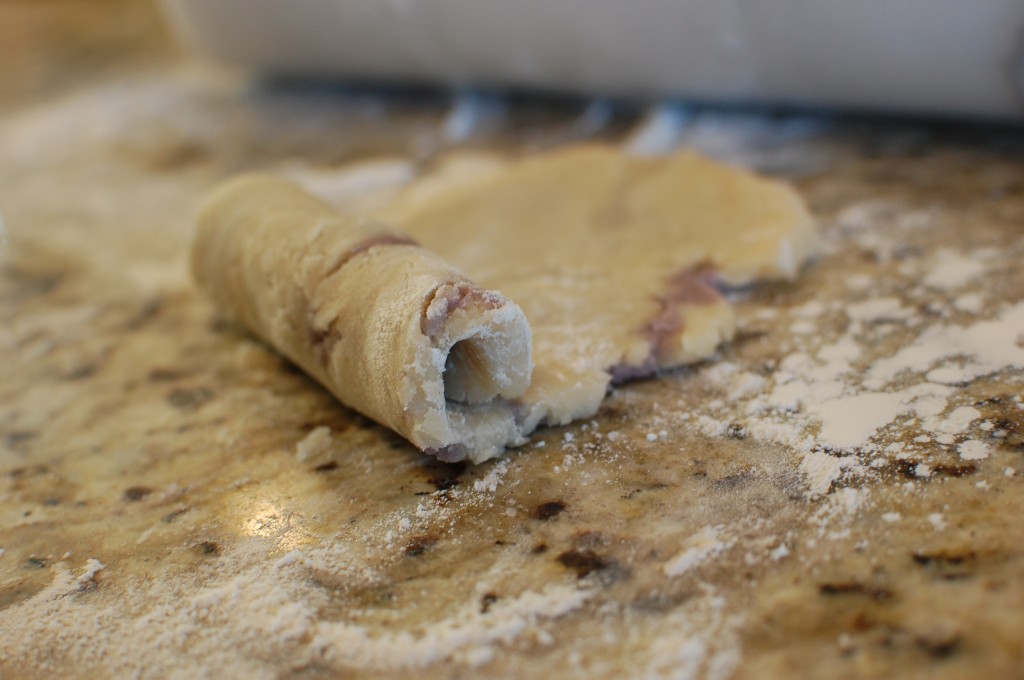
9. Roll the rectangle with your fingers upward to form a cigar.
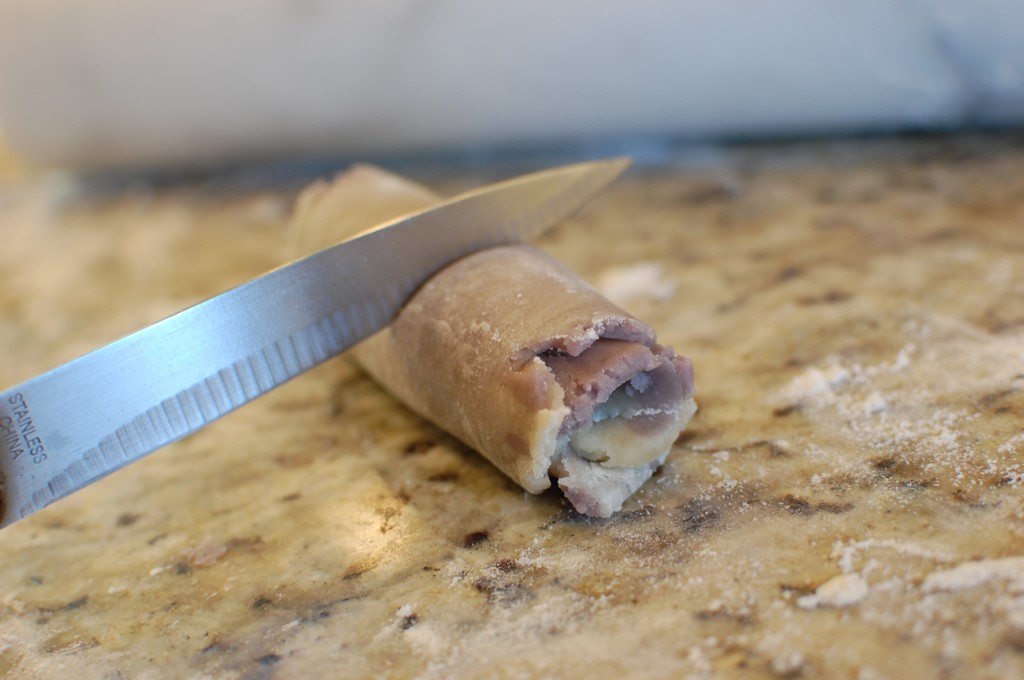
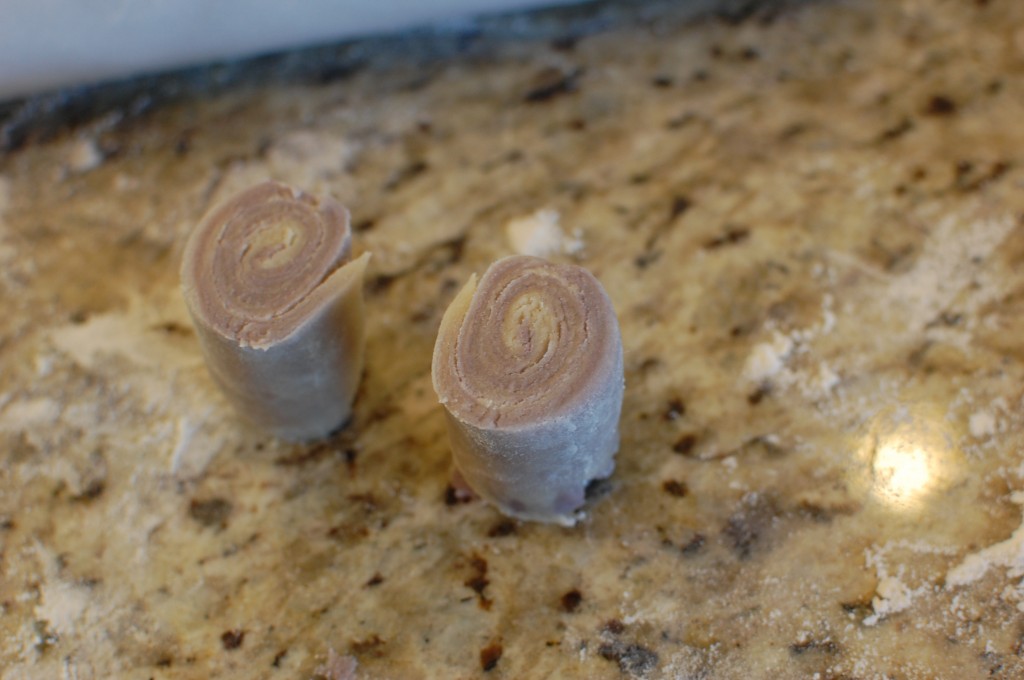
10. Rotate the cigar 90 degrees, and repeat: roll it flat into a rectangle with the rolling pin again. Then roll the rectangle a second time with your fingers upward to form a cigar. Then, cut the cigar in half, using a knife.
11. Put the cut side of the cigar down onto the floured counter, and push the cylinder downward with your fingers to form a patty. (In this photo, I’m showing the cut side up. This is the side you will put down toward the counter, and will end up becoming the top of your mooncake.)
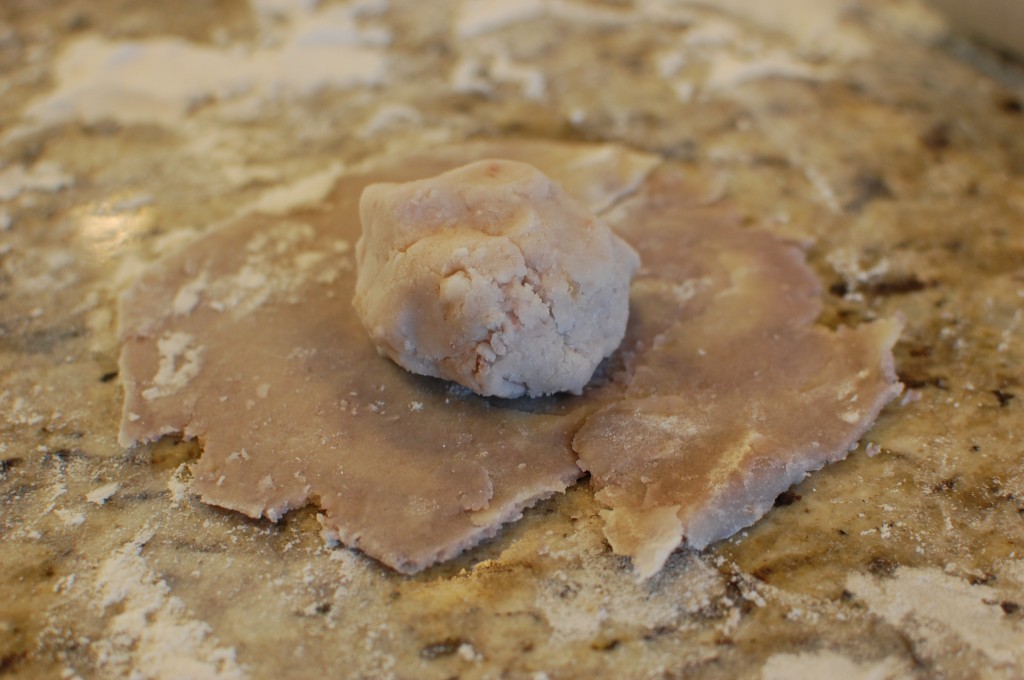
12. Roll the patty out into a rough circle. (Make sure the dough is loose and not sticking to the countertop.) Place a ball of filling on top of the circle, and gently pull the dough upward and around the ball of filling to cover. Pinch the edges sealed. Don’t worry if the edges don’t seal 100% – the dough doesn’t stick to itself very easily. (Try not to stretch the dough too much or it will rip. The first few you make will look a little bit ugly, but you will get the hang of it. If your dough sticks to the countertop, use a little extra flour or try rolling it out onto a piece of plastic wrap, then use the plastic to help you wrap the dough around the filling.)
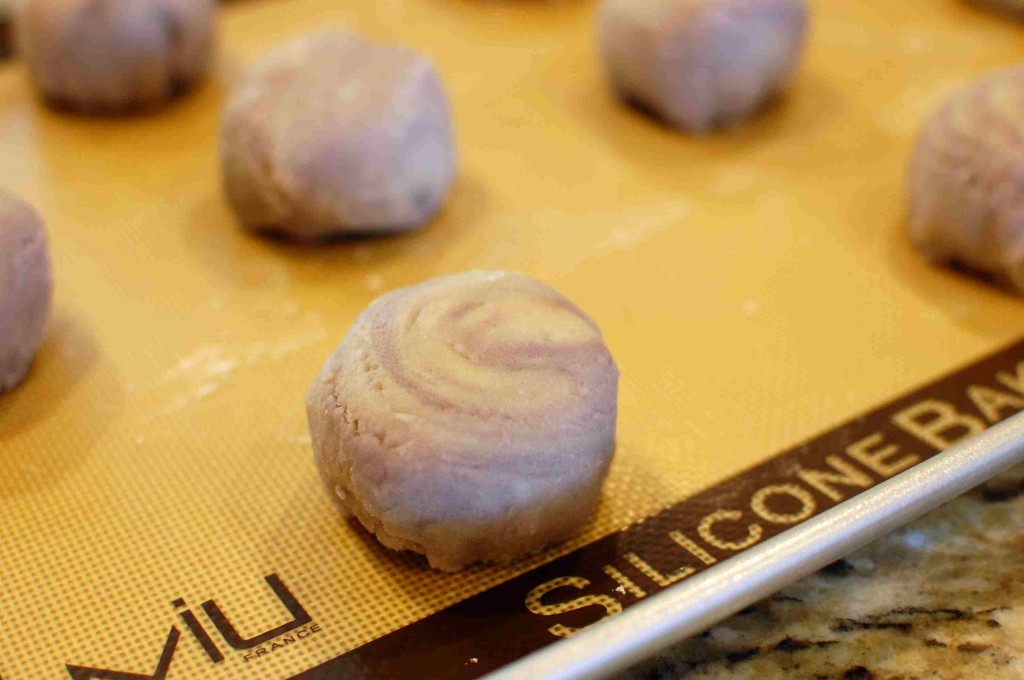
13. Turn it seam side down onto a silicone lined baking sheet. You will be able to fit about 10 moon cakes onto one cookie sheet. Once you have 10 mooncakes completed, put them in the oven and bake for 30 minutes. While the first 10 mooncakes are baking, you can continue to roll out and wrap the remaining 10 mooncakes.
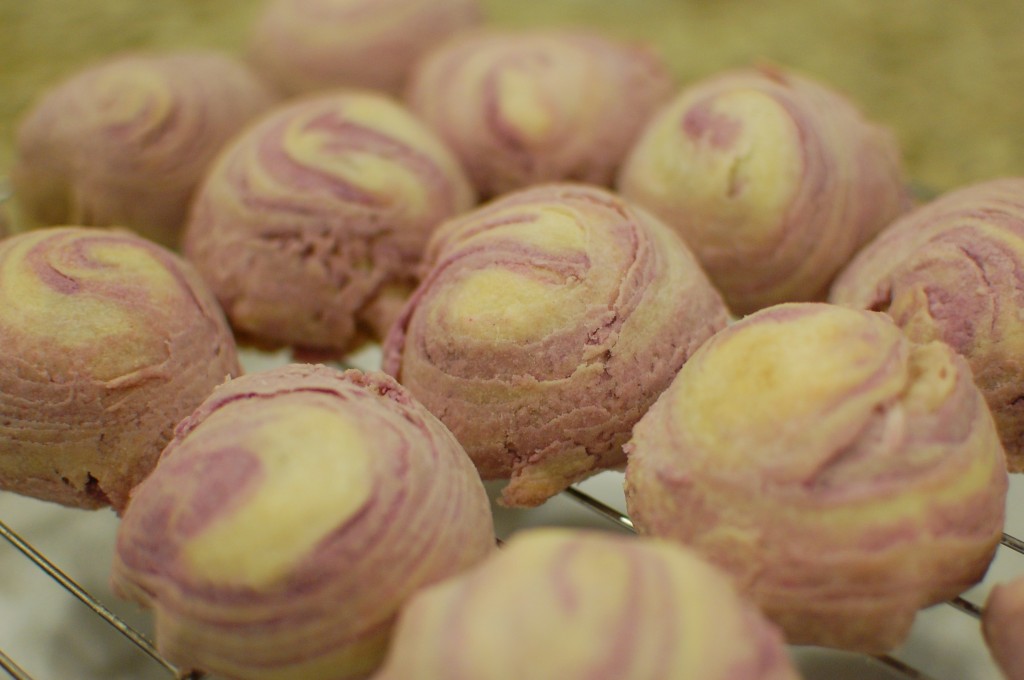
14. Remove from the oven and set on a wire rack to cool. Makes 20 mooncakes. (You will probably have some leftover taro filling… you can save this in the refrigerator for several days in a closed container, and later on you can simmer it with some water, tapioca, and more sugar to make a dessert soup.)



Hi,
I’m in westminster, CA. now. Could you let me know which bakery you stopped by so i could try this cake b4 making it.
Thanks so much.
Hi there! I wish i could remember the name or the street…. it was a while ago and I just don’t remember! Sorry. But most of the bakeries in Westminster are really good… I’m sure you can’t go wrong where ever you end up!
Thanks Mika for the fast response!
Have you ever try to make the oil dough portion with shortening instead of oil? I’m told it will give a better result and the layers are more refine .
No, I haven’t tried that. But it would probably work pretty well… maybe I’ll try it next time.
This looks amazing! Thank you for sharing this recipe and for including such excellent step-by-step instructions. A friend of mine brought a box of these from Taiwan (or something very similar), and my three year old son went NUTS for them. He called them “Happy Cakes” and was so sad when they were gone. Now I can make “happy cakes” anytime! Hooray!
Ommmgshhhhhhhhhhhhh I’ve been looking evvverryyyywhere for this!!!! Thank you so much, I’m so excited to try this! i usually go to 85 degrees for this but I can’t stand the fact that I don’t know the method for the flakiness this particular bread has, prior to your help, of course.
My Hiep Bakery in Westsminster have this kind of cake