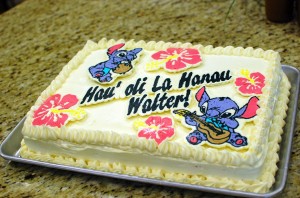
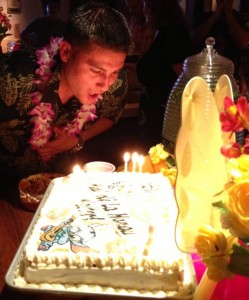
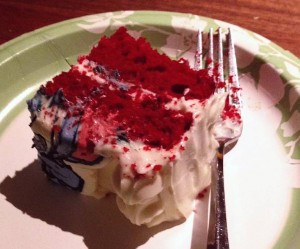
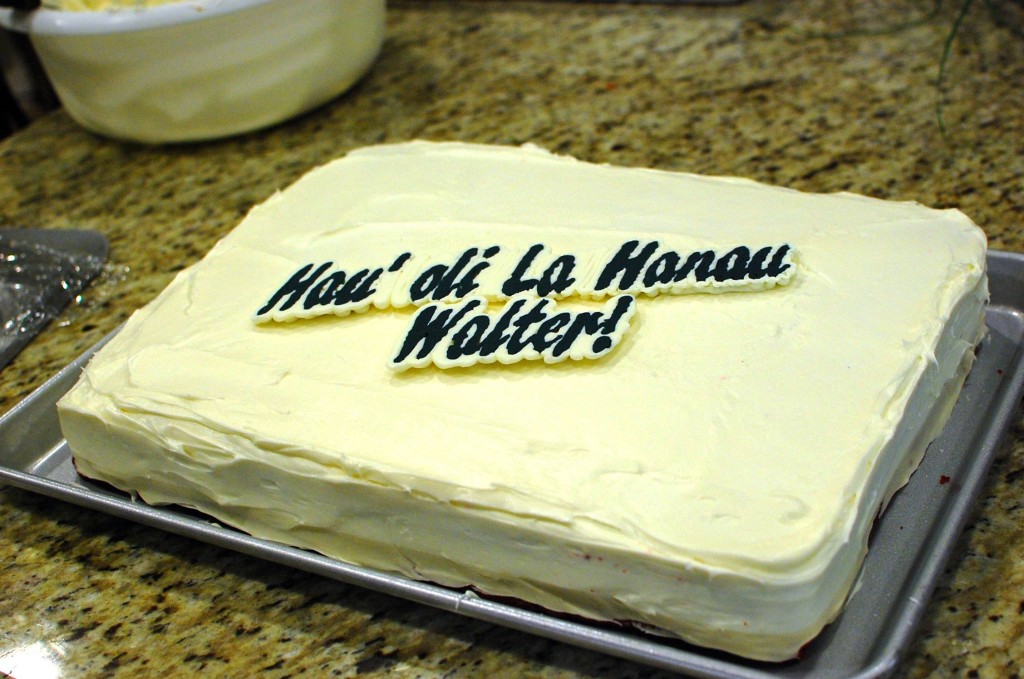
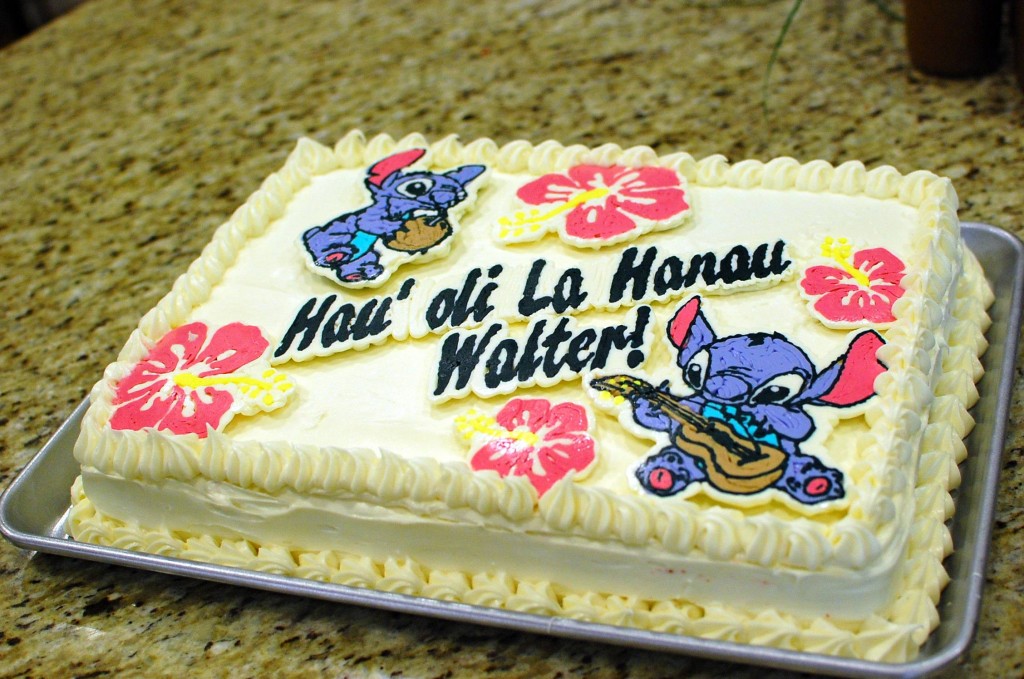
For my brother’s birthday, his wife threw him a Hawaiian themed party to celebrate. He requested a red velvet birthday cake, which of course, being such a nice sister – I made for him. To go along with the Hawaiian theme, I decided to decorate it with Cartoon frosting transfers of Stitch, the lovable trouble-making alien from Disney’s Lilo and Stitch. (After all, my brother is always quoting Lilo & Stitch, using his silly Stitch alien voice, “Ohana means family!“) He actually does a pretty good Stitch impression…
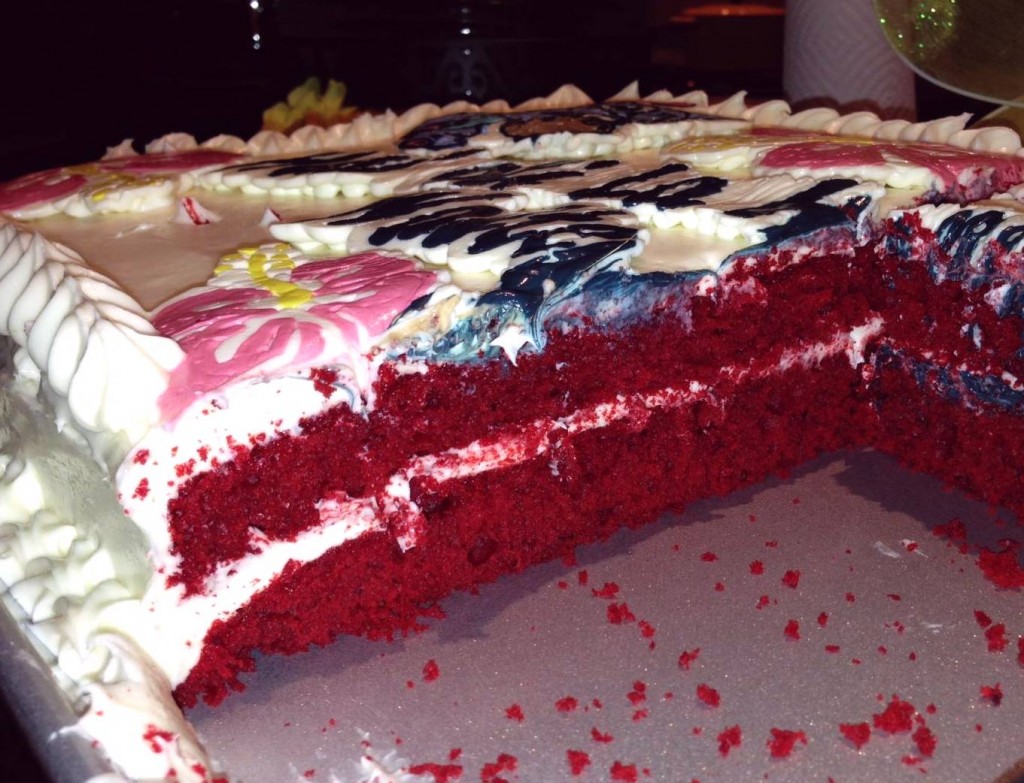
I have a really good recipe for red velvet cupcakes, which I make from scratch. But this cake needed to feed at least 30-40 people… so the occasion called for a sheet cake. (Not a full sheet cake, mind you – which feeds close to 70-80 people – but a half sheet cake.) Anyway, I’ve found that cupcake recipes don’t always translate to sheet cake recipes perfectly. Part of it is the scale of the cake, and the support needed to form the layers – which have to be pretty level and even.
After tinkering around, I’ve found that the best way to make a large sheet cake is to combine your favorite scratch recipe (for flavor) with a boxed cake mix (for structure and texture). This recipe for a red velvet sheet cake is a hybrid – half scratch recipe, half boxed cake mix. Yeah, I know… the cake mix snobs out there will be clucking their tongues at me in disapproval… but… sometimes a boxed cake mix is the answer! (Besides the standard answer to life, the universe, and everything… which is, of course, =42.) Plus…. the to-die-for cream cheese frosting is 100% scratch, and very easy to make! The frosting is one of the best parts of this cake!
This recipe makes a “half sheet” sized cake. Standard bakery dimensions are 9″ X 13″ for a quarter sheet, 11″ X 15″ (also 12″ X 16″) for a half sheet, and 18″ X 24″ for a full sheet. If you are making a cake for a small family party, a regular 9″ X 13″ pan that you probably have in your kitchen will do fine, and you can just use my regular red velvet cupcake recipe to make it. Anything bigger though, use this recipe instead. I have yet to make a full sheet cake – I’ve never been asked to make a cake for an occasion that large – so the half-sheet cake is my go-to party cake recipe. To make a half sheet cake, I use my Wilton 11 x 15 x 2 Inch Sheet Pan that I got at Party City for about $15. Using this size, I can easily build a nice looking birthday cake on top one my Baker’s Half Sheet Cookie Pan (13″ X 18″). You definitely want to build this cake on a firm substrate – something which will not bend or break.
The other thing I have learned, from making large sheet cakes, is that you can definitely make this in stages – far in advance. Don’t stay up late the night before the party…. make the decorations and the cake layers well in advance and FREEZE! You can easily make this 2 weeks ahead of time, and just make the frosting and assemble the night before. For more ideas on cake decorations, see my posts on frosting transfers (which is what I used for this cake) or fondant flowers.
Oh yeah – one more thing – for the red food coloring, you will get RIPPED OFF if you buy those little tiny bottles of food coloring at the supermarket. I buy my red food coloring in bulk – a large 16 oz. bottle at Smart and Final for less than $10. I think Costco sells red food coloring in large bottles as well… it’s MUCH cheaper that way. You can buy an even bigger bottle of Red Food Coloring online for even cheaper – less than $15 for a huge 32 oz. bottle.
Red Velvet Sheet Cake (11″ X 15″ baking pan):
- 2 1/2 c. flour
- 4 T. cocoa powder
- 1 tsp. salt
- 1 tsp. baking soda
- one 18.25 oz. box yellow cake mix
- 2 c. sugar
- 5 eggs
- 1 2/3 c. oil
- 1 c. water
- 1 c. sour cream
- 2 tsp. vanilla
- 1 T. vinegar
- 4 T. red food color
Cake Decorations:
- 2 cans cream cheese frosting
- food coloring to tint
- various designs to trace
- piping bags or ziplock bags
- saran wrap
Cream Cheese Frosting:
- four 8oz. pkg. cream cheese (32 oz. total)
- 2 c. unsalted butter (4 sticks)
- 1 1/2 tsp. salt
- 4 tsp. vanilla
- 2 lb. powdered sugar
Two weeks to several days ahead of time, make the cake layers:
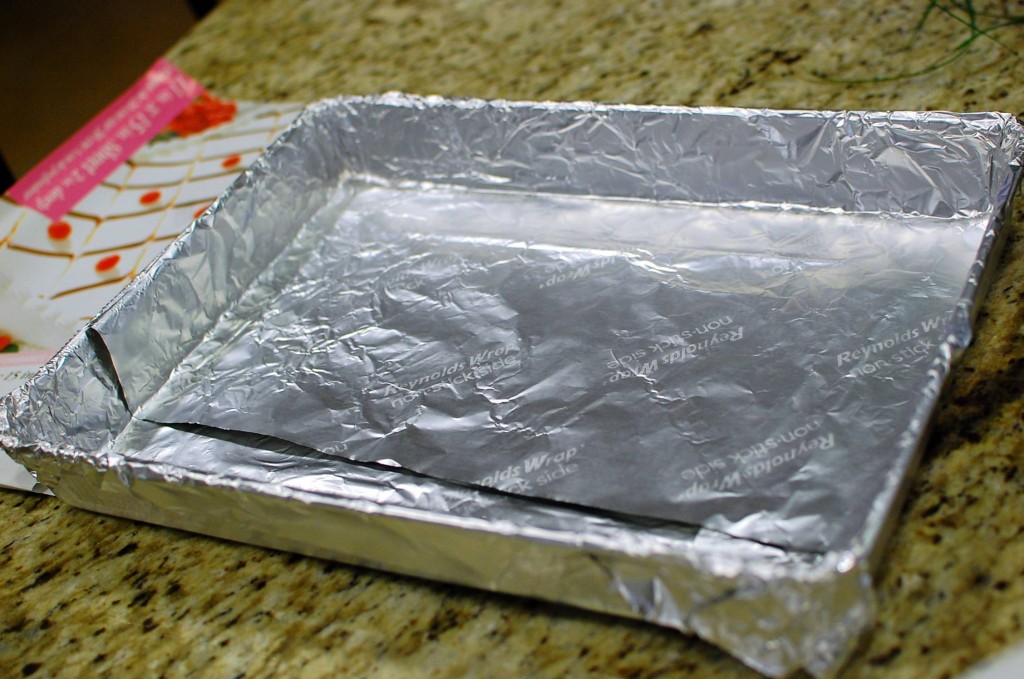
1. Preheat oven to 325 degrees. Line an 11″ X 15″ sheet cake pan with non-stick foil, and spray with non-stick spray.
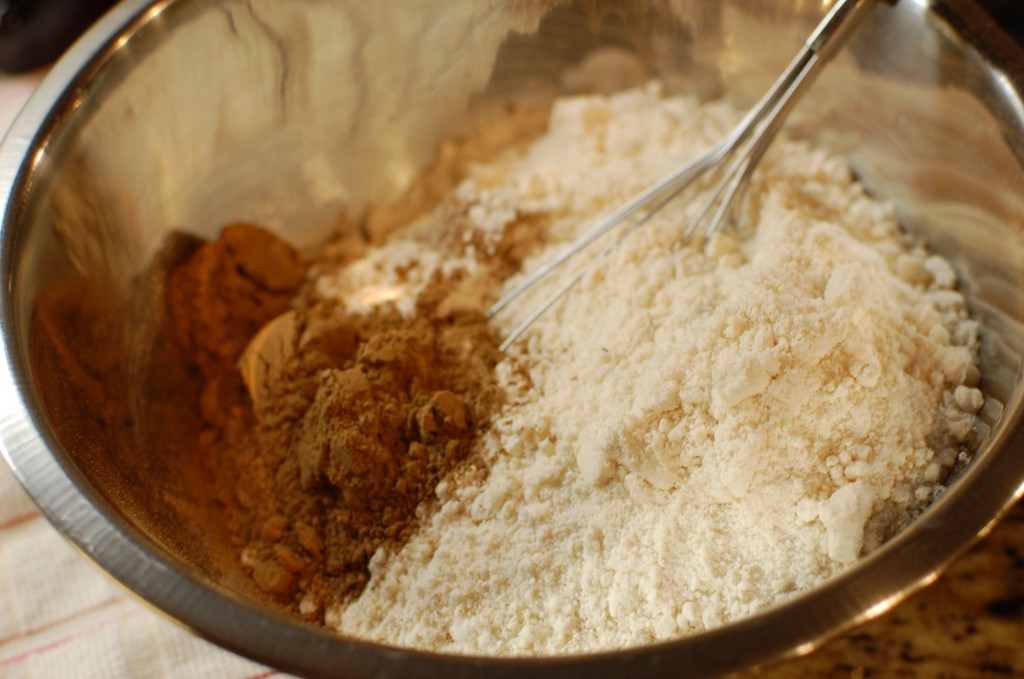
2. Sift the cake mix, flour, cocoa powder, salt, and baking soda with a whisk until thoroughly combined.
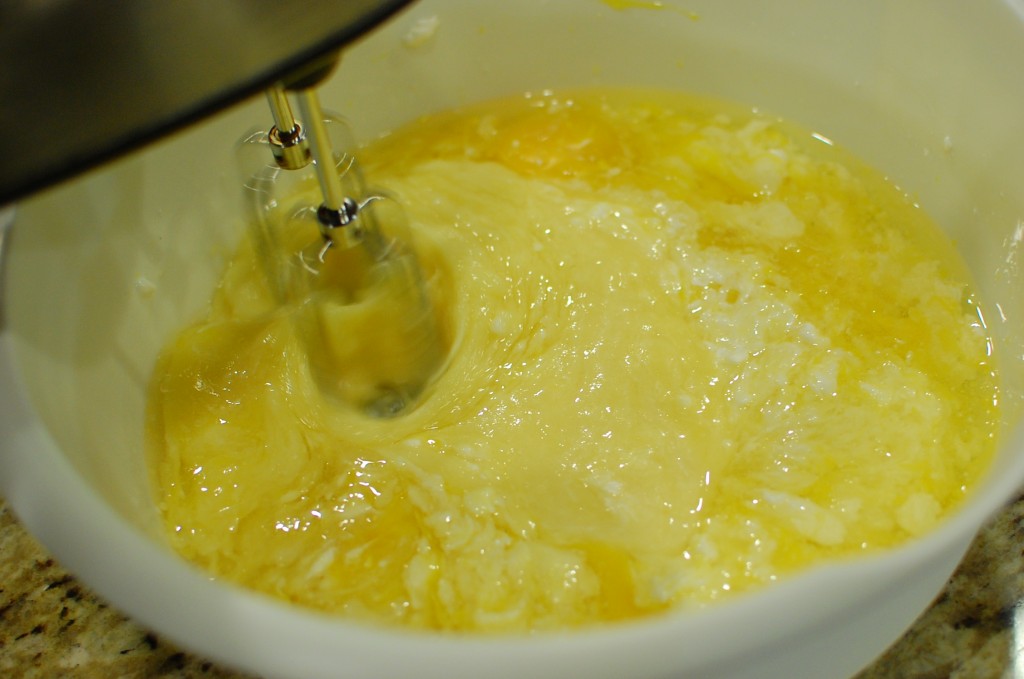
3. Mix the sugar, eggs, oil, water, sour cream, vanilla, and vinegar with a hand mixer until the fully mixed, resembling mayonnaise.
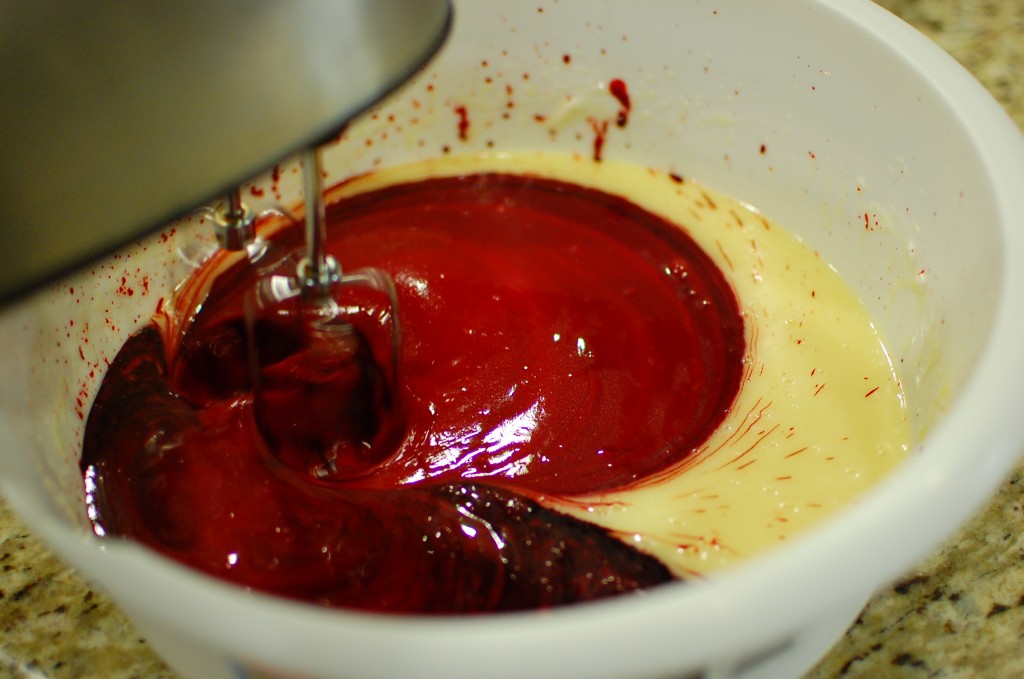
4. Add the red food coloring, and mix slowly at first, gradually increasing speed (to avoid splattering) until evenly red. (Make sure you buy your red food coloring from a large warehouse store (like Costco or Smart and Final) in bulk! If you buy those tiny little bottles of red food coloring at the supermarket you will get majorly ripped off!)
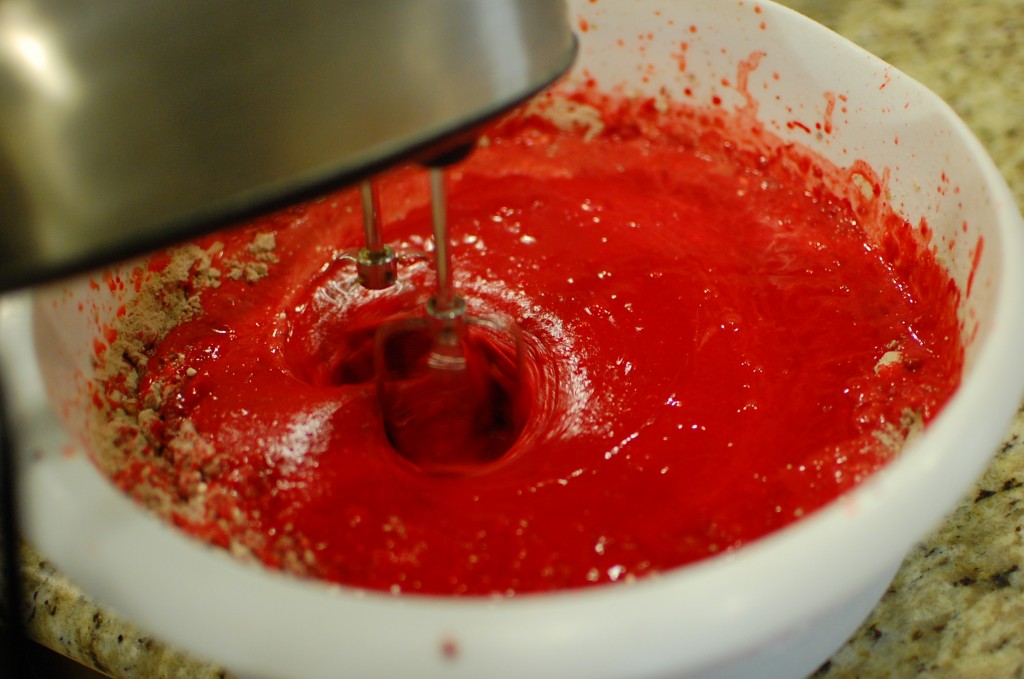
5. Mix the dry ingredients into the wet, and blend on medium speed using the hand mixer for about 2 minutes.
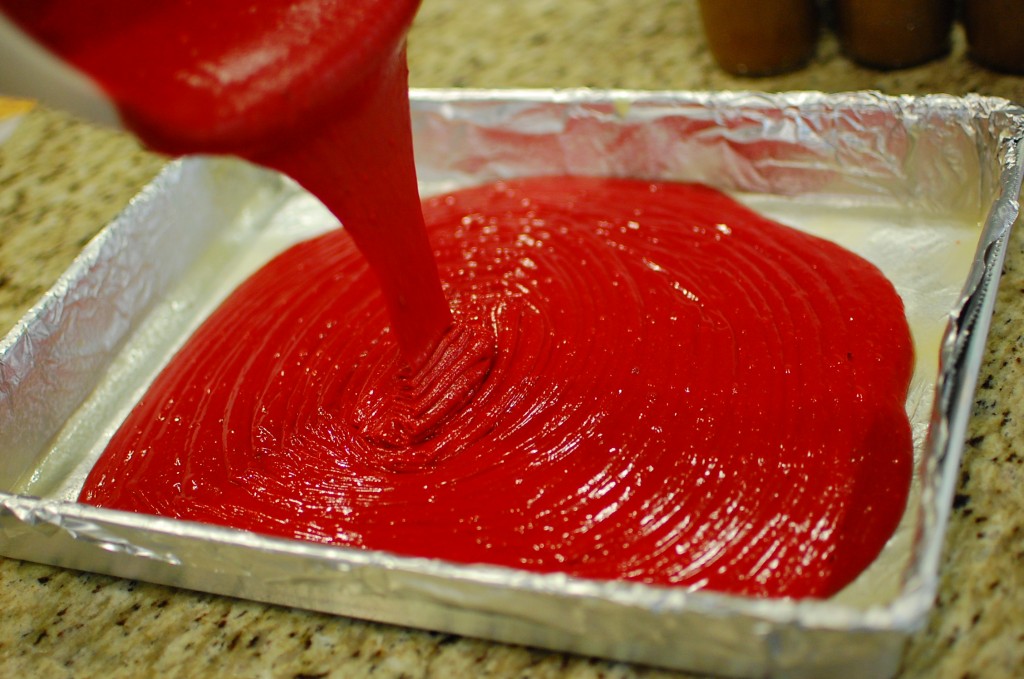
6. Pour the cake batter into the prepared pan.
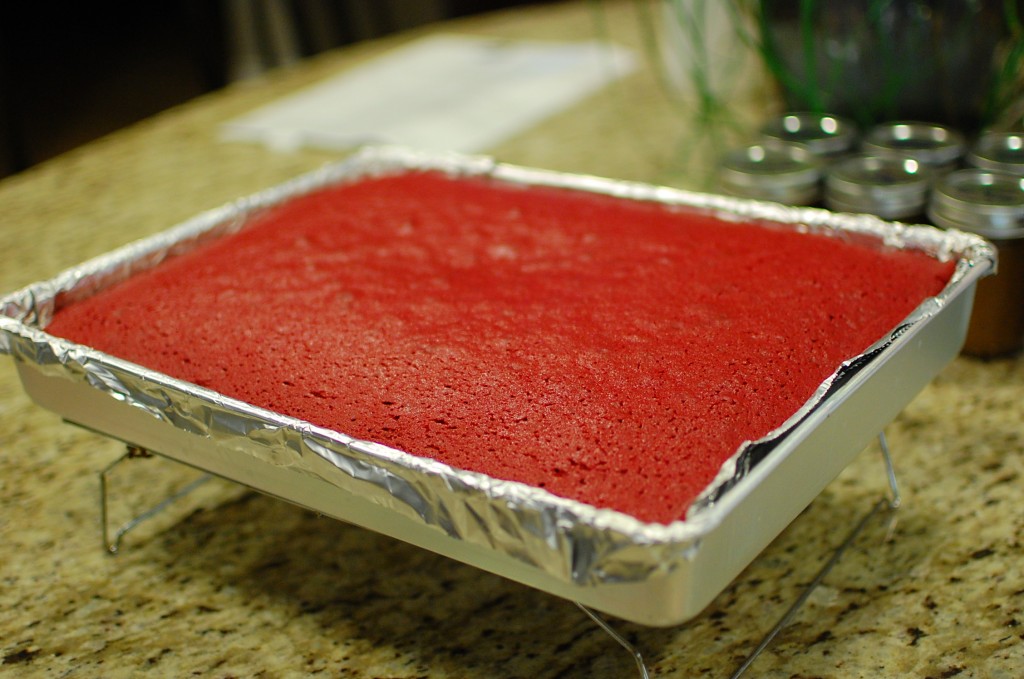
7. Bake at 325 degrees for 35 – 45 minutes until done. (Start checking at 35 minutes – my cake took about 43 minutes total.) Cool the cake thoroughly on the counter.
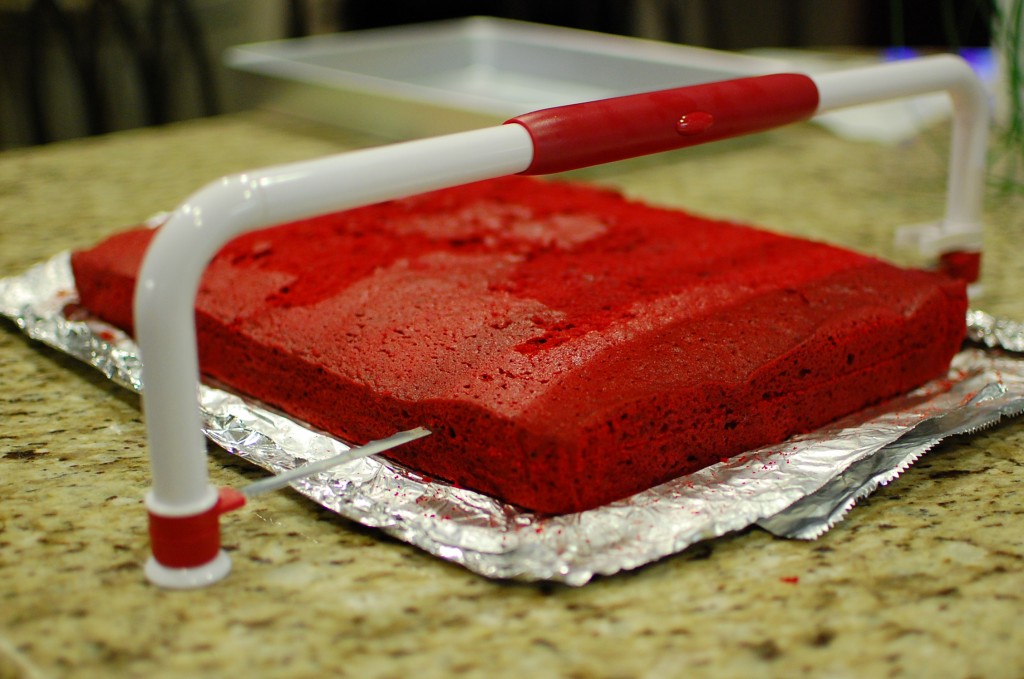
8. Level the top of the cake. (I used my Wilton Cake Leveler to do this). Cut the cake in half (horizontally) to create an upper and lower layer.
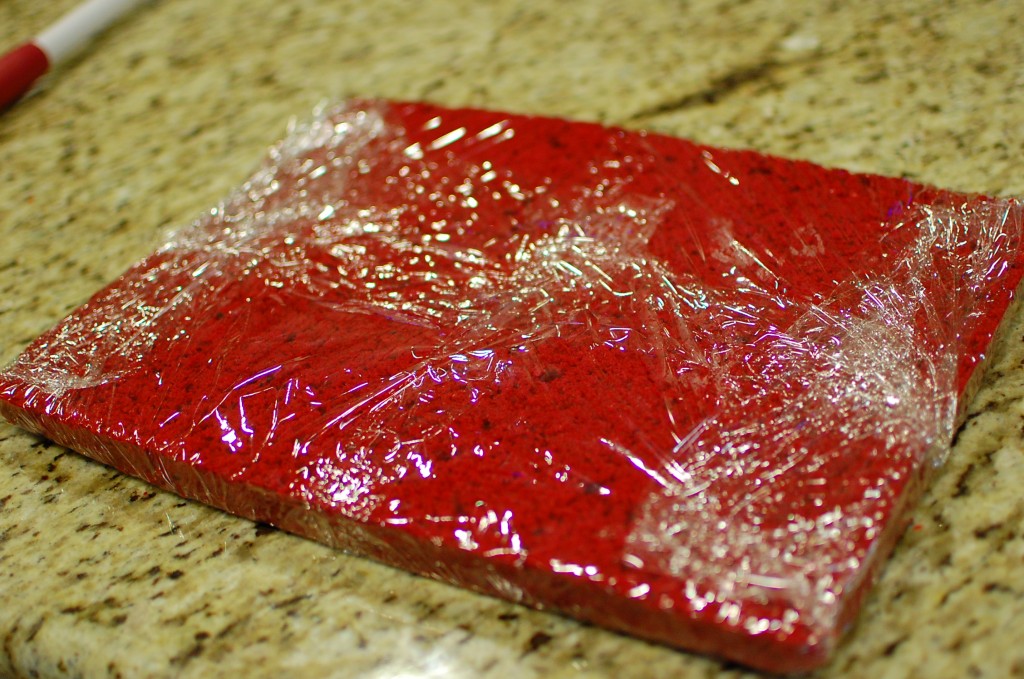
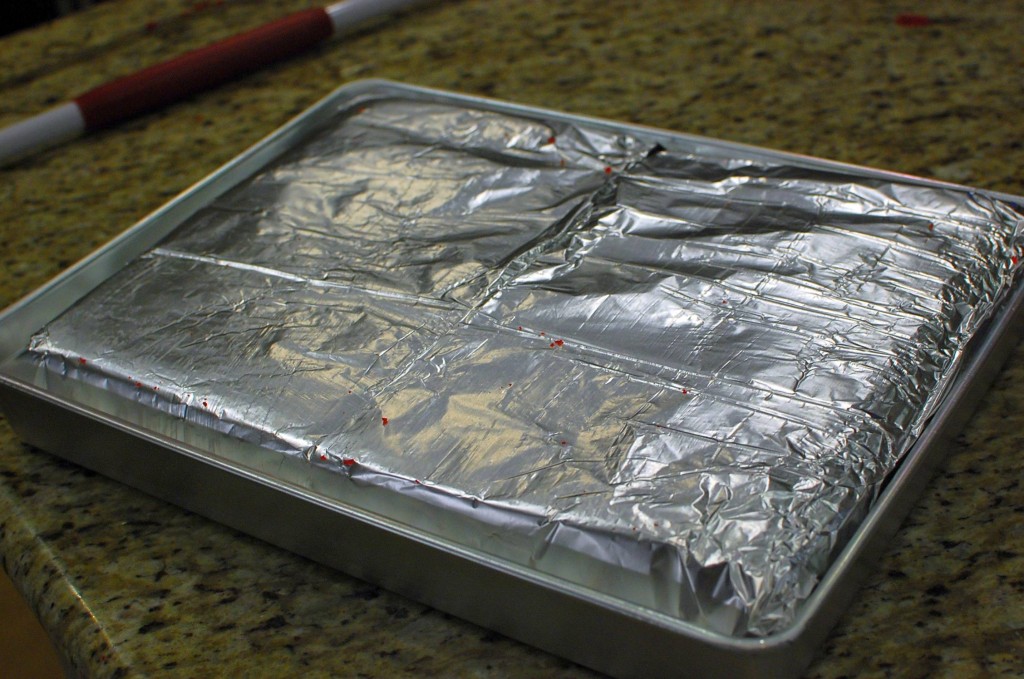
9. Wrap each layer in plastic wrap, then wrap in foil. You can use a cookie sheet to slide under the layers, and to move onto large piece of plastic wrap. (While handling the layers – if you break them, or tear a little bit – it’s no big deal. Remember, frosting is going to cover this in the end! So it’s ok if you make a mistake and break a corner off on accident – just put it back together and freeze.)
10. Store the layers back in the clean cake pan (for support), then freeze. (After frozen, you can remove the metal pan if desired.)
A few days ahead of time, make your cake decorations:
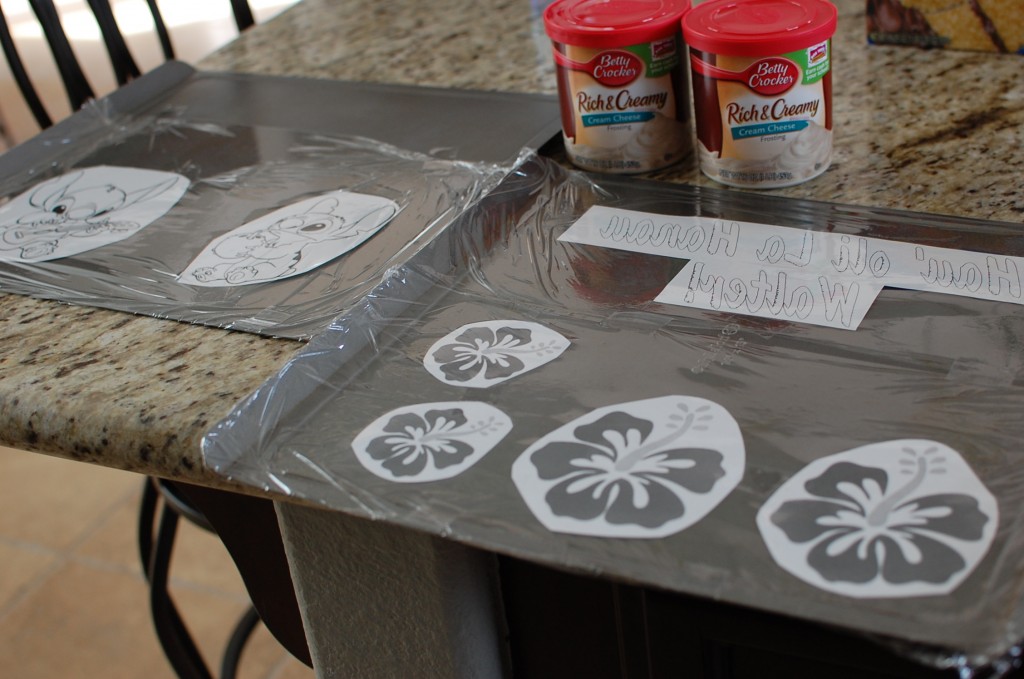
1. For a full tutorial, see my post on making frosting transfers. Basically, use google to search for a black and white image that you would like to create a design of. For children’s cakes, googling “XYZ character coloring page” will give you a bunch of links to images you might use. Since I was making a Hawaiian themed birthday cake, I decided to look for images of Stitch (the cute little alien from Disney’s Lilo & Stitch). IMPORTANT: Any text you want to make a frosting transfer from – you must reverse the image before you print it out. It took me awhile to figure out on Microsoft Word 2007 – Under the “Insert” tab, click on “Word Art”. Type out your text, set the font and font size, and click “ok”. Then highlight your text (so it is surrounded by a box), and on the toolbar, click the “Rotate” option, and choose “flip horizontal” from the drop down.
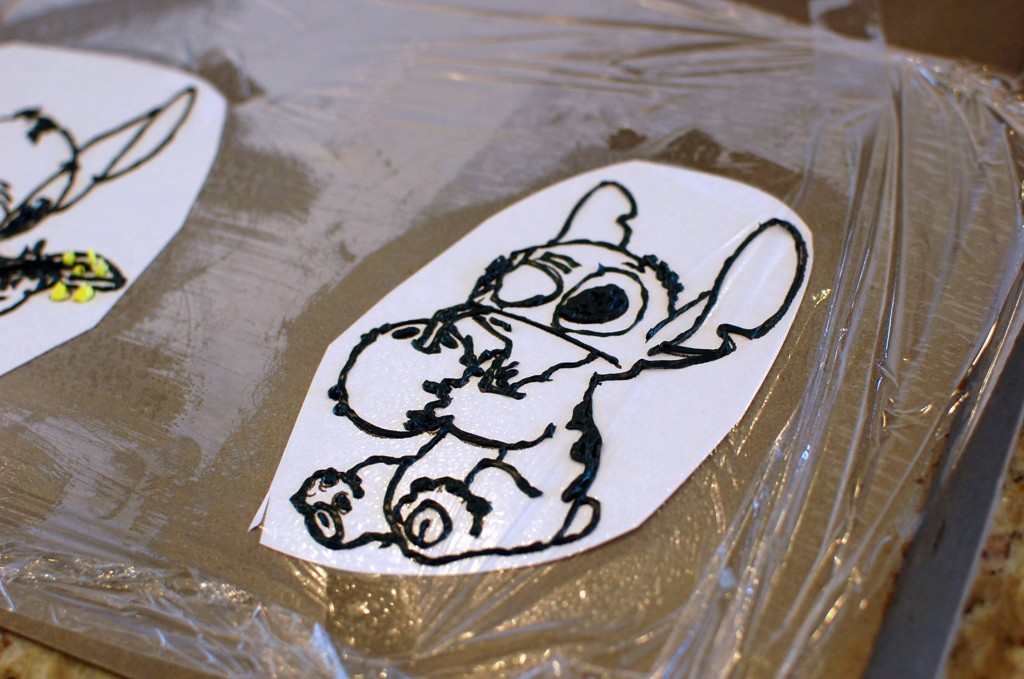
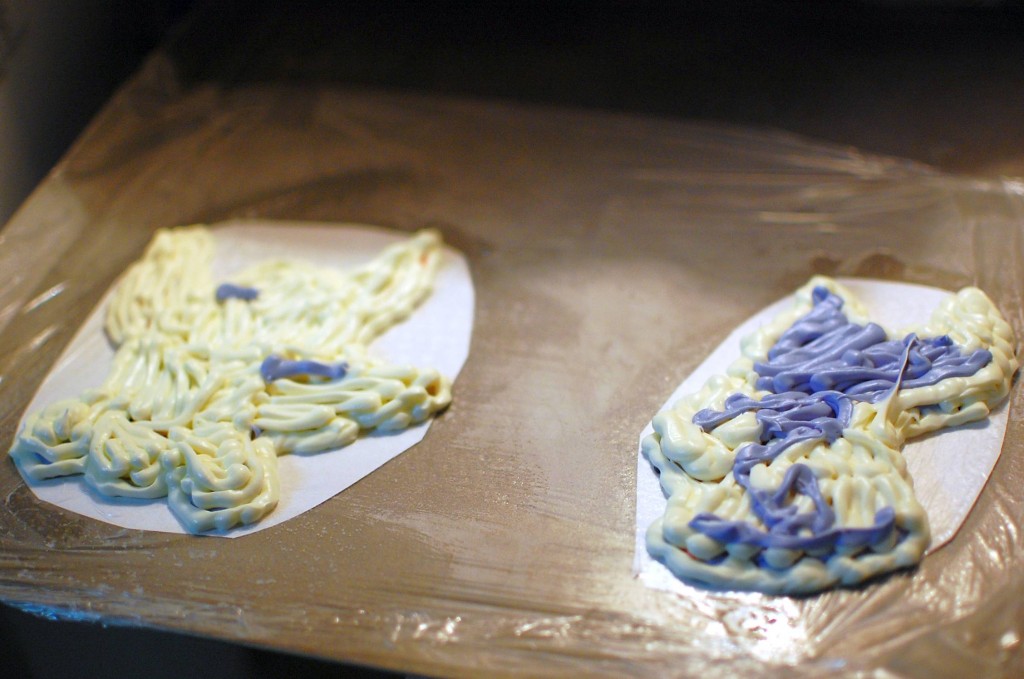
2. Place your frosting transfer on a large flat surface, cover with plastic wrap, then grease the plastic wrap with a few drops of oil. Trace the outline of your design with a neutral/dark color, freeze, the fill in and build your design with different colors of tinted frosting, one layer at a time. (Remember that the first layer you put down will be the front of the design, so work out all the details first before filling in large areas.)
3. When done, use a neutral color (preferably the same color that you plan to make your overall frosting) – to cover over the colored part of the design, to give it a base to hold the entire design together. Put your frosting designs back into the freezer until you are ready to decorate your cake.
The day of your party (or the night before), make your frosting and put your cake together:
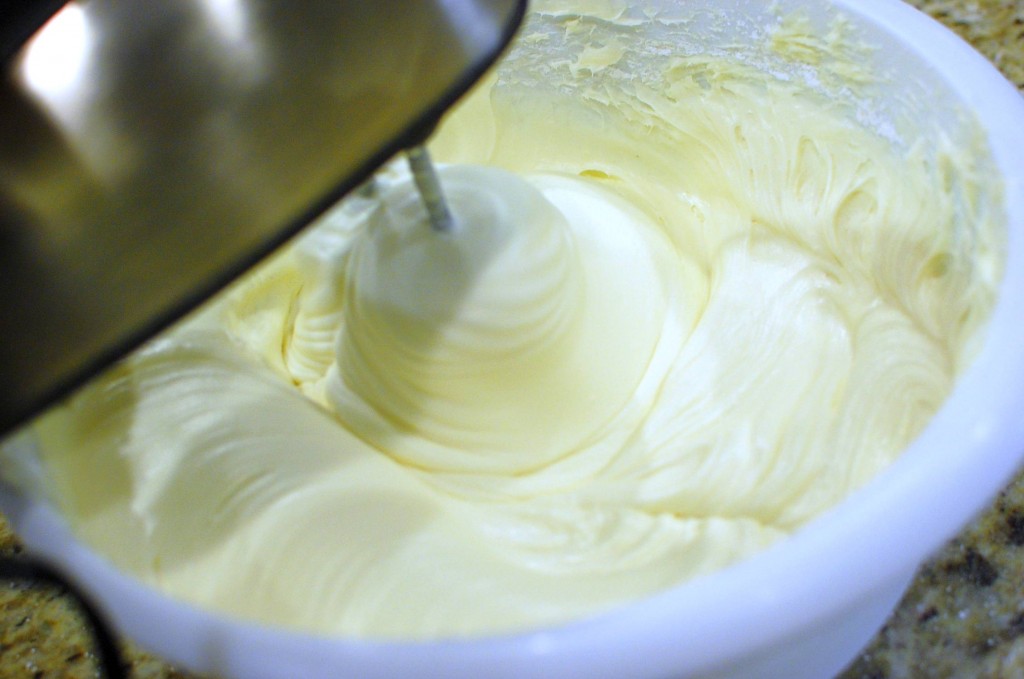
1. Cream the butter, cream cheese, salt, and vanilla in a large bowl. Add the powdered sugar. Mix with a hand mixer (on low speed at first, then you can speed up – you want to prevent the powdered sugar from flying up in your face), until smooth and fluffy.
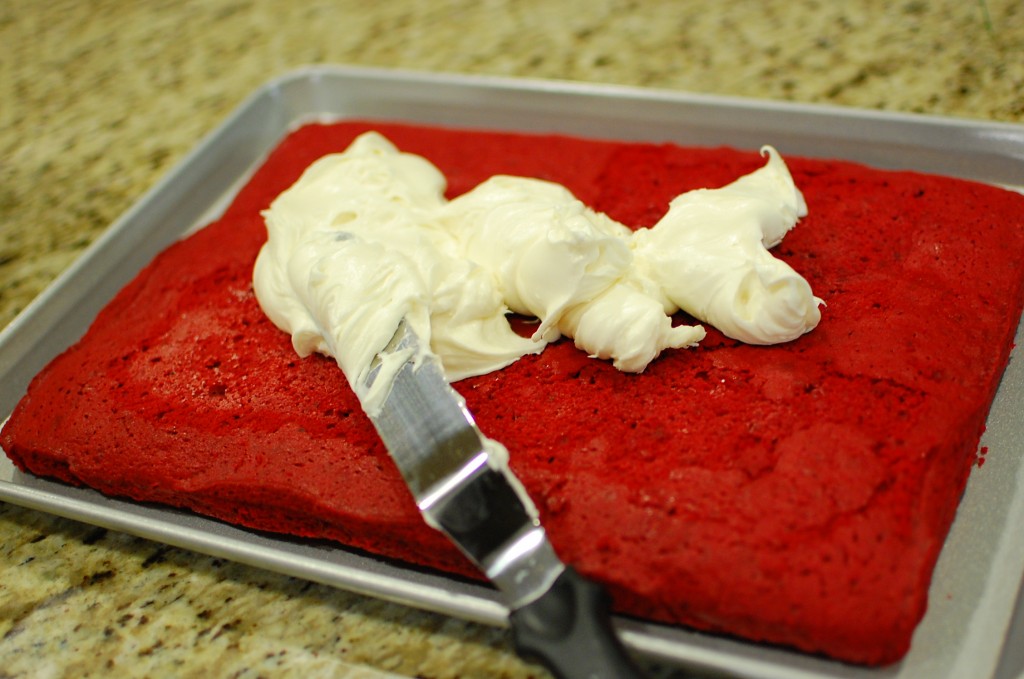
2. Place your first layer of frozen cake on your cake board (I used a large cookie sheet to support the half sheet cake). Fill with a layer of frosting.
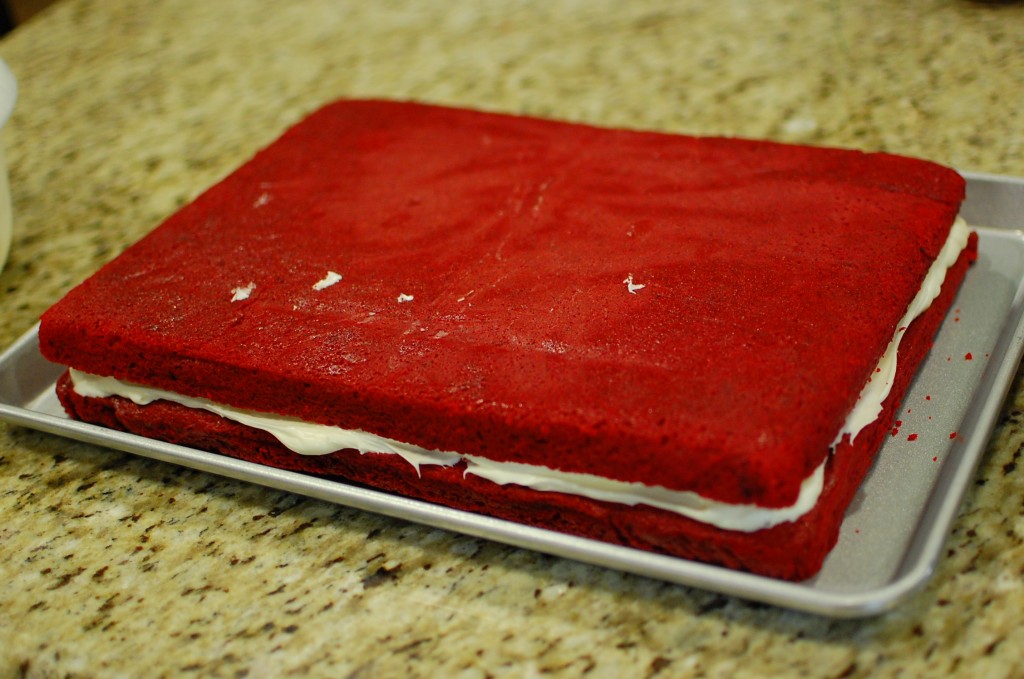
3. Place your second layer of frozen cake on top.
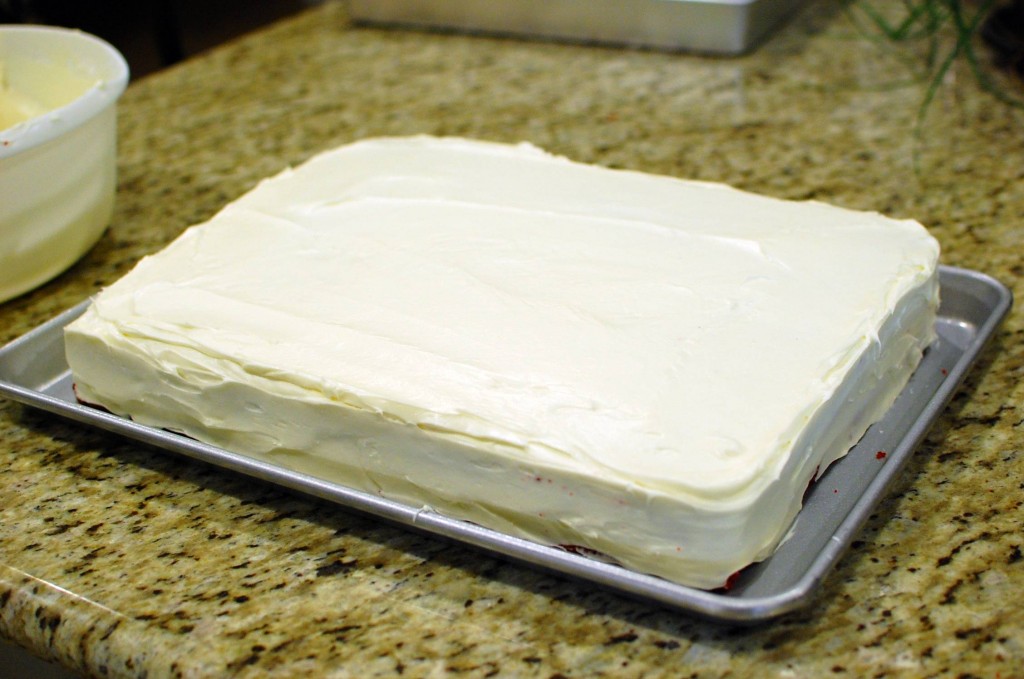
4. Frost the sides and top of the cake with frosting. (Some people like to do a crumb coat first, but you use frozen cake layers, it’s much easier to do – and I don’t bother with the crumb coat.)
5. Remove your frosting transfers from the freezer. Peel the plastic wrap off, and quickly position your decorations on top of the cake. Work quickly because if the frosting transfers begin to thaw, they will be much harder to position.
6. Place an Extra Large Open Star Tip or Extra Large Closed Star Tip into the cut corner of a gallon sized Ziploc bag, and fill with your leftover frosting. Pipe your frosting in a decorative pattern around the cake. (It really isn’t hard. Just pipe a little puff in one spot, move over, and pipe another puff… just keep going around the cake. As long as you do each one the same, it will look fine in the end – you don’t need to be experienced in cake decorating to make the finished cake look professional, I promise! Trust me – I don’t know what I’m doing when it comes to cake decorating, and yet, I usually manage to make my cakes look presentable!)
7. Voila! You have a cake! Serve and enjoy.



Thanks for the recipe! Do you recommend using a yellow box cake mix or can it be white cake mix? Thanks!
You can probably do either one… the red food coloring will work with both yellow and white.
Is the 2 1/2 cup of flour self rising, all purpose or cake flour? Thanks
It’s just regular all purpose flour. I will usually specify in a recipe if a particular specialty flour (self rising, cake flour, bread flour, etc.) is needed.
Ohhhh Ms. Mika,
Girl.
I had a large baby shower cake to do and the mother to be requested Red Velvet. Suffice to say you know you can’t use regular RV recipes for cakes that size. Because due to how delicate the structure is… it just won’t hold. So– off to the internet I go and I came across your recipe. I made the cake as instructed and then freaked out because your instructions says mix the sugar/egg mixture until it resembles ‘mayonnaise’. Well mine didn’t resemble mayonnaise it resembled soup! Mika, I almost farted and fainted because I have 50 cupcakesto crank out to go along with this cake. So, I kept going on and I told the Lord “Lord, I sure hope she said mayonnaise because she’s using a ‘hand mixer’ and I am using my KitchenAid” and the Holy Spirit said ” yes my child…that’s right…just breath and keep going”. I said…”okay”.
I just kept right on chugging along and girl, I could kiss your face!!!!! That cake came out BEAUTIFUL!!!!!!! I almost laid on it it was so dang soft!! So not only do I have my regular RV recipe because I have my regular recipe– I also have one now for large structure cakes such as this so I thank you and God Bless you.
I know I talk alot….but I had to get happy ending out.
So glad it came out ok!!!!
Ok…??!! After posting my first comment–I tasted the ‘trimmed’ pieces. That cake is also delicious Mika!!!
I think I will decrease next time the cocoa by 1 maybe 1 1/2 T as to me, it has a bit too much ‘chocolate’ flavor coming through at the ‘end’. Still, that cake is AWESOME in flavor AND texture. Not only was I worried about the ‘cake mix’ taste being present– I only use DH mixes. They no longer (at least in my neighboring stores) come in 18.75 sizes but 15.75 (I think…those were/are the sizes)…so I was a bit concerned. However, cake mixes generally are pretty forgiving.
But still Mika–were talking a ‘baby shower’ cake.
No…this is more than an okay recipe. I don’t comment often on posts as I really don’t have time but as a serious baker always looking the ‘one’ (of any of my cake recipes)…for a Red Velvet– THIS here just might replace my ‘current go to’.
I am known for doing ‘scratch’ cakes. My preference–is to continue doing so but this one…I think I will have to make that an exception!
I’ll just tell my mind–”It’s just another ‘ingrrrredient’….you know…like vanilla”!
I been looking through your blog and learning some new things as well. I’m glad I found you. GOD Bless.
Thank you for your kind words!
can I carve a cake out of this recipe? Is it dense enough?
I’m not sure I understand what you intend to do by “carving”… but I would suspect no. If you are trying to carve a shape out that you want to hold up, I would guess a denser crumb cake like pound cake would work much better for you.
Hi Mike I have just been looking at your amazing recipe for red velvet cake I have not tried it yet. I noticed that some of the ingredients are different to what I am used to such as T, c , powder mixture, vinegar, flour type and basic measurement of ingredients are quite different. It looks as if this is American ingredients . I am from England so this makes it a bit tricky to grasp. Could you also please let me have the Velvet Cupcakes recipe converted to British ingredients. Thank you so much
1 cup = 236.6 mL
1 T. (tablespoon) = 15mL
1 tsp. (teaspoon) = 5mL
flour is all purpose flour
vinegar is regular white distilled vinegar
I’m not sure what “powder mixture” you are referring to in your question? There is cocoa powder and baking soda… cocoa powder is an unsweetened dry chocolate powder… baking soda is dry sodium bicarbonate.