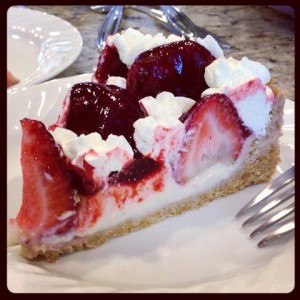
Yay, it’s strawberry season! That means fresh juicy ripe strawberries are everywhere, on sale for as little as $0.88/lb. When strawberries went on special at the market a few days ago, I thought this would be the perfect time to make a fresh strawberry custard cream pie!
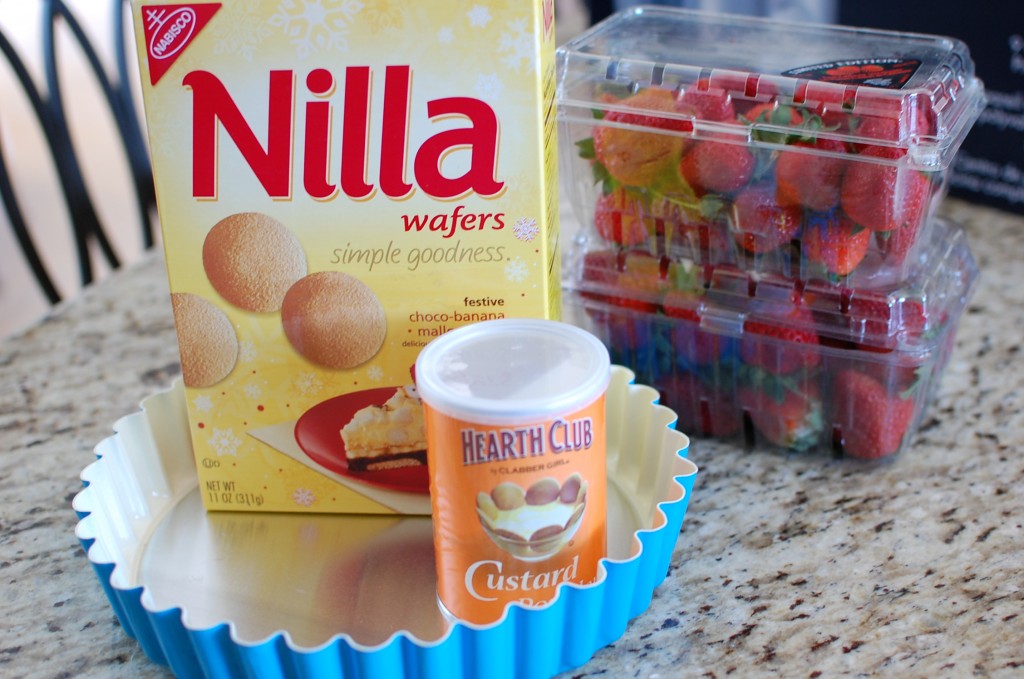
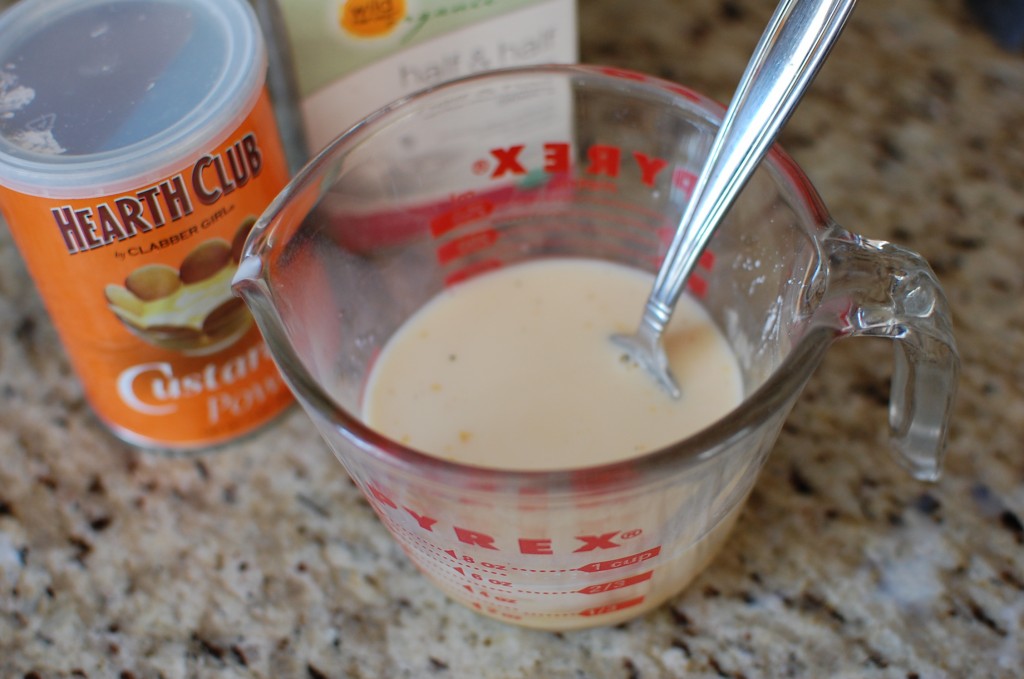
When making this pie, I find it easier to use Custard Powder. Custard powder is a more popular pantry staple in Commonwealth countries … but it can be found in the U.S. (mainly in specialty stores). I actually found my custard powder at the 99 cent only store, but I have also seen it at specialty European markets, or at places like Cost Plus World Market. If you cannot find custard powder, you can easily substitute in this recipe. Instead of using the 3 T. custard powder, just use: 3 T. cornstarch + 1/2 tsp. salt + 1 extra tsp. vanilla extract. If you don’t want to go through the bother of making homemade vanilla custard cream (for the base), just make instant vanilla pudding. Vanilla pudding will be much sweeter than the custard cream that I usually make, so keep that in mind when you are making this pie if you don’t want a final pie that is too sweet.
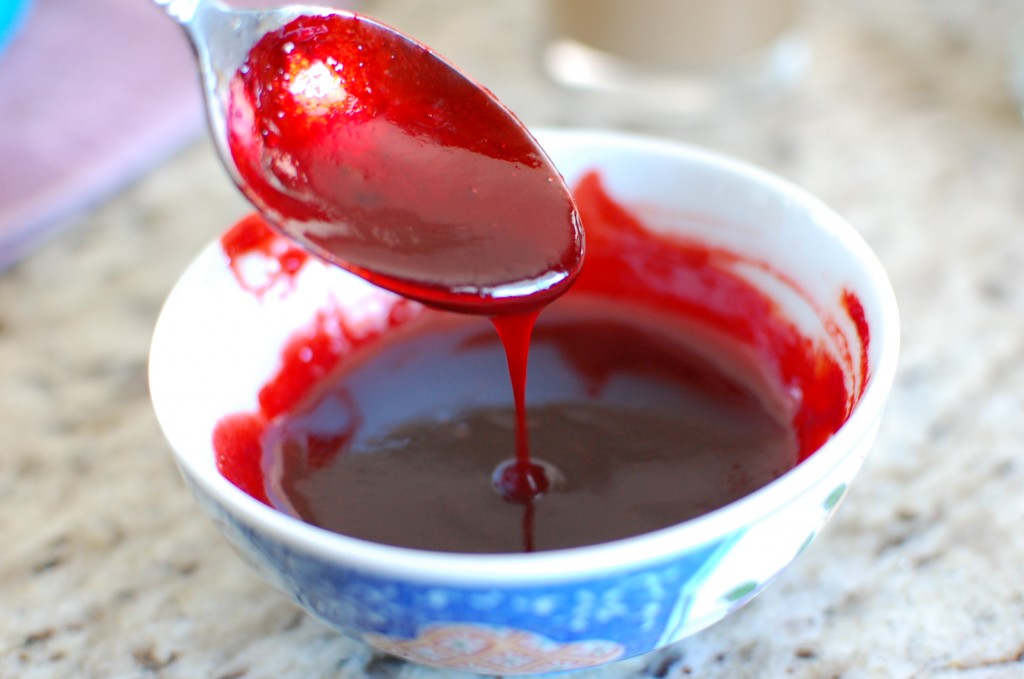
For an easy strawberry glaze, I simply microwave strawberry jam until it is hot and syrupy and strain it through a wire mesh. You don’t have to strain out the strawberry chunks… but I think the syrup looks nicer (and less messy) if you strain out the chunks first. I also like to add a bit of red food coloring to the glaze to make the berries look nice and red… but again, this step is optional.
Crumb Crust:
- 1 (11 oz.) box Nilla (or vanilla) wafer cookies
- 1/2 c. unsalted butter, melted
Custard Cream Layer:
- 1 c. milk
- 1 c. half and half
- 3 T. custard powder (or 3 T. cornstarch + 1/2 tsp. salt + 1 tsp. vanilla)
- 2 T. sugar
- 1/2 tsp. vanilla extract
Glaze:
- 1 c. strawberry jam or jelly
- few drops of red food coloring (optional)
Whipped Cream topping:
- 1 1/2 c. heavy whipping cream
- 3 T. sugar
- 1 tsp. vanilla extract
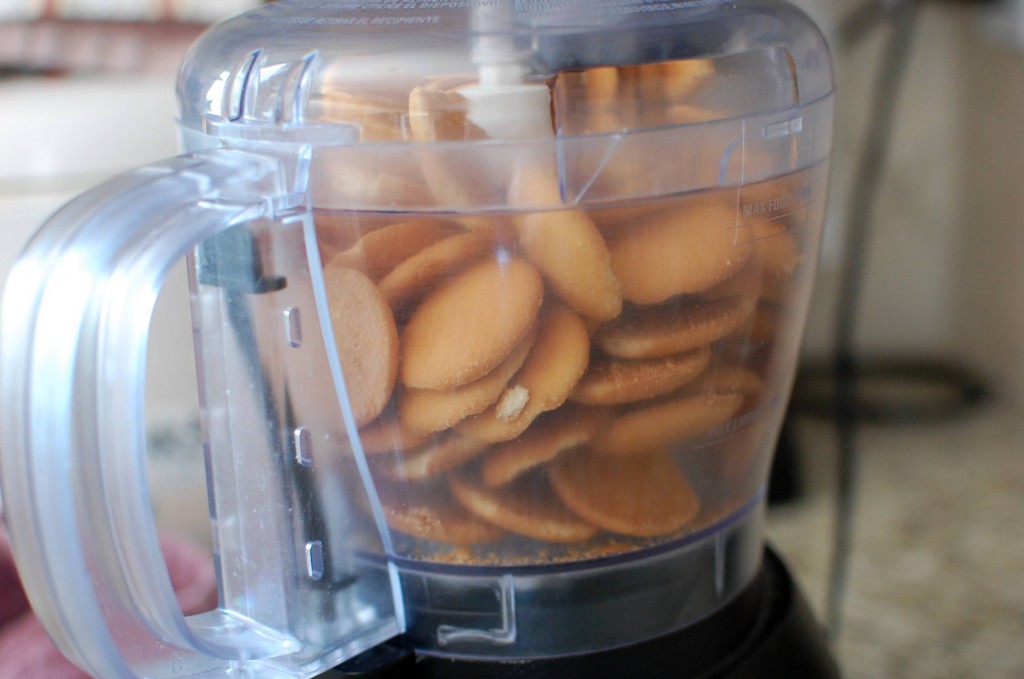
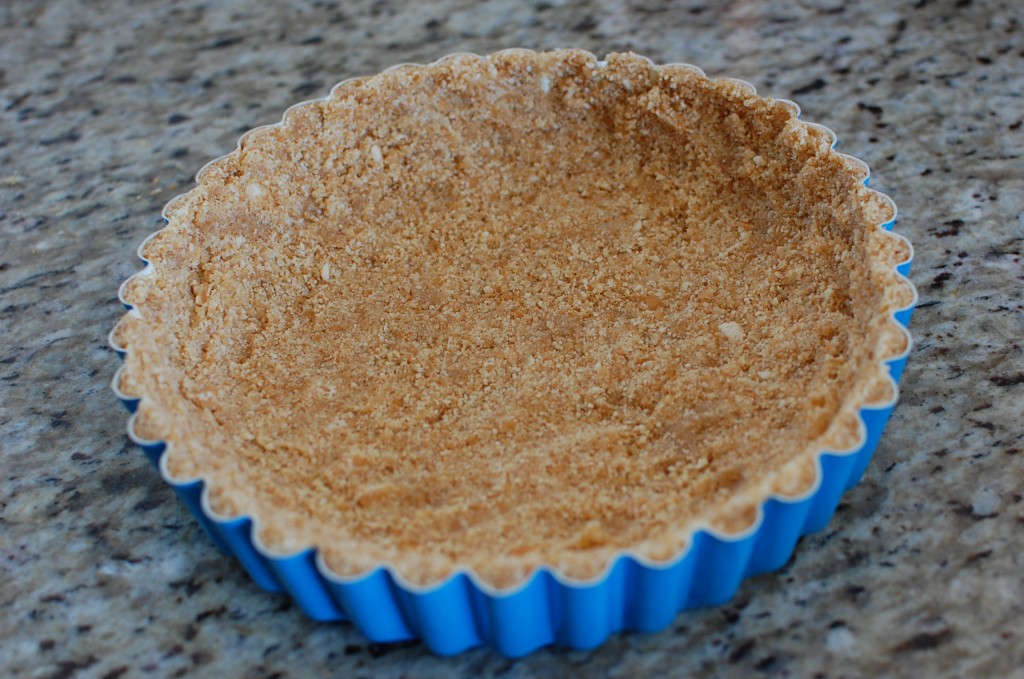
1. Preheat oven to 350 degrees. Spray a deep 9 – 10″ Deep Tart Pan with Removable Bottom with non-stick baking spray. Pulverize the Nilla wafers in the food processor until crumbs. (I got my deep tart pan at Target – they have them in different colors (red, green, blue) for about $15 in store.)
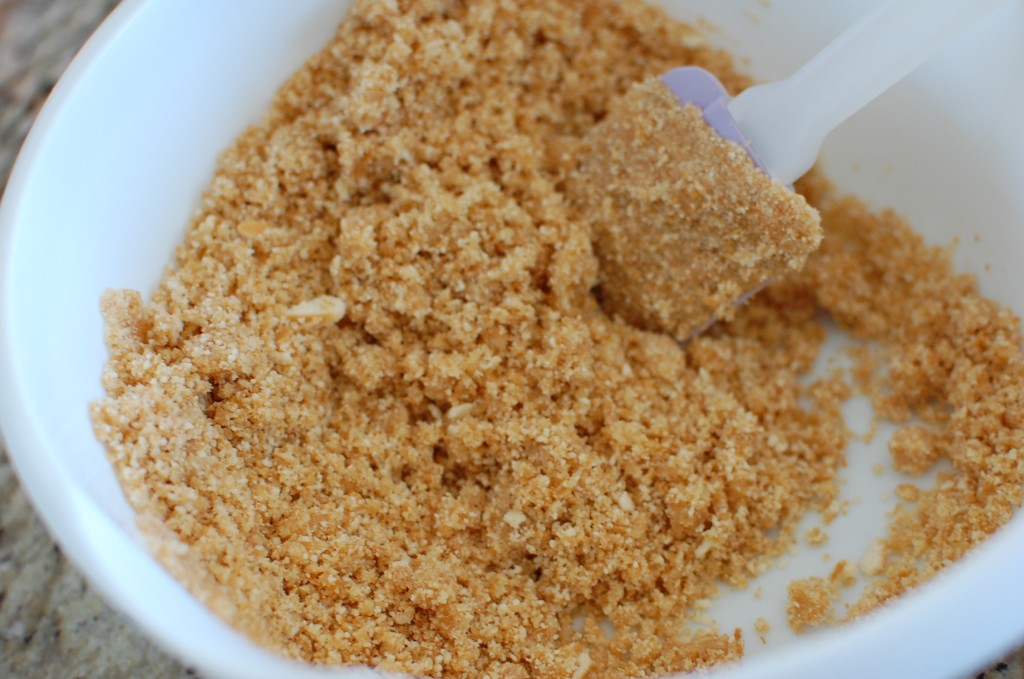
2. Mix the crumbs with the melted butter until the texture of sand.
3. Press the crumbs into the tart pan, up the sides, and across the bottom. Bake for 10-12 minutes until golden, in the preheated 350 degree oven. Set aside to cool.
4. Meanwhile, set the milk over low heat in a medium non-stick sauce pan. Mix the half and half, custard powder, sugar, and vanilla extract.
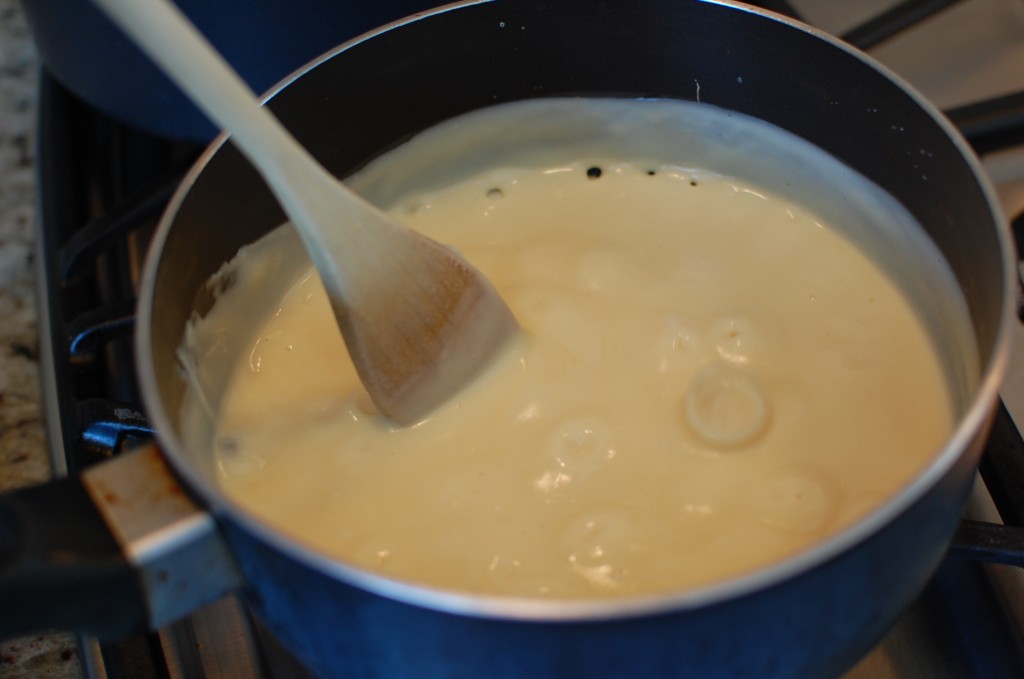
5. Add the custard mixture to the heating milk, and stirring constantly with a wooden spoon (so the bottom does not burn), heat the mixture to a boil. The custard will thicken, and when large bubbles start to break on the surface, your custard is done. Continue to stir as you move off the heat to cool slightly.
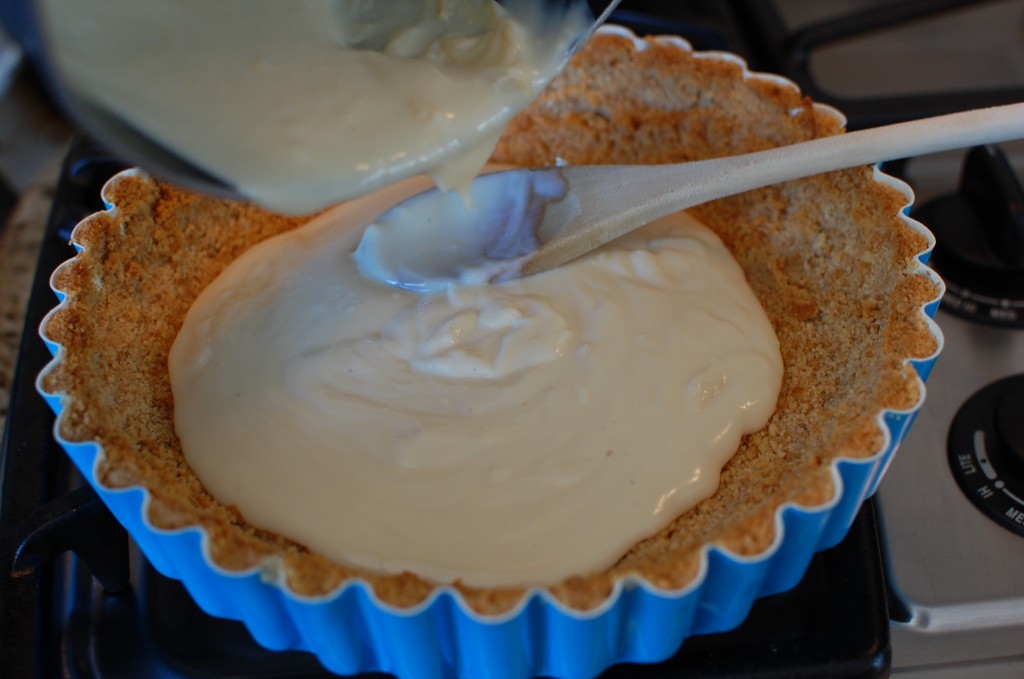
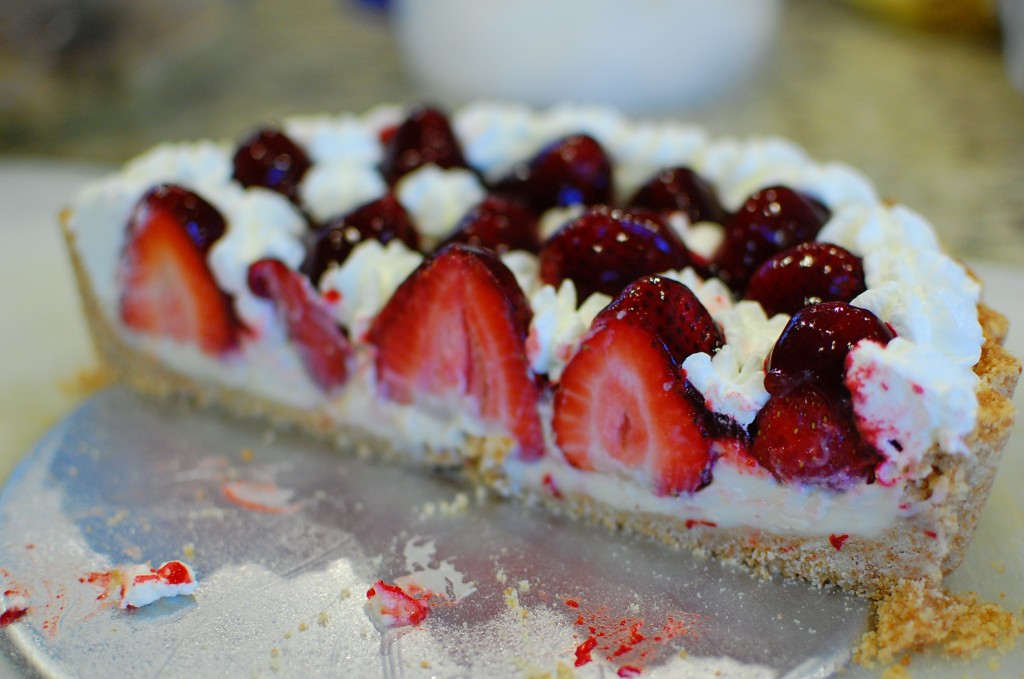
6. Pour the custard into the baked cookie crumb crust. It’s ok if the crust and custard are still warm while you do this step. Set aside to cool.
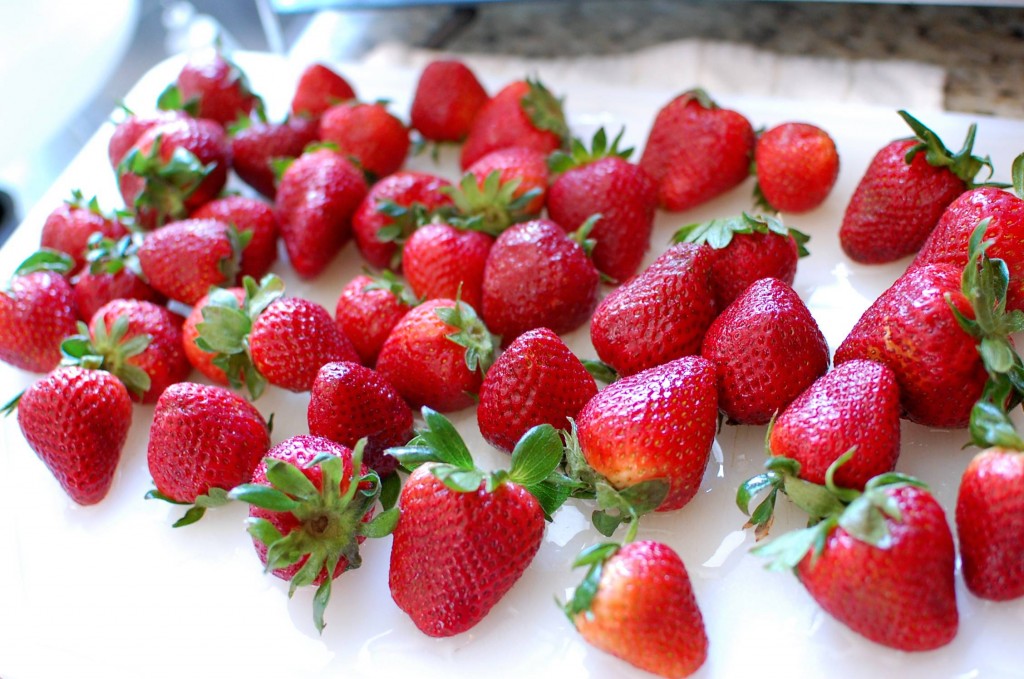
7. Wash & dry your strawberries, and sort for size. I usually buy 2 pounds of strawberries, because only the berries on the top of the package are nice and large. I save the smaller berries to make strawberry shortcake, or my favorite strawberry bread.
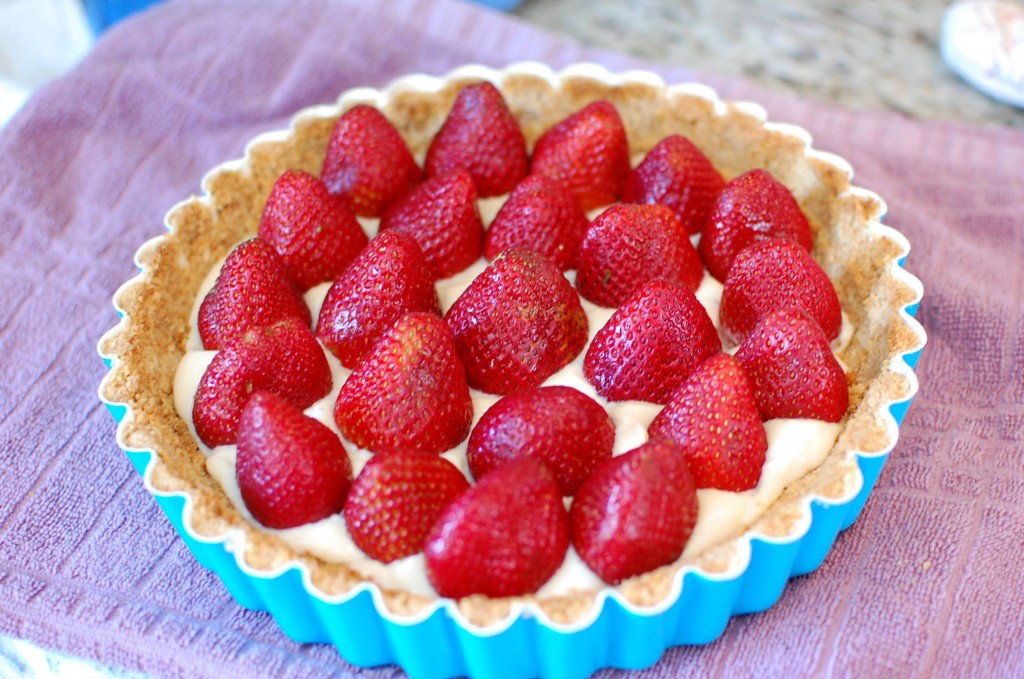
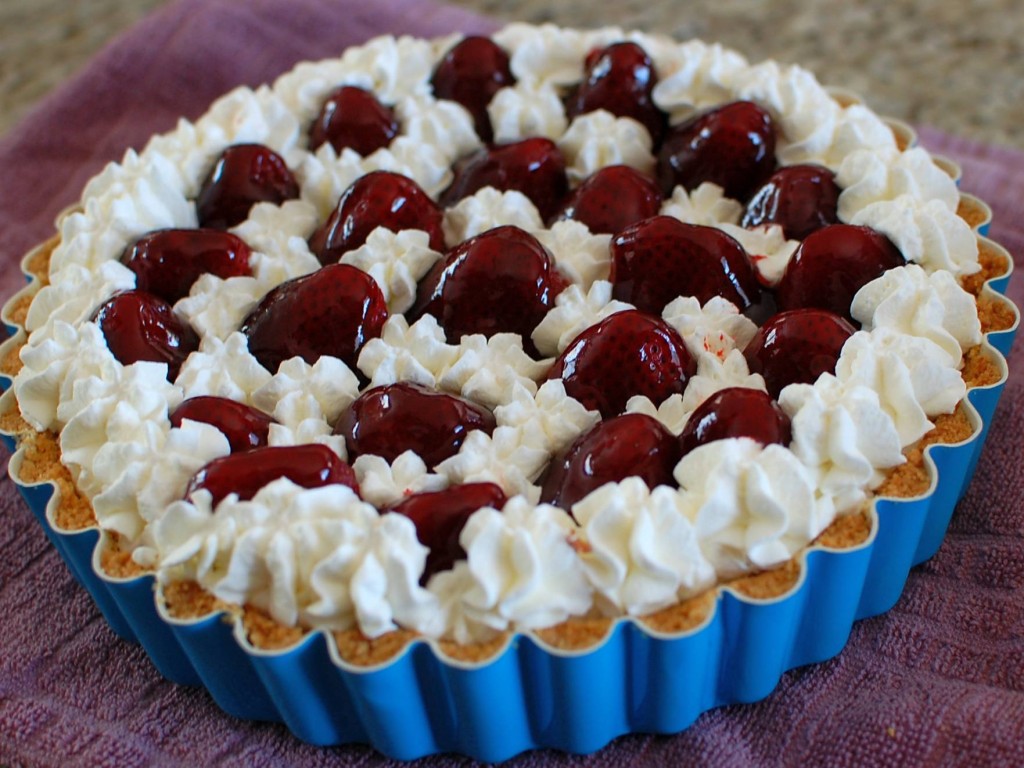
8. Remove the stems from the strawberries, and place them pointy-side up in your tart pan, cut end into the cooled custard. Continue to place the strawberries into the custard, going in a concentric pattern starting from the center. Use the largest berries for the middle, and the smallest berries for the edges.
9. Heat your strawberry jam in the microwave for about 90 seconds until liquid-like and syrupy. If you are using jam with chunks of berries in it, you may want to strain the chunks out with a wire mesh (but you don’t have to). I like to add a few drops of red food coloring to the hot jam, just to make the color nice and red.
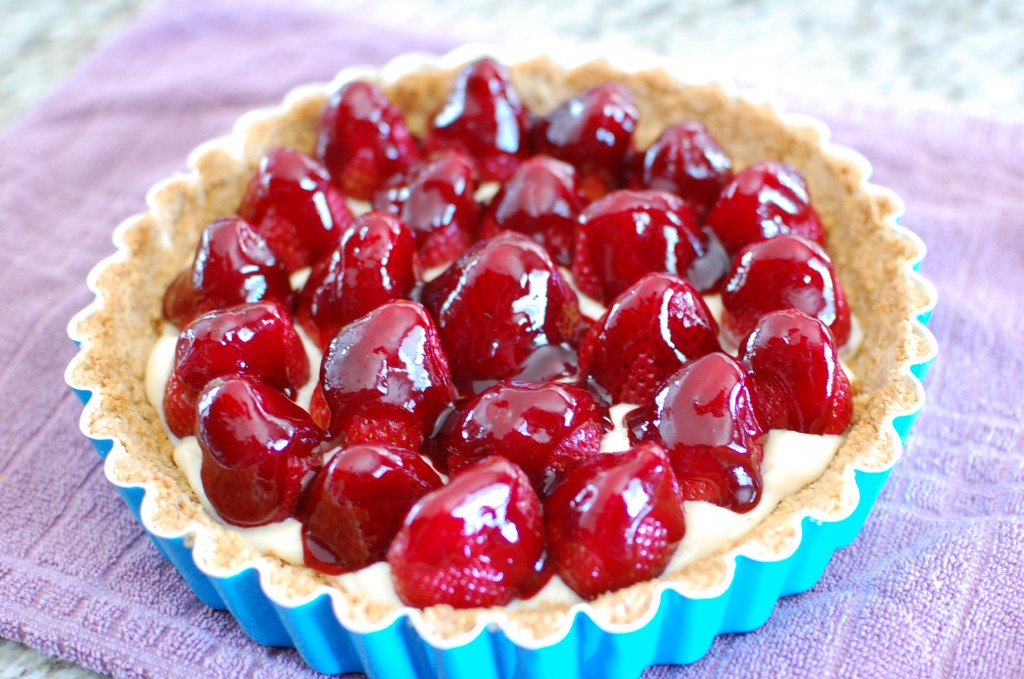
10. Using a spoon, carefully coat each strawberry with the strawberry syrup. It’s ok if you don’t get the entire berry coated completely… the bottom edges will end up being covered with whipped cream in the end anyways.
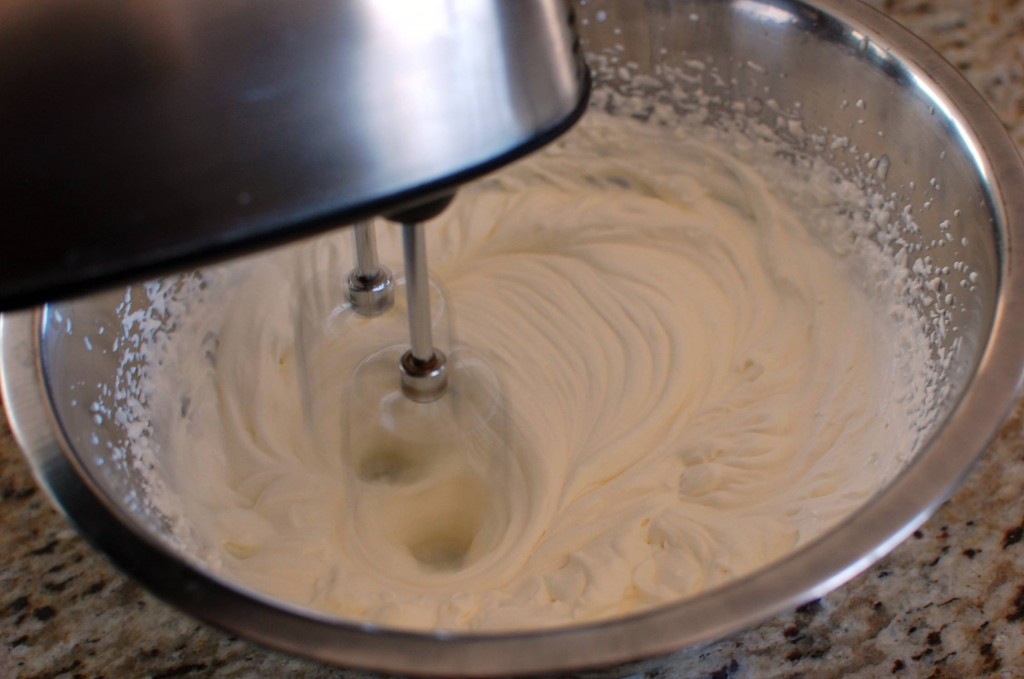
11. Place the strawberry pie into the refrigerator. Meanwhile, put all your whipped cream topping ingredients into a bowl and beat with an electric mixer for several minutes until your cream is heavily whipped and of a stiff consistency (so it can be piped).
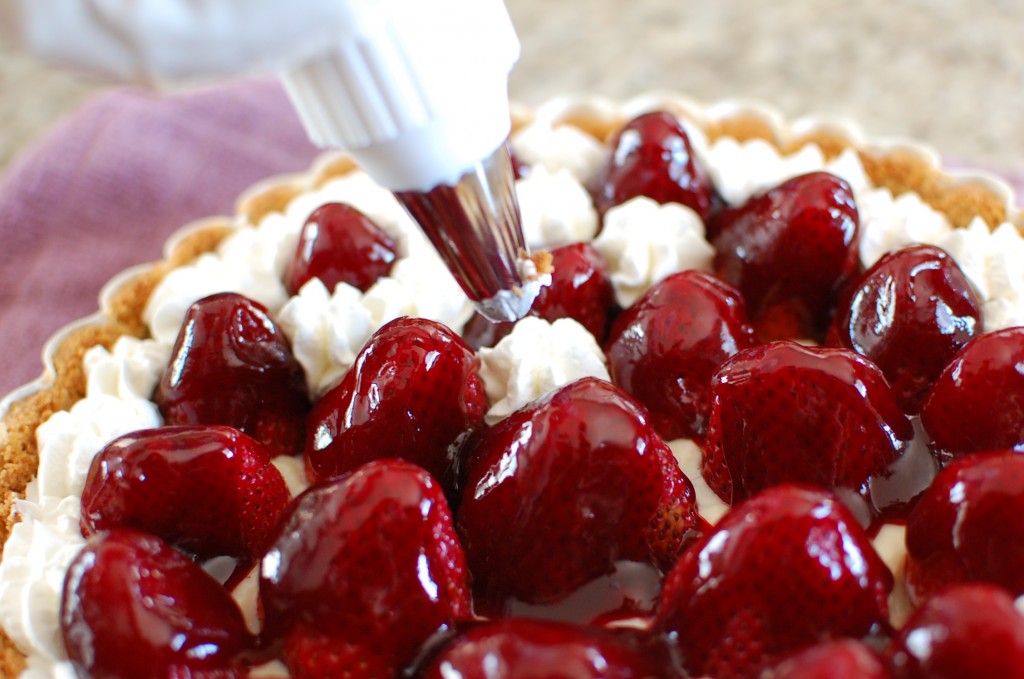
12. Cut the corner off a gallon-sized Ziploc bag, and insert a closed star tip into the corner. I like to use an Extra Large Closed Star Tip – not the tiny dinky ones that you get in decorating sets. Pipe a little star of whipped cream in any empty space between strawberries, or between the crumb crust and the strawberries.
13. Once you have filled in all the empty spaces with whipped cream, pipe a larger star of whipped cream around the circumference of the strawberry pie.
14. Refrigerate for a few hours until nice and cold, then serve. To remove the pie from the pan, set the bottom of the pie pan on top a smaller bowl turned upside down, and holding the sides of the pan, push the removable sides of the pie pan down. You can garnish the plates with extra sliced strawberries, and leftover whipped cream.



This looks soooo delicious, i can’t wait to try the recipe!! Question: can the “hand-made” crust be substituted with standard pie crust from supermarket freezer? Would the taste be compatible?
You certainly can use a store bought crust! One of the pre-made shortbread crusts or graham cracker crusts from the baking aisle (non-refrigerated section) would be a better option because it is sweeter. (Most of the sweetness in this pie comes from the cookie crust). If you want to use a refrigerated/frozen pastry crust – you can – but you might want to add more sugar to the whipped cream, and more sugar to the custard cream to compensate.