I remember the first time I roasted a thanksgiving turkey. I followed the advice of some website I read, and roasted the turkey breast side down – supposedly to keep it “juicy”. What did I end up with? An ugly flesh colored bird, with rubbery skin, that was neither “juicy” nor appetizing. The meat was dry, the skin was… ugh. It was a good try, and everyone said it was good… but I was not impressed.
Since then, I’ve made many roasted turkeys, and in my opinion, Alton Brown’s brined turkey recipe is by far, the very best recipe (and technique) out there. You might be able to catch the Good Eat’s episode “Romancing the Bird” on re-runs… but the relevant videos where Alton Brown explains the all the steps are still available on Food Network’s website. I made a few minor changes to the brine recipe and aromatics compared to his recipe… and you can tailor the spices and aromatics to your liking too. (I don’t add ginger to the brine like he does, and I don’t use an apple in the aromatics.)
Why brine? Brining helps make a more flavorful, juicy, and tender roasted turkey. The brine solution is a mixture of salt, sugar, and spices… and when you soak the raw turkey overnight in this solution, the solution makes some changes to the muscle tissue - tenderizing it, and adding moisture. Some of the salt & seasoning also gets drawn into the meat… enhancing the flavor. This is why you want to add spices to your brine, to help let the flavor penetrate into the meat. Moist, juicy, flavorful turkey is easy if you brine your bird overnight before you roast it!
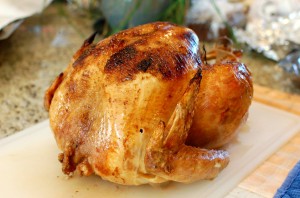
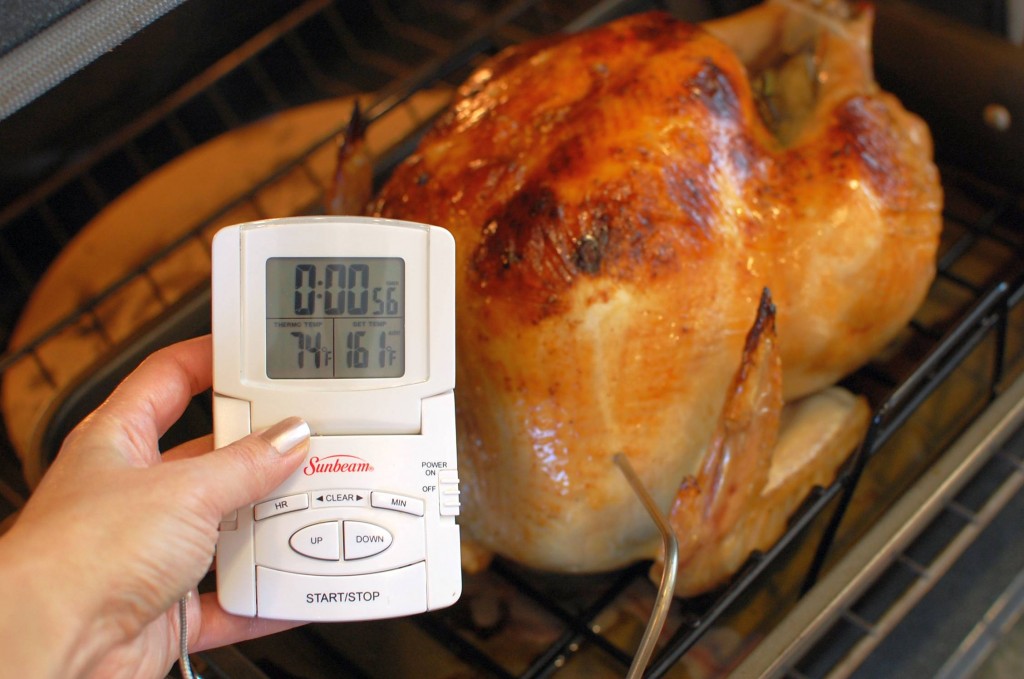
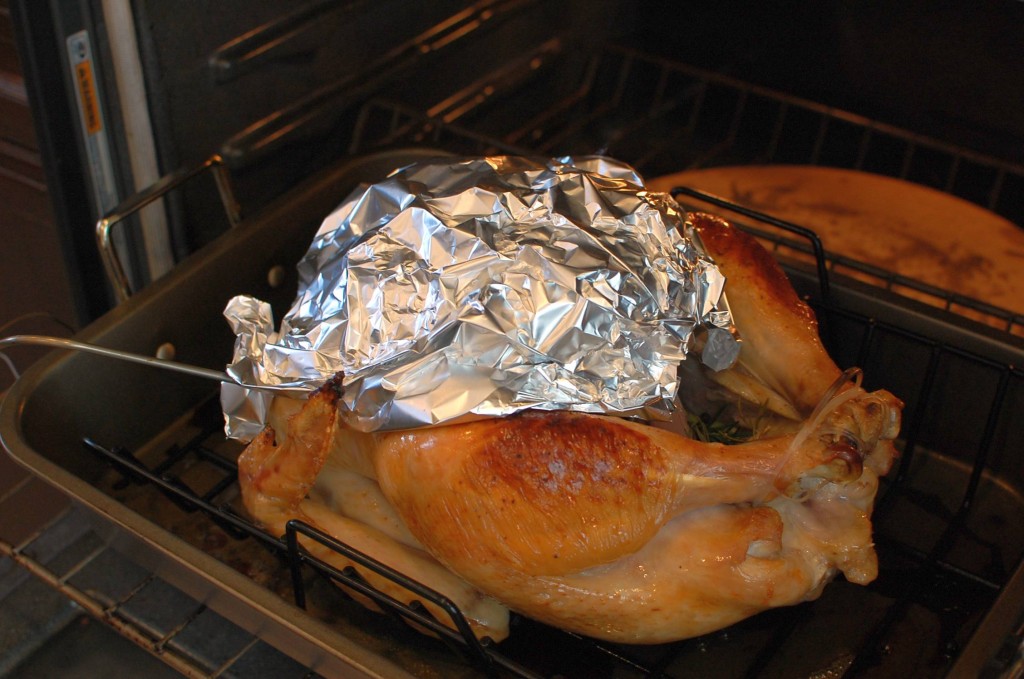
To roast your brined turkey, you want to start out high (at 500 degrees) to give the skin a nice crisp and golden brown appearance. Then, you cover the breast portion of the turkey with foil (to protect it from over cooking – the breast meat cooks much faster than the thigh and legs), and lower the heat to 350 to roast until done. (You can use the same instructions to make a larger (or smaller) turkey – if you find you don’t have enough brine to cover the turkey, just add a little bit of water to the brine.) Happy Thanksgiving everyone!
Roasted Turkey:
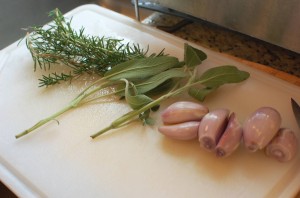
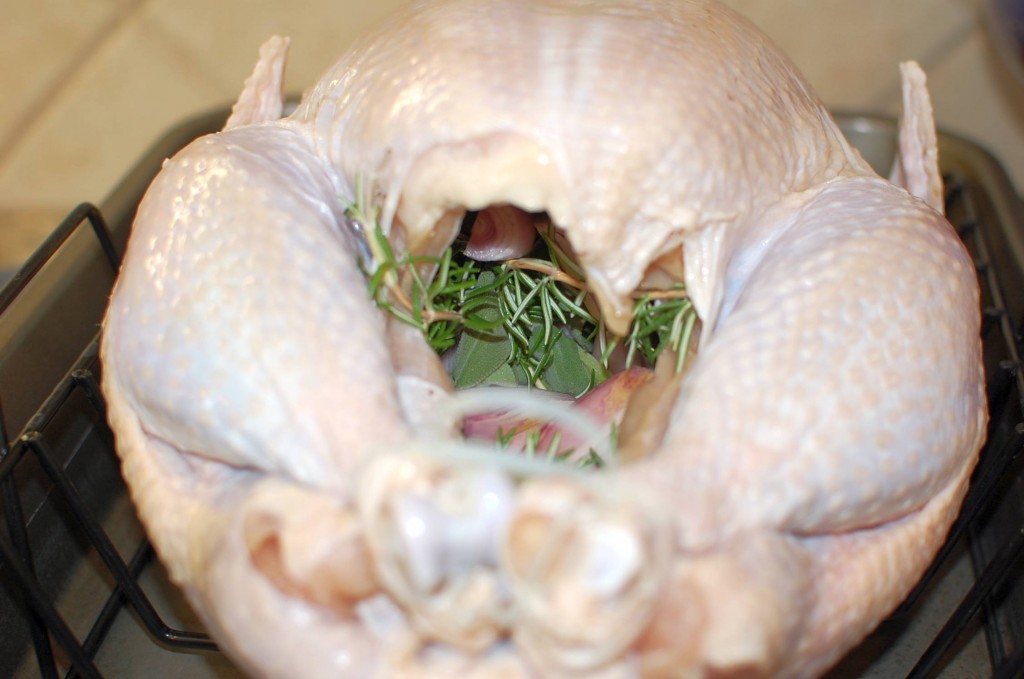
Use fresh rosemary, sage, and onion or shallots to stuff the turkey cavity. This will add a wonderful flavor to the meat!
- 12-14 pound turkey
- few T. canola oil (to rub turkey)
- garlic salt
Turkey Brine:
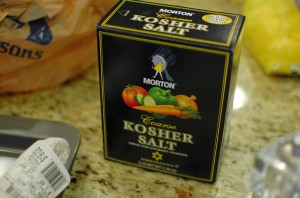
- 1 c. kosher salt
- 1/2 c. dark brown sugar
- 1 T. peppercorns
- 1 T. whole allspice berries
- 1 qt. water
- 3 qt. ice water
Aromatics (to stuff the cavity):
- 1/2 onion, roughly chopped
- 6-10 sage leaves (about 2 sprigs)
- 4-5 sprigs rosemary
- pan drippings from the turkey
- 3-4 c. turkey or chicken broth
- 2-4 T. flour
- 1/2 – 1 c. cold water
- 8 oz. sliced mushrooms (optional)
- salt, pepper to taste
- Large roasting pan with rack
- Digital Cooking Thermometer
1. If you are buying a frozen turkey, make sure you defrost it several days in advance. Plan to defrost in the refrigerator 1 day per 4 pounds of turkey. (I usually add an extra day to that number just in case.) For a 13 pound turkey, it will take about 4-5 days in the refrigerator to defrost.
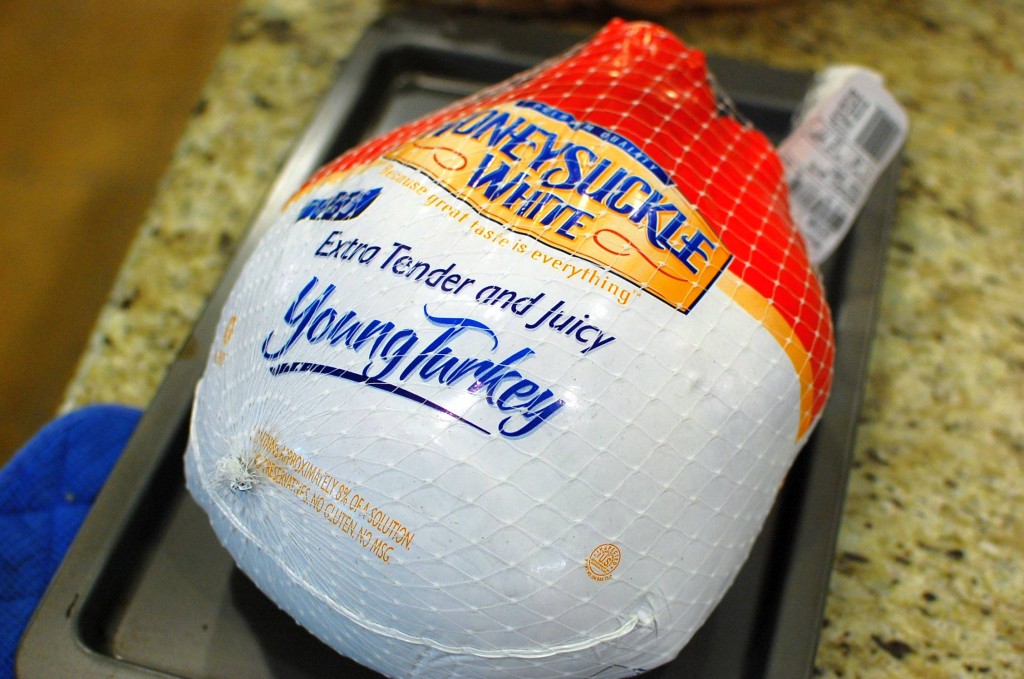
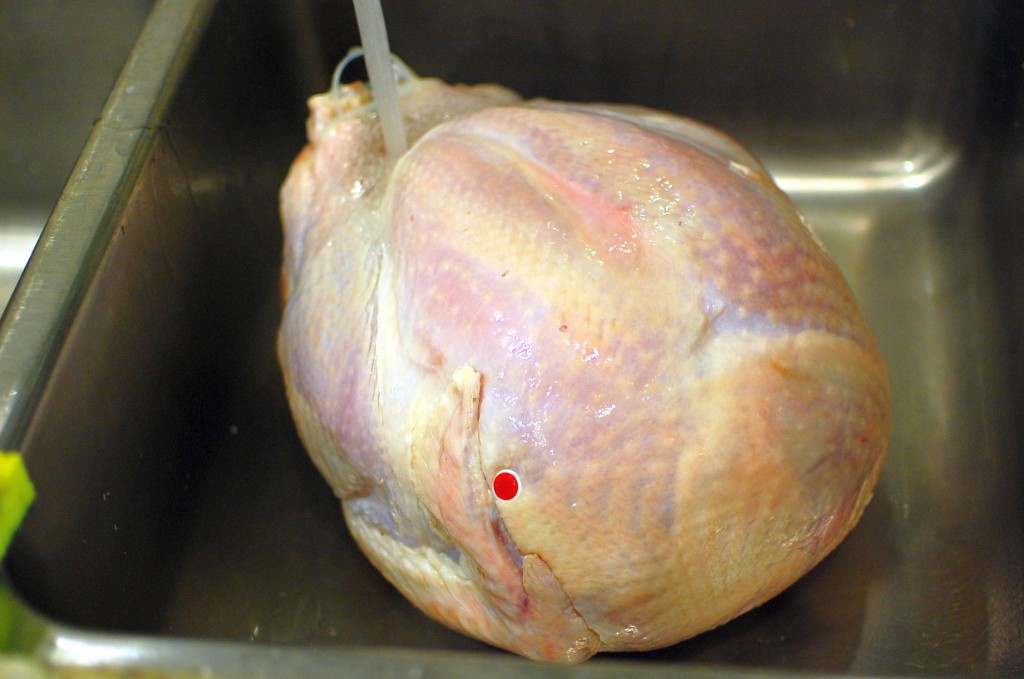
2. The night before roasting the turkey, remove the defrosted (or fresh) turkey from the package. Rinse with cold water. (See the little red plastic temperature probe that is already stuck into the turkey? Yeah, take it out. Don’t rely on that thing unless you want a really dry and awful turkey. You can remove it with some pliers, or do what I do and use a kitchen scissor to go underneath the “nail head” and lift it out. You don’t have to remove it, but I think it’s kind of ugly and in the way, so I remove it.)
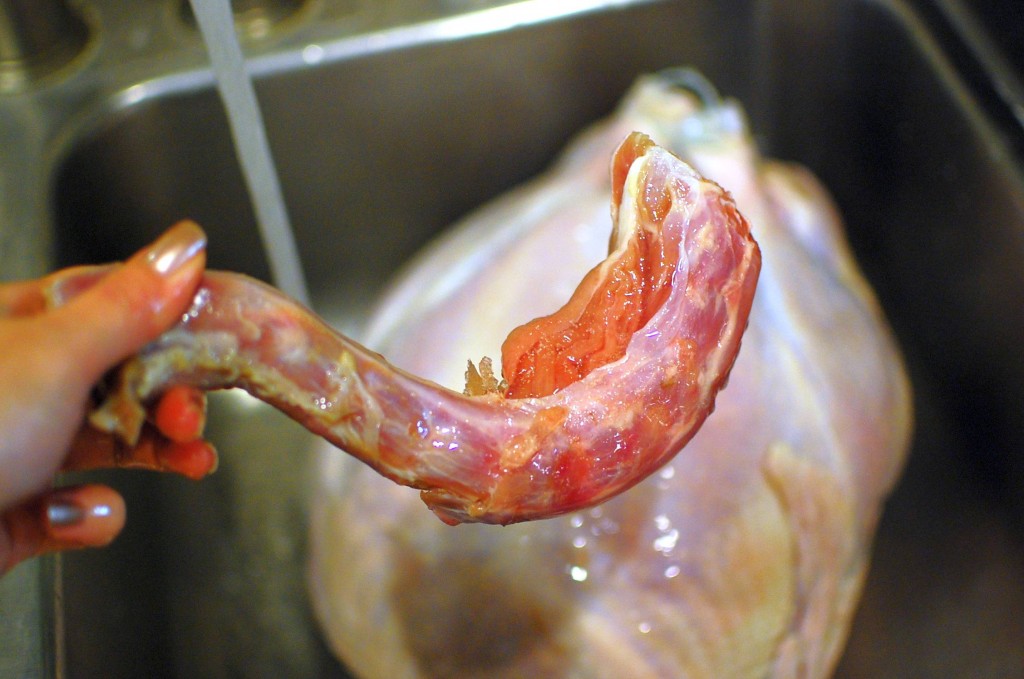
3. The neck will usually be stuffed into the large abdominal cavity, and a small pouch of the giblets will usually be in the neck cavity. (Don’t forget to remove the giblet bag! What do you do with the giblets? My dad likes to fry them up and add it to the stuffing. I don’t really like the flavor and texture of the giblets and I think it ruins the stuffing… so I usually just cook it, slice it into very small pieces, and then give it to the cats once cool. Cats like to eat giblets. So do dogs.)
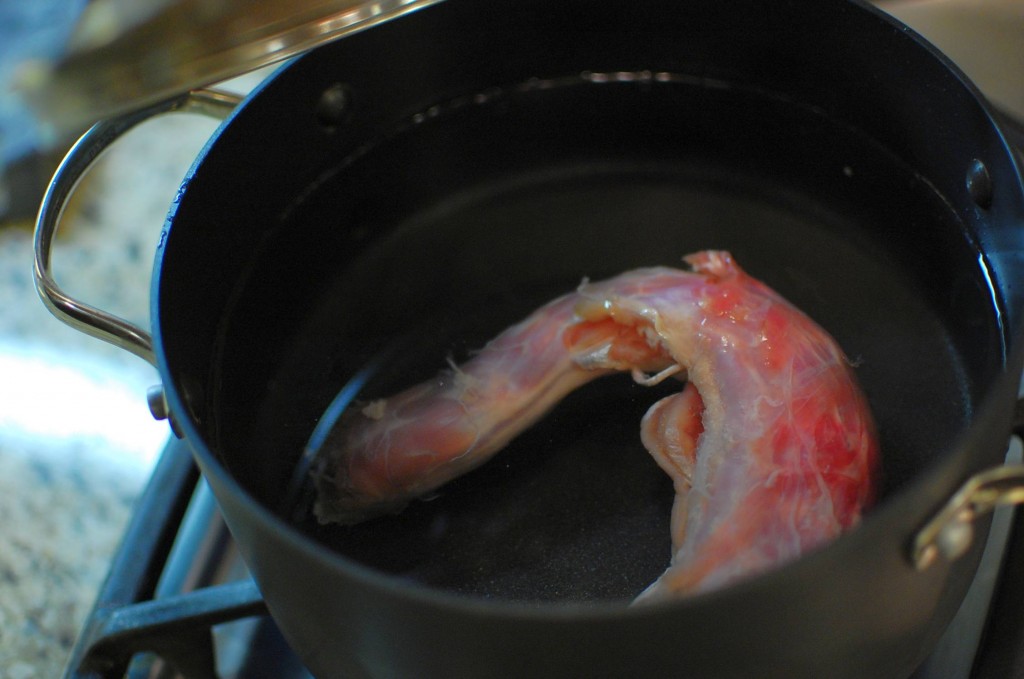
4. I usually simmer the neck in some water with a pinch or two of salt to make a turkey broth to use the next day for the stuffing/dressing and for the gravy. If you have any carrot peels, celery tops, or onion ends – throw those into the pot too. (I cook the dressing in a separate dish – if you cook it inside the turkey as stuffing, it takes longer for the turkey to cook.)
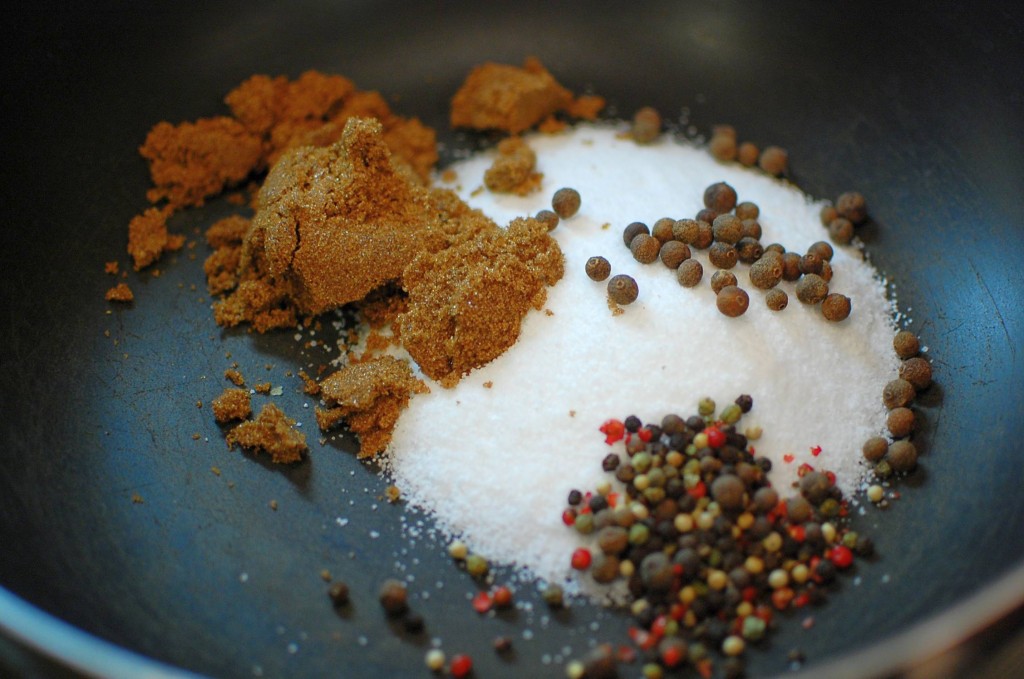
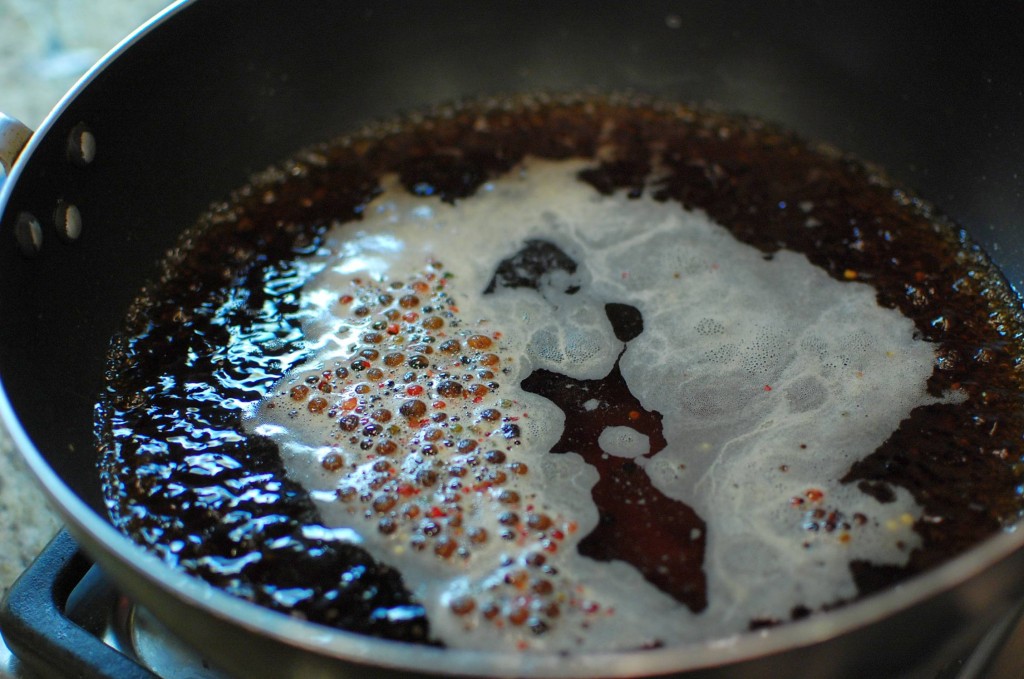
5. Then, make the brine. Place the kosher salt, brown sugar, peppercorns, and allspice berries into a large stockpot (or like I’m doing here, in a non-stick wok. What can I say? I was a bit lazy and didn’t want to bother dragging out the stock pot when I had a perfectly good wok sitting on my stove top!). I got all fancy here and used a colorful peppercorn blend that I found at Home Goods.
6. Add 1 qt. water (1 quart = 4 cups) to the pan, and bring to a simmer. Stir to dissolve, and allow to simmer about 3-4 minutes. Turn off the heat and let steep for a few more minutes.
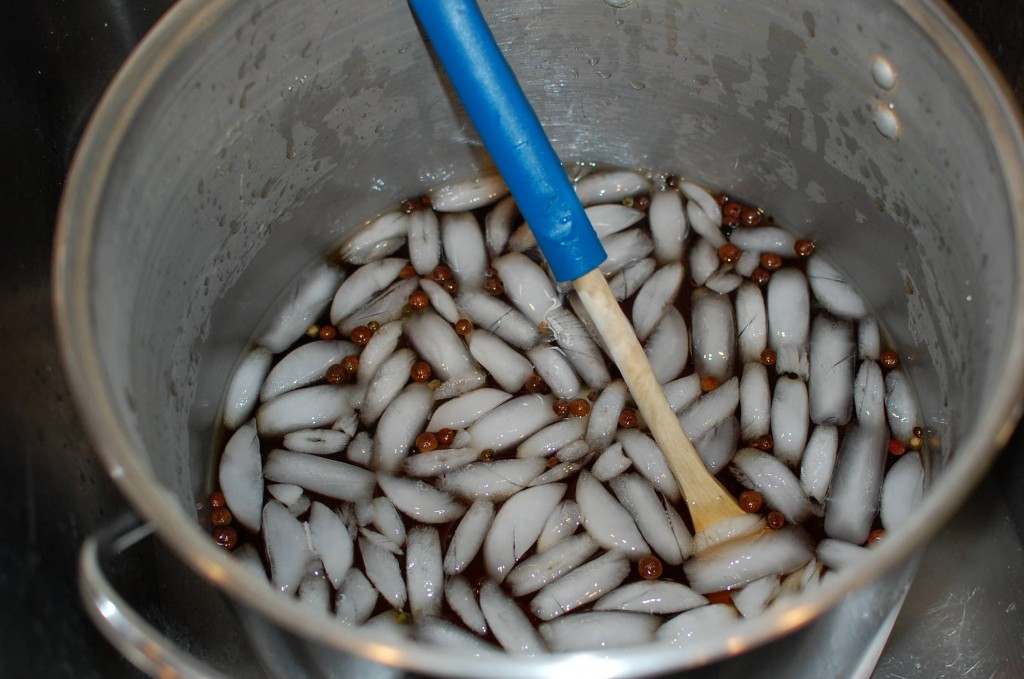
7. Place the hot brine mixture into a container large enough for the turkey, and add the 3 quarts of ice water. (I’m using a large stock pot that I normal use for water bath canning. If your turkey is really large, you can even use a large plastic cooler to brine your turkey.) Stir, and make sure the brine solution is cold (you don’t want to add the raw turkey into warm brine).
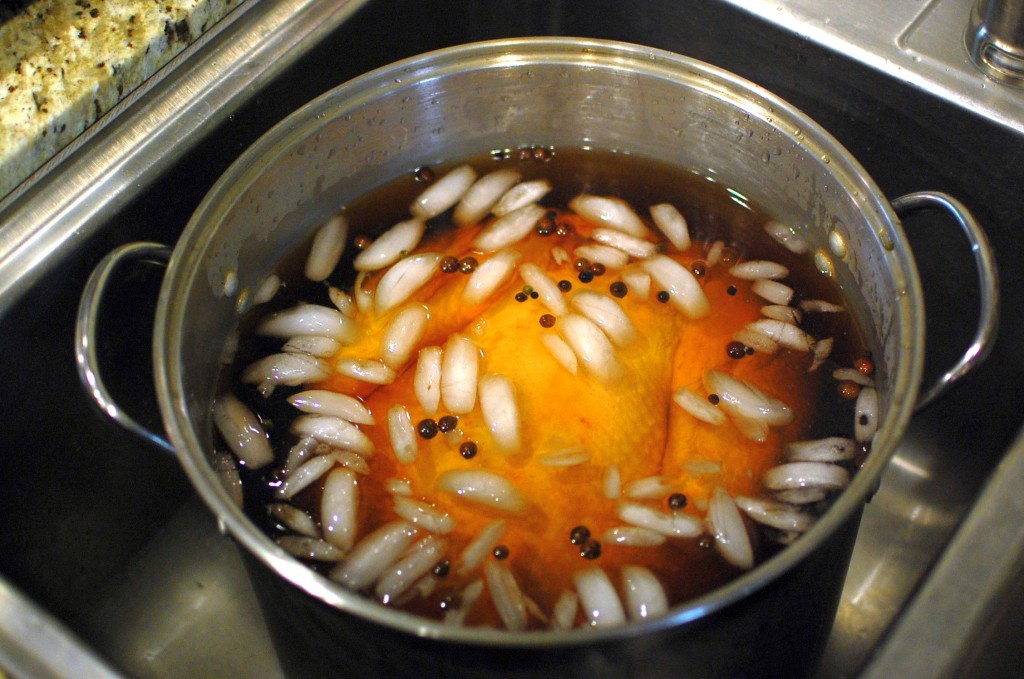
8. Place the turkey into the brine solution, making sure it is fully immersed. You can weigh the turkey down with something heavy if it floats. Refrigerate the turkey in brine bath overnight.
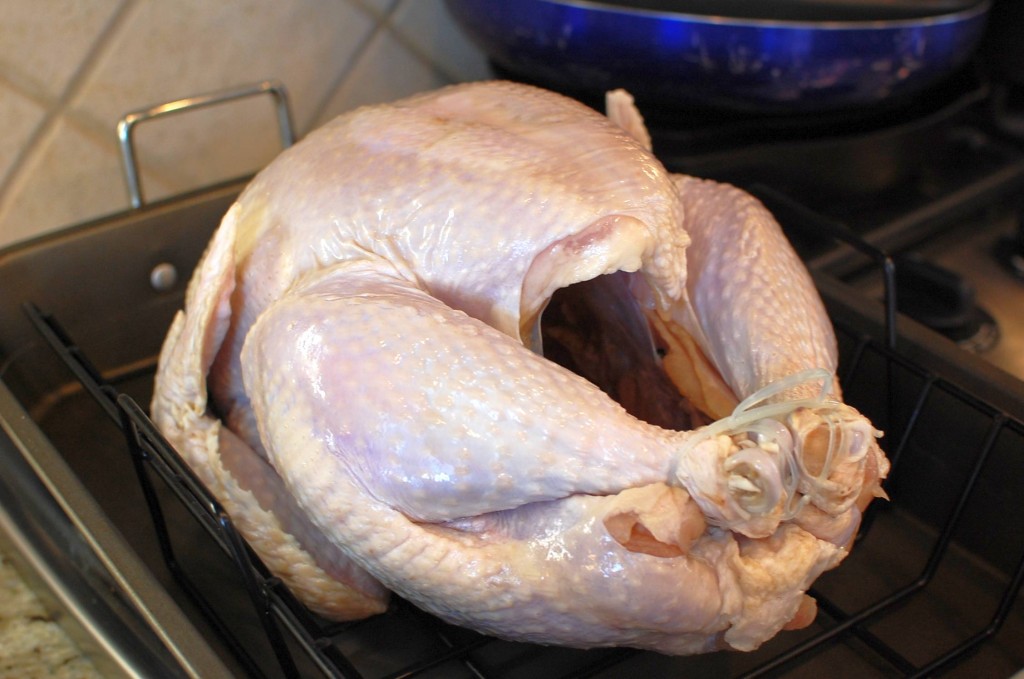
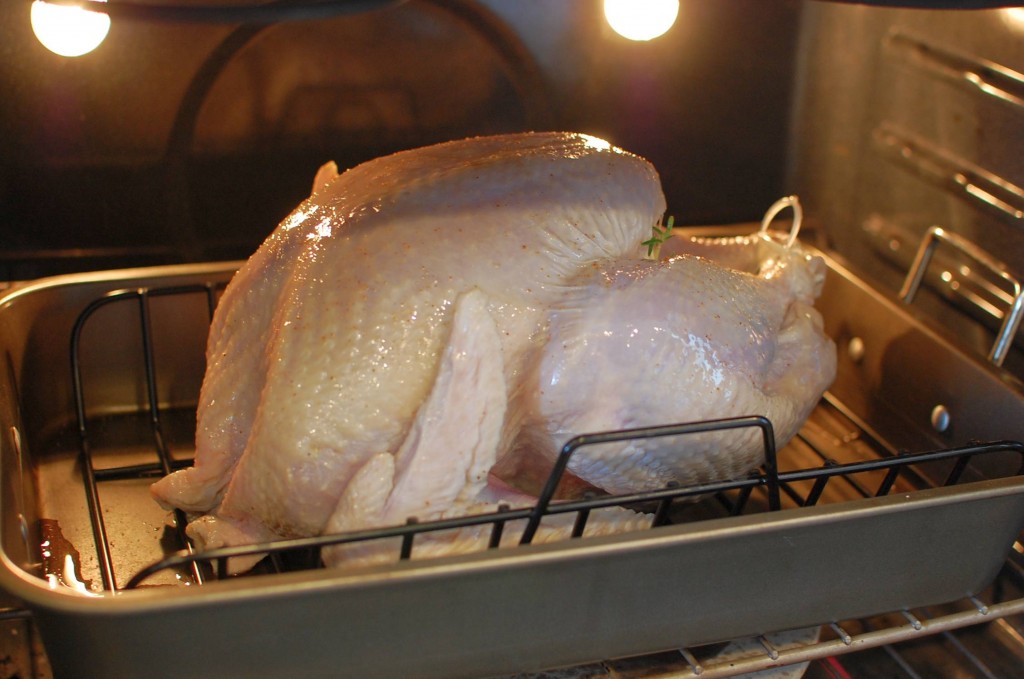
9. The next day, remove the turkey from the brine solution. Rinse the turkey briefly, and pat dry with paper towels. Set the turkey onto a rack in a roasting pan, breast side up.
10. Preheat the oven to 500 degrees, and position the rack on the second lowest rung. Rub the outside of the turkey with the canola oil, and stuff the cavity with the aromatics. (If your turkey doesn’t come with the legs tied together, go ahead and tie them together at this point with kitchen twine.) You can sprinkle the oiled skin with a little bit of garlic salt if you like.
11. Place the turkey into the hot oven. Bake at 500 degrees for 30 minutes. (This step helps to give the bird a nice golden brown skin.)
12. Open the oven and insert a meat probe into the thickest portion of the breast. (There might be some smoke, so make sure you turn on the kitchen exhaust fan and open windows!) Set the thermometer alarm to 161 degrees.
13. Now, take a large piece of foil (folded to double thickness), and cover only the breast portion of the turkey. Basically, you want to create a “heat shield” so that the breast doesn’t overcook by the time the thigh and legs are done.
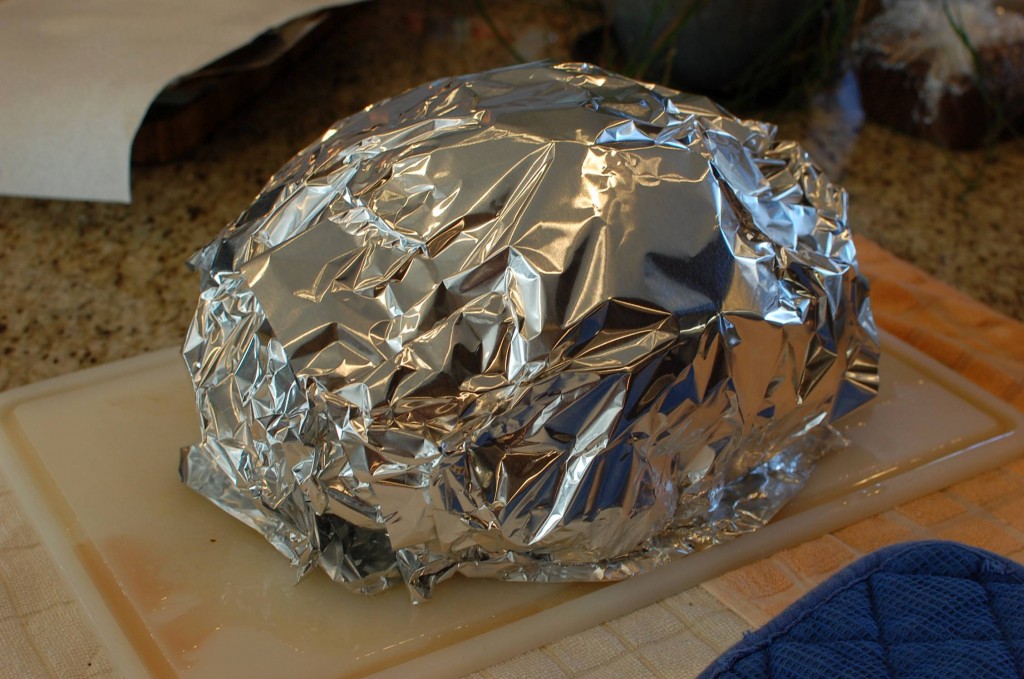
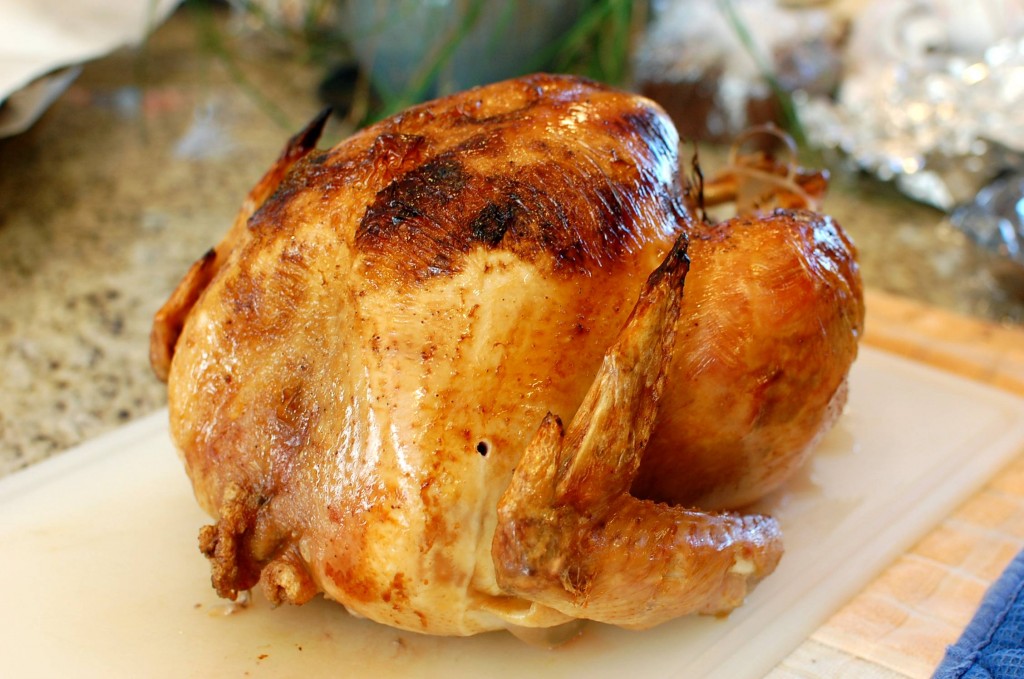
14. Reduce the temperature to 350 degrees, and bake a few hours (probably 2-3 hours depending on the size of your bird). Remove from the oven once the temperature reaches 161 degrees, tent with foil, and allow to rest for 15-20 minutes before carving.
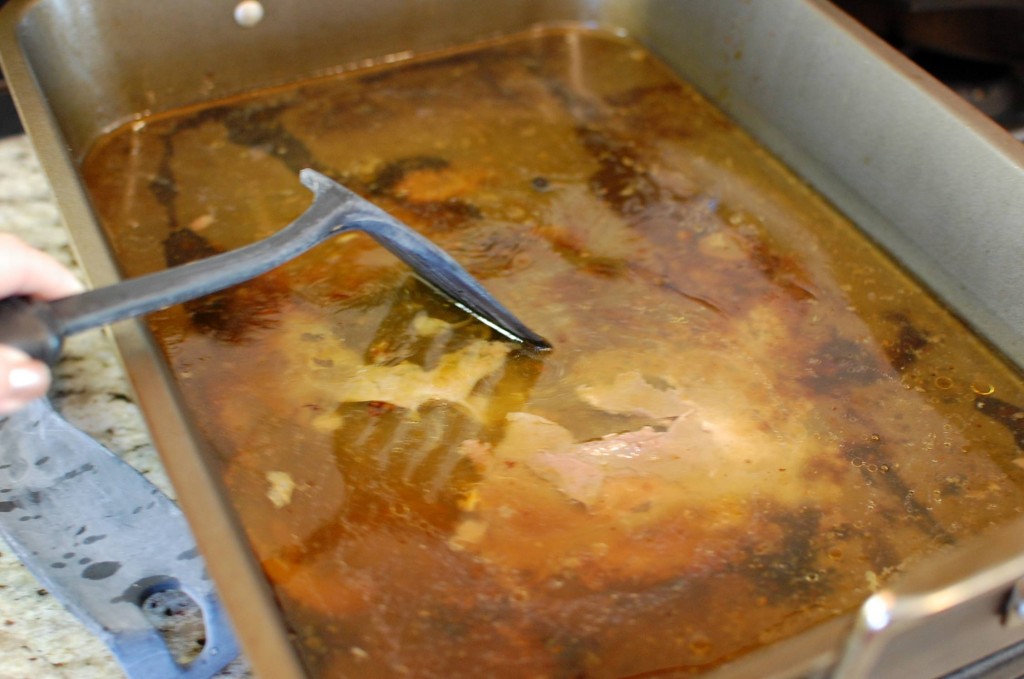
15. Don’t clean the pan yet! Use the drippings from the pan to make the gravy. Pour 4 c. turkey or chicken broth into the hot roasting pan, and use a spatula or wooden spoon to gently scrape the browned bits from the bottom of the pan into the broth.
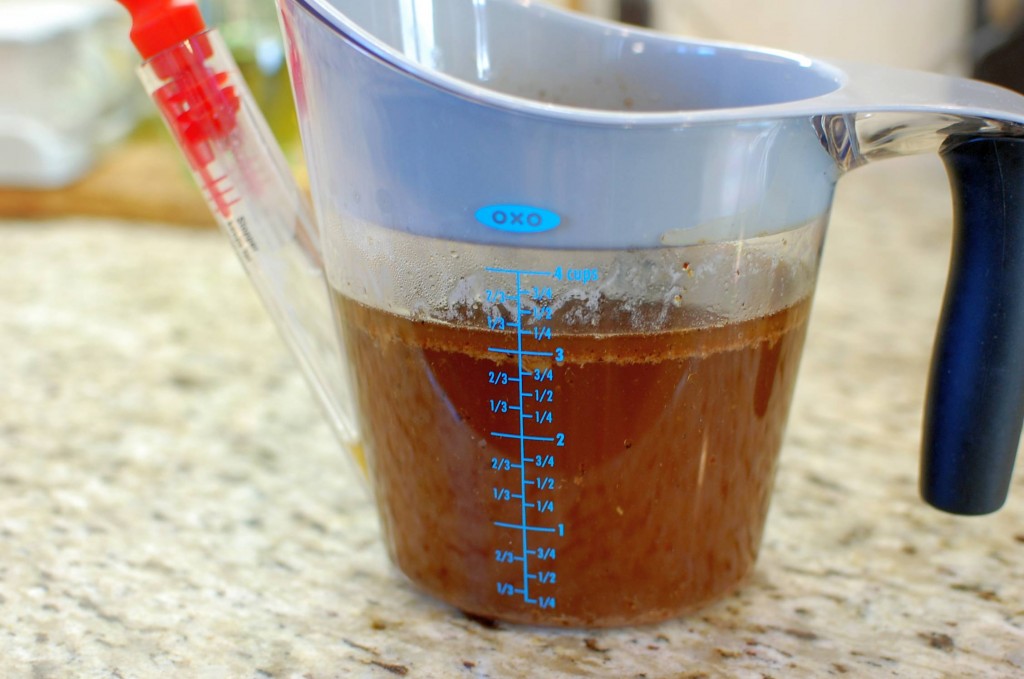
16. Strain the pan drippings and broth into a gravy separator. (Leave the stopper in the spout when you pour the pan drippings into the bowl, then when you are ready to pour the flavored broth into the pan, remove the stopper and gently tilt the spout. It’s ok if you get some fat into the gravy – you just don’t want a thick layer of fat making the gravy feel greasy.) You can also use a turkey baster or a spoon to remove the fat layer from the top of the juices/broth if you don’t have a gravy separator.
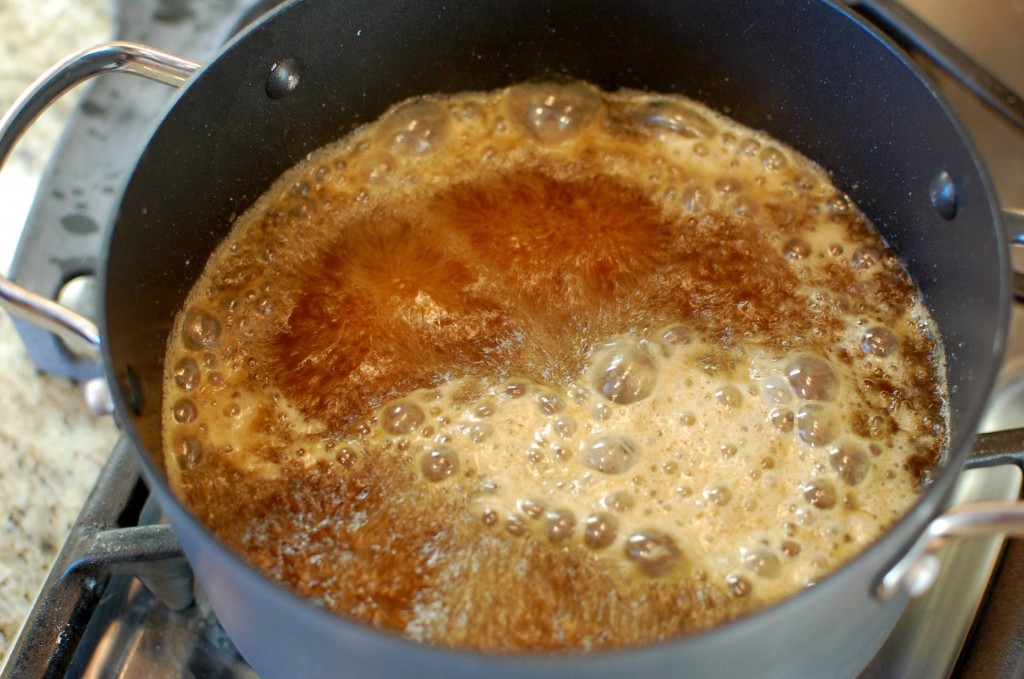
17. Add the de-fatted turkey drippings to a large sauce pan, bring to a simmer.
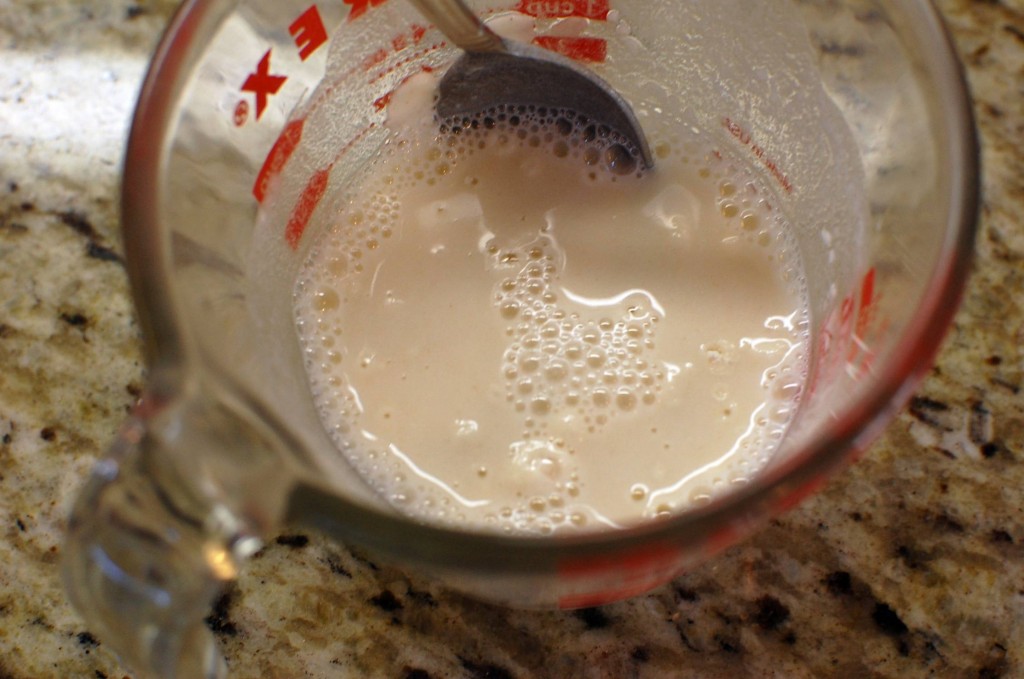
18. Mix 2 tablespoons of flour into 1/2 c. cold water to make a slurry. (Make sure you stir out all the lumps – any lumps in the slurry will cause lumps in your gravy.)
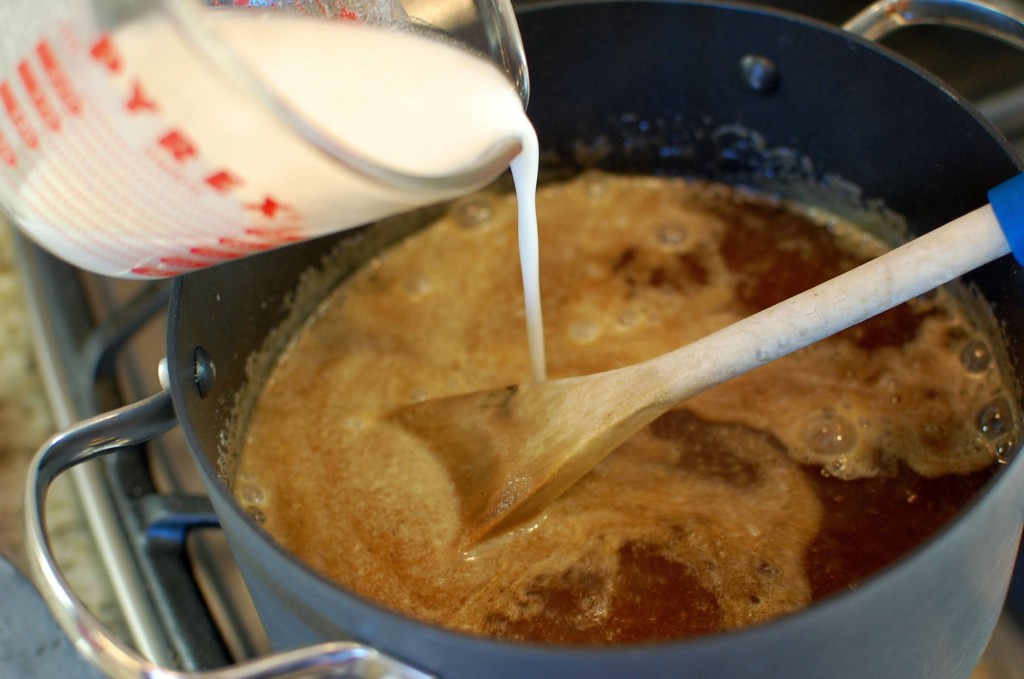
19. Add the slurry into the simmering broth, let cook a few minutes until thickened. If you want your gravy to be thicker, mix up and add more slurry. If you have accidentally made it too thick, thin it out with some turkey or chicken broth.
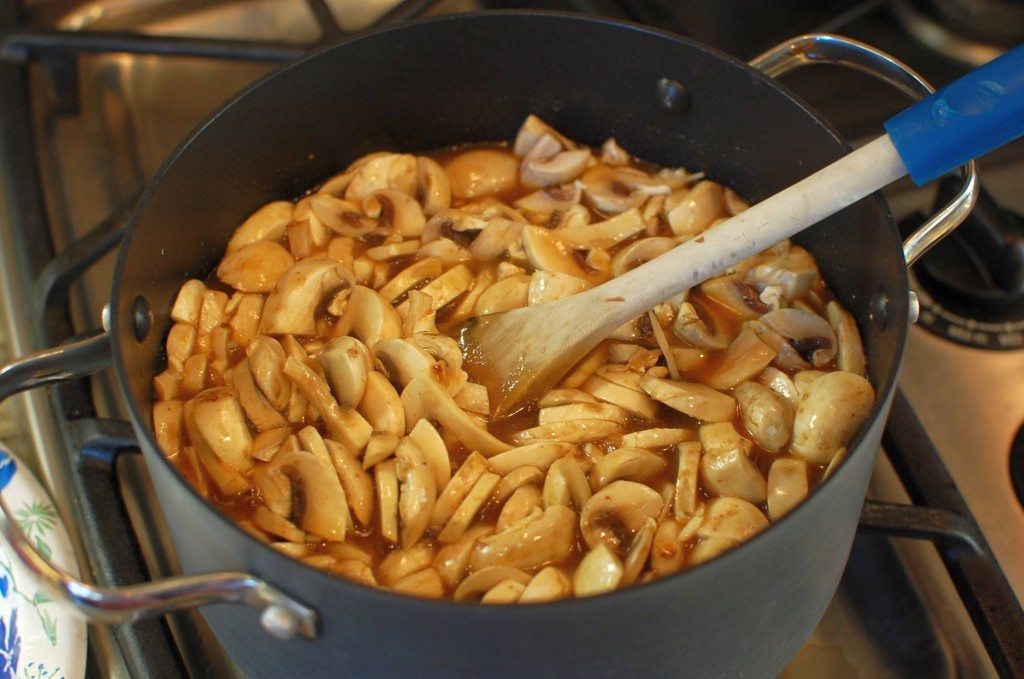
20. Add the sliced mushrooms, simmer a few more minutes until the mushrooms are soft. Taste, and add salt and pepper if needed.
21. Carve the turkey and serve!



Recent Comments