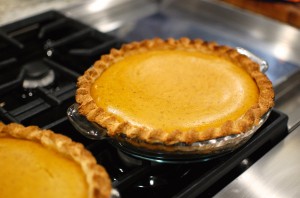
Happy Thanksgiving! Thanksgiving is almost here… and I’ve been slowly getting ready for the big feast on Thursday. I plan to make most of the side dishes on Wednesday… but the pumpkin pie and other desserts can be made up 2-3 days in advance to help save time on Thanksgiving Day. My husband always says, “Why don’t you just buy a pie? You could just buy it at Costco, you know…” Well yes, I could buy a pie at Costco… but for me, it’s not a real Thanksgiving without a fresh homemade pumpkin pie. So I’m sharing my method for making a Pumpkin Pie from scratch – from start to finish, including cooking the pumpkin and making the pastry for the crust.
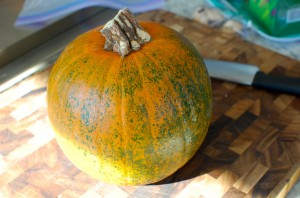
If you don’t have that much time, you could use a store-bought frozen pie crust and canned pumpkin puree and still get a more homemade taste… but if you have the time, try making it with a real pumpkin! The best pie pumpkins are the small sugar pumpkins that usually can be found in the supermarket around Halloween, typically on sale at two for $5.
If you are looking for Thanksgiving recipes, I posted my recipe/method for brining and roasting a turkey last year. Check out my brined Thanksgiving Turkey recipe if you are interested (I’ve also included my method for making gravy from the drippings). And don’t forget… if you bought a frozen bird, you will want to defrost it 1 day for every 4 pounds ahead of time – so if your bird is still in the freezer, you might want to start defrosting it ASAP so that you don’t end up with a frozen bird on Thursday morning! If you are looking for Thanksgiving side dish ideas, one of my favorite Thanksgiving side dishes is my Sweet Potato Casserole - it has a brown sugar/pecan crust and is made from whole fresh yams (it can be prepared a day or two ahead of time). My Creamed Spinach recipe also makes a good side dish for Thanksgiving (it can also be prepared a day or two ahead of time.)
I hope everyone has a wonderful Thanksgiving!
(This recipe makes two 9″ pumpkin pies.)
Pie crust (makes 2 bottom crusts):
- 1 c. unsalted butter (cold)
- 3 c. flour
- 1/2 tsp. salt
- 6 T. sugar
- 1/2 c. sour cream
Pumpkin Pie filling (to make two 9″ pies):
- 4 c. pumpkin puree (from 2 whole sugar pumpkins)
- 4 eggs
- 1 1/2 c. sugar
- 1 tsp. salt
- two 12 oz. cans evaporated milk
- 3 tsp. pumpkin pie spice (or 2 tsp. cinnamon + 1 tsp. ginger + 1/2 tsp. cloves)
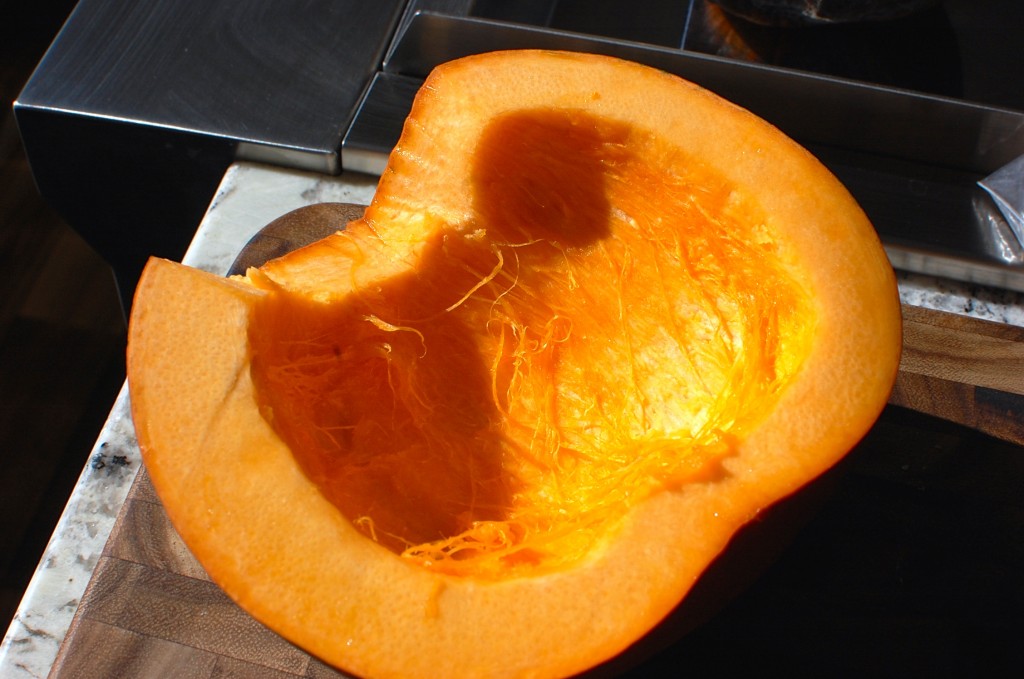
1. The day before you want to make your pie, cut the pumpkins in half and remove the seeds and strings. (You will need about two small sugar pie pumpkins to make enough fresh pumpkin puree. If you prefer not to use whole pumpkins, proceed to step 7 and just used canned pumpkin puree instead.)
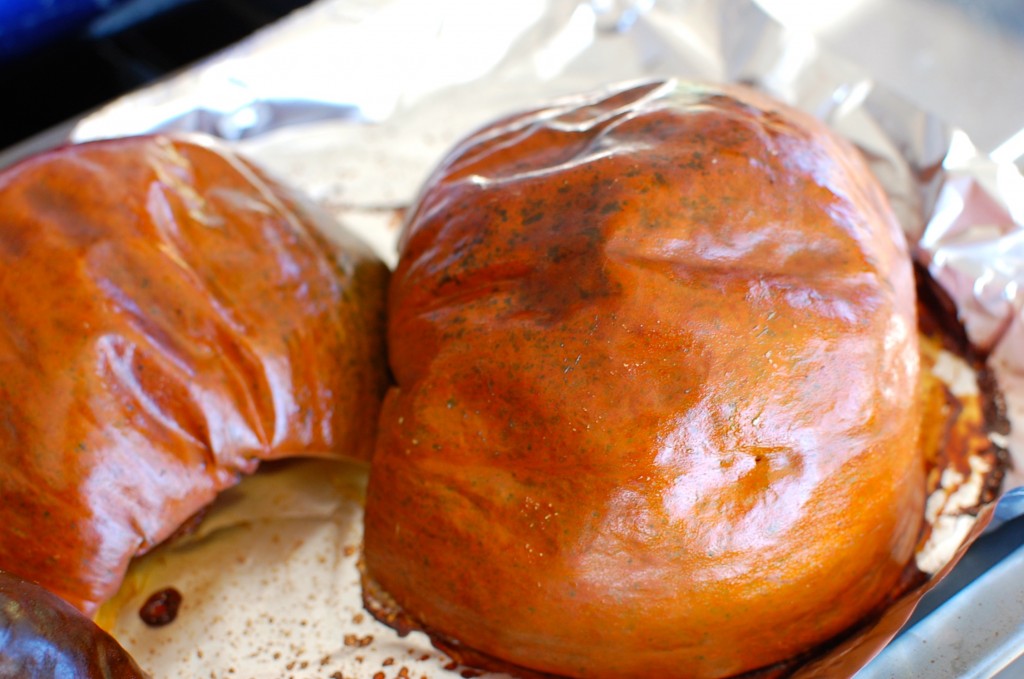
2. Heat the oven to 400 degrees, and place the pumpkins cut side down on a foil lined baking sheet. (Use Reynold’s non-stick foil to make it easy to remove the pumpkin later.) Bake for about 1 hour. (Test by piercing the flesh with a fork – if it is soft, then it’s ready. If the flesh is not soft, then bake another 15 – 30 minutes until done.
3. Remove the pumpkins from the oven and allow to cool for an hour or so.
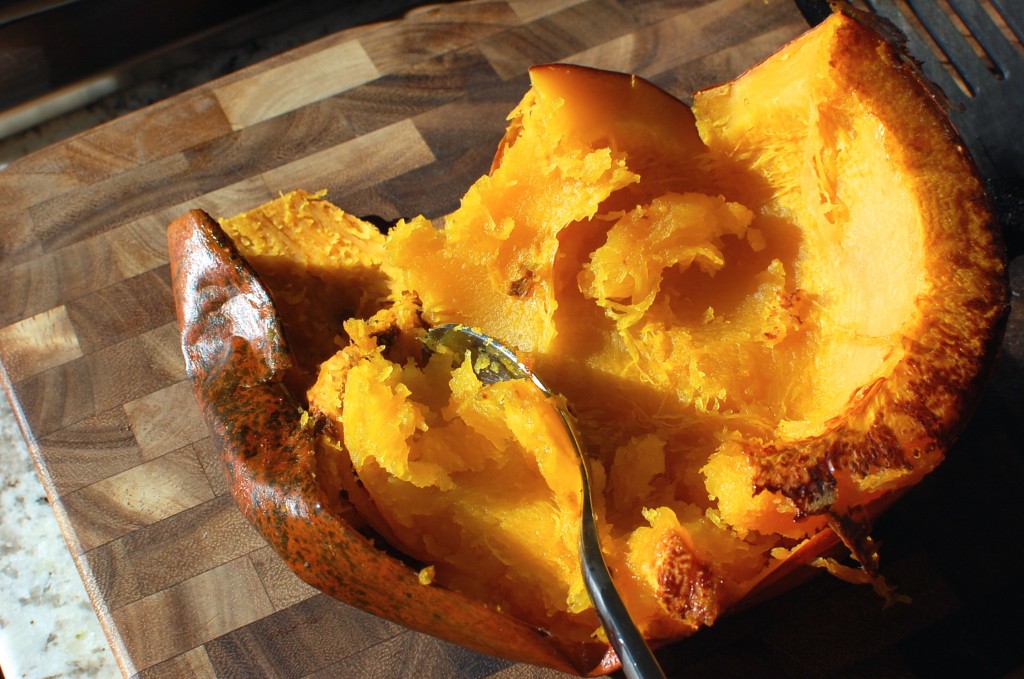
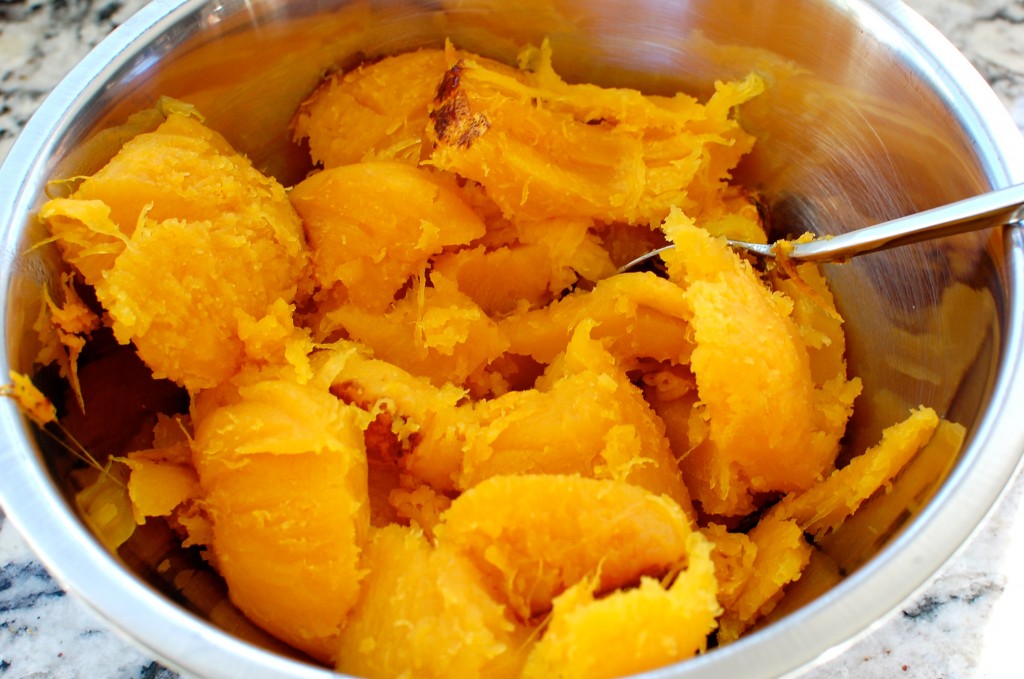
4. When cool, flip the pumpkins over, and scoop the flesh into a bowl, leaving the skins behind.
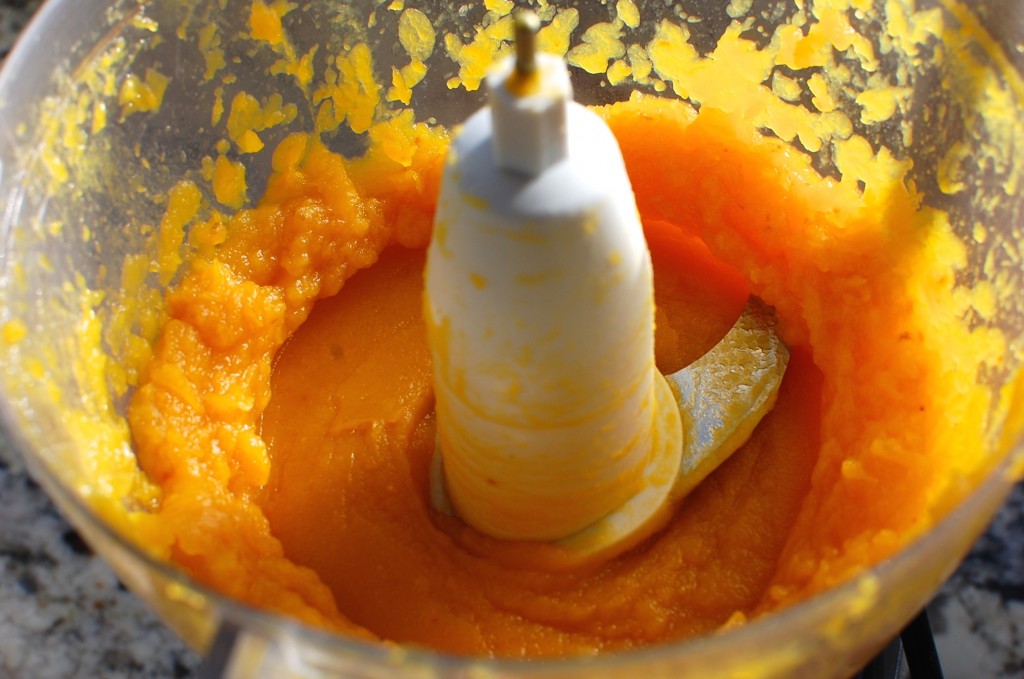
5. Using a food processor, puree the pumpkin in small batches until smooth.
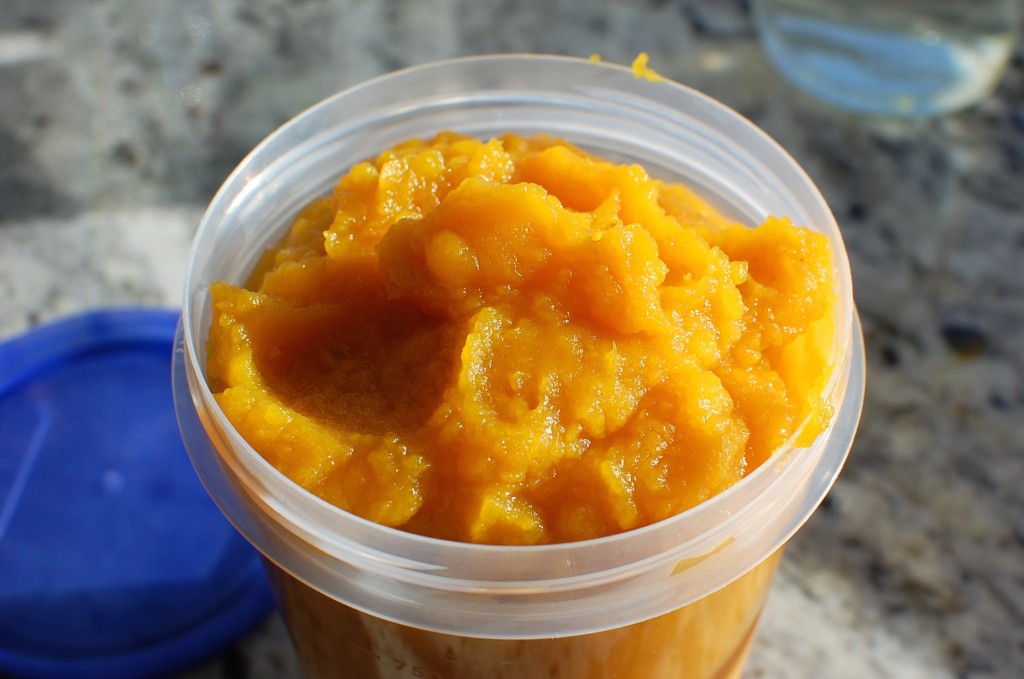
6. Store the pumpkin puree in a covered tupperware or plastic container in the refrigerator for 1-2 days ahead of making your pies. (You can make the pie the same day – but wait until the pumpkin puree is cool before making the filling.)
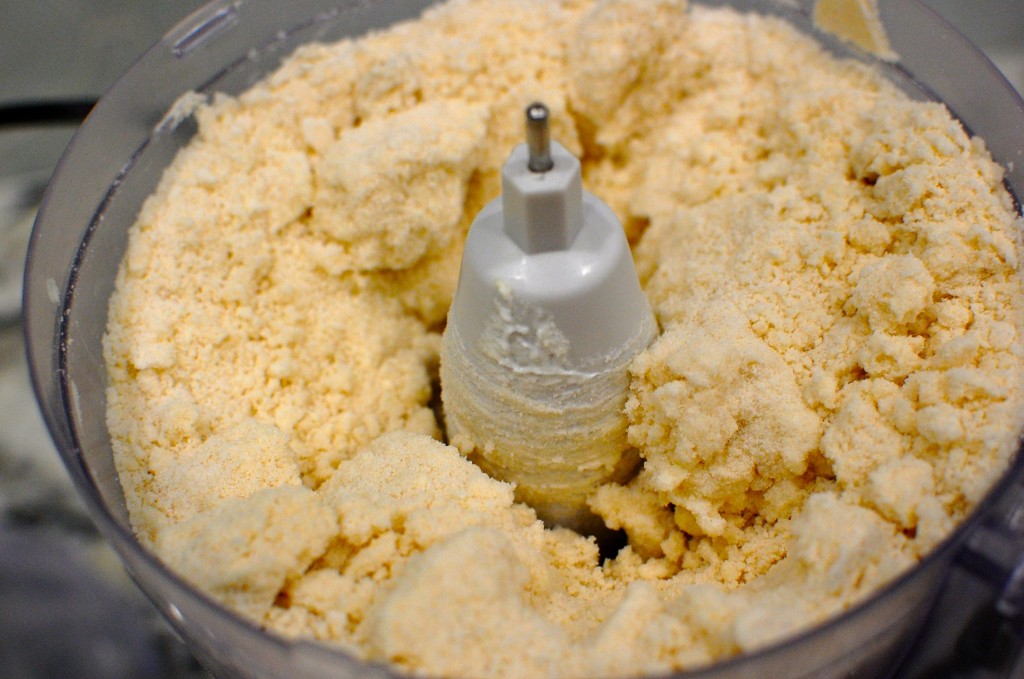
7. The day before you want to serve the pies: Start by making the crust. Cut the butter into several pieces, put in the bottom of a food processor work bowl. Add the flour, sugar, and salt. Process in pulses until the texture of sand.
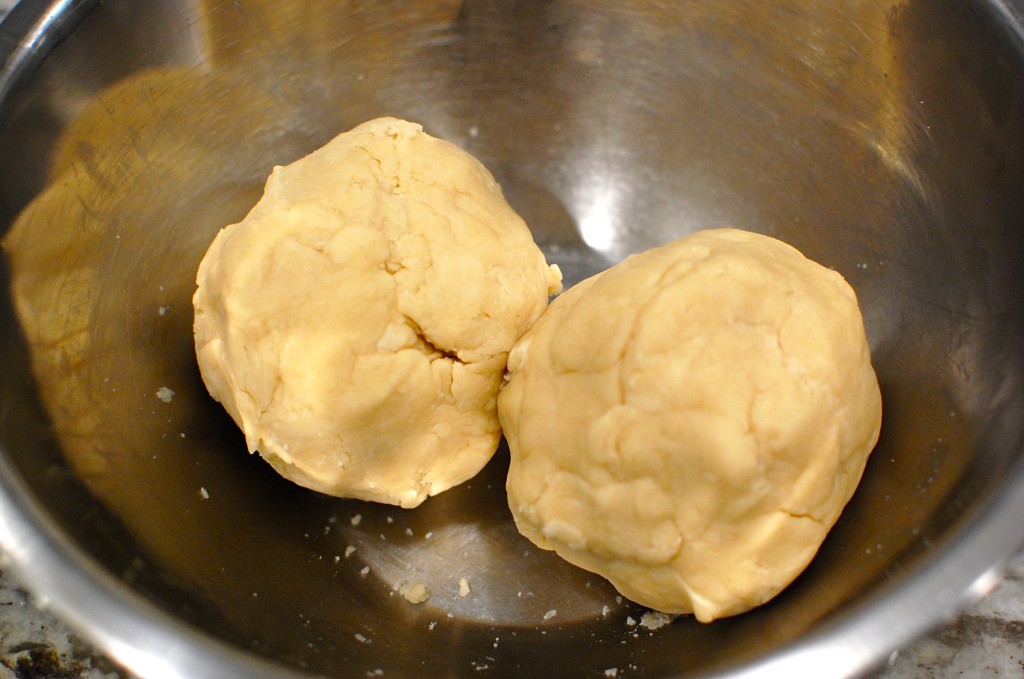
8. Add the sour cream, then continue to process until uniform. Form two balls, then cover and refrigerate for 30 minutes to chill the dough.
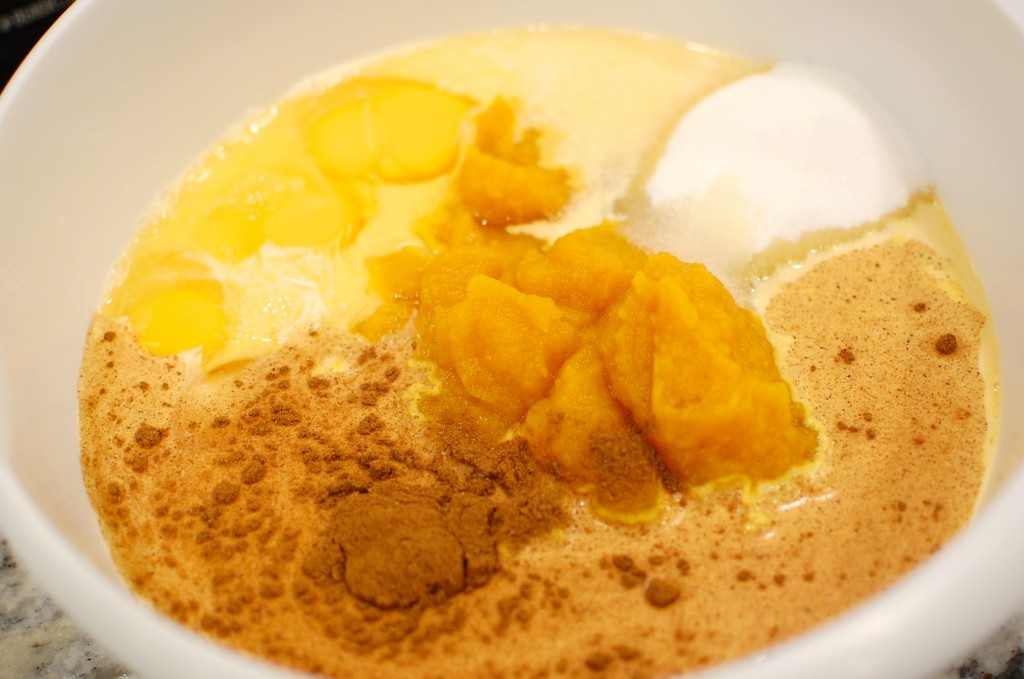
9. While the dough is chilling, make the filling. Mix the pumpkin puree, eggs, sugar, salt, two cans of evaporated milk, and pumpkin pie spice. If you don’t have or can’t find pumpkin pie spice, substitute with: 2 tsp. cinnamon + 1 tsp. ginger + 1/2 tsp. cloves.
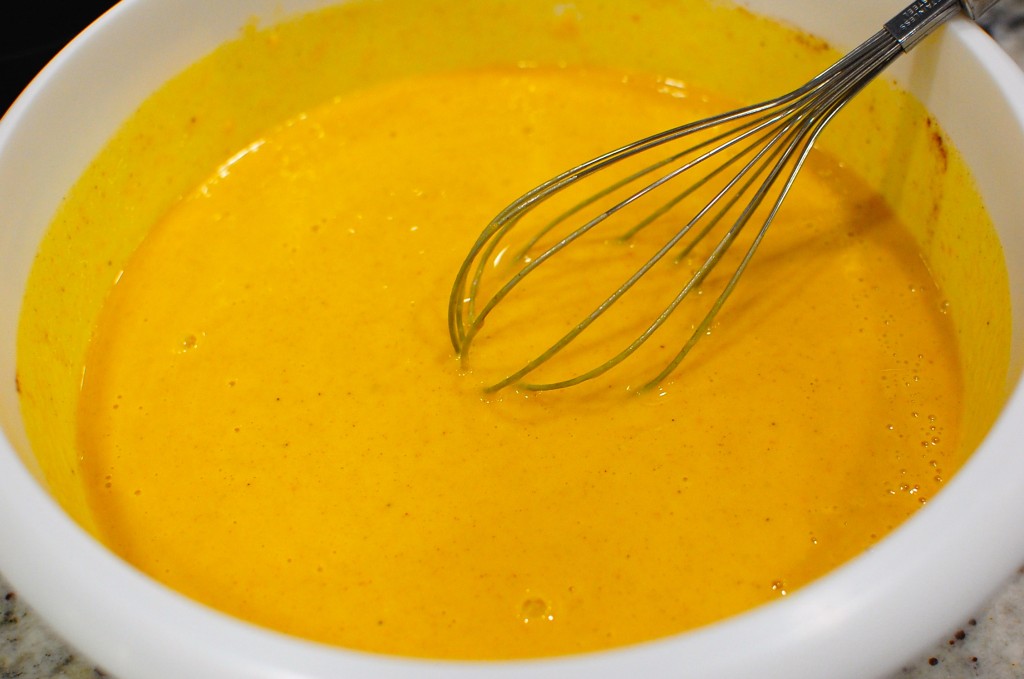
10. Mix the pumpkin mixture thoroughly with a wire whisk.
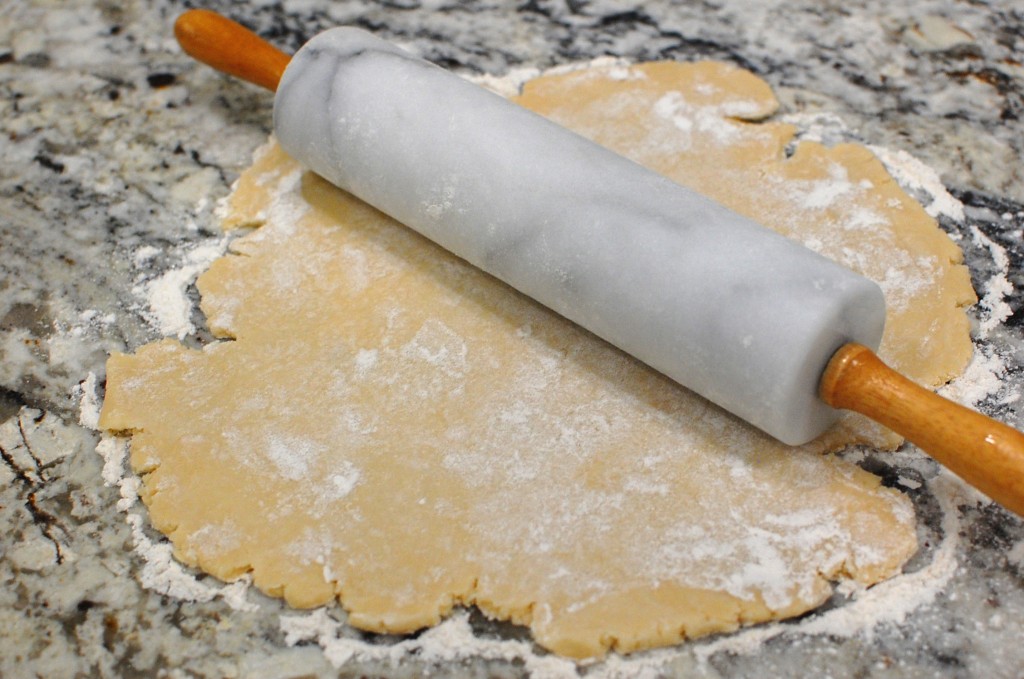
11. Preheat the oven to 425 degrees. Flour the counter top generously. Flatten one of the dough balls, and roll out into a large circle.
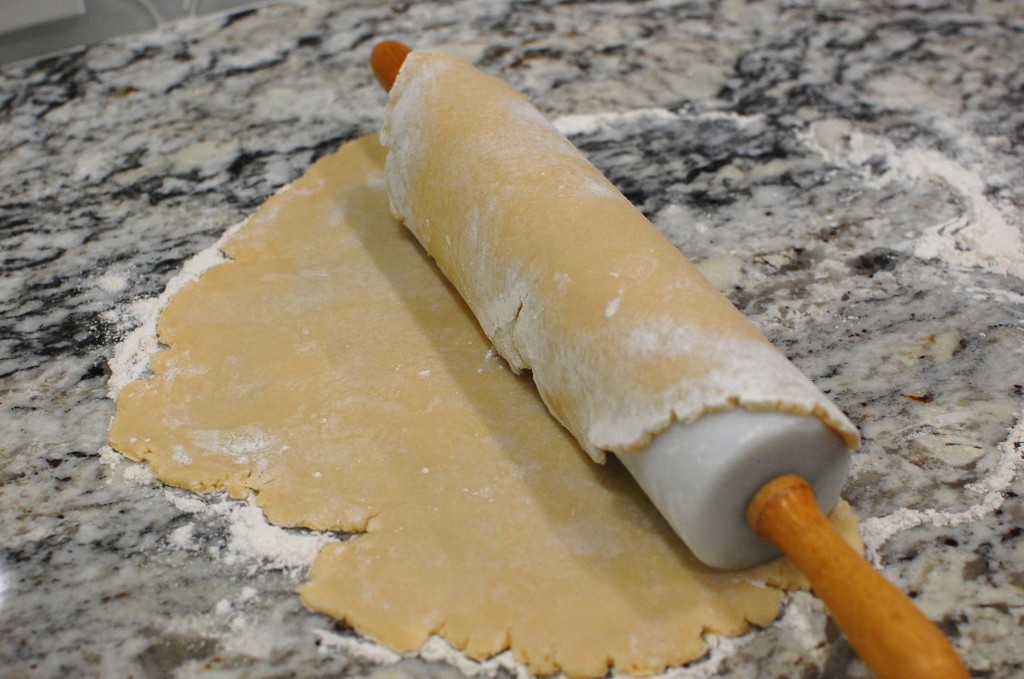
12. Roll the pastry onto the back of the rolling pin, then transfer to a 9″ pie dish.
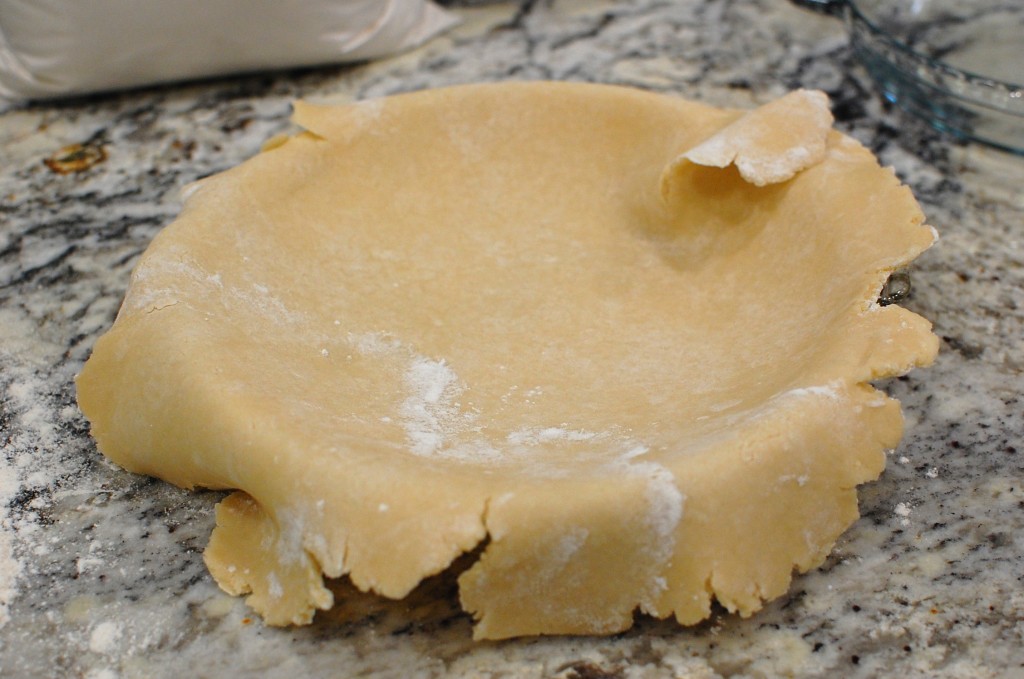
13. Ease the pie crust into the pie pan.
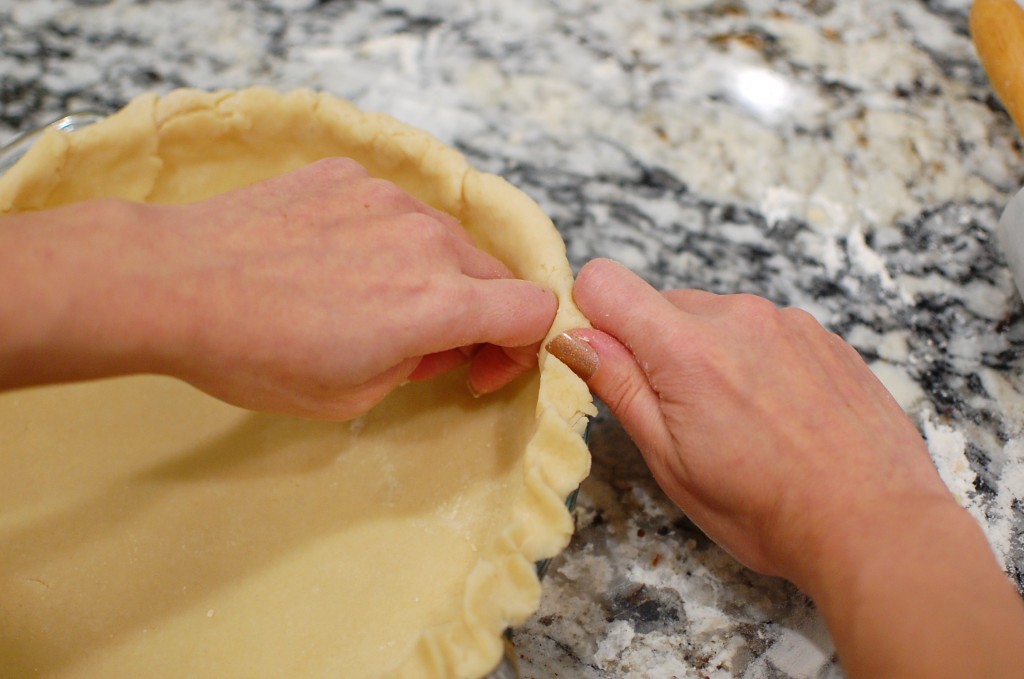
14. Fold the hanging edges over, and then pinch the edges of the crust around the circumference to create a neat fluted edge. If you prefer not to do this, cut the pastry scraps off with a sharp knife, and lightly crimp the edges with the tines of a fork. Repeat, and line another 9″ pie pan with dough.
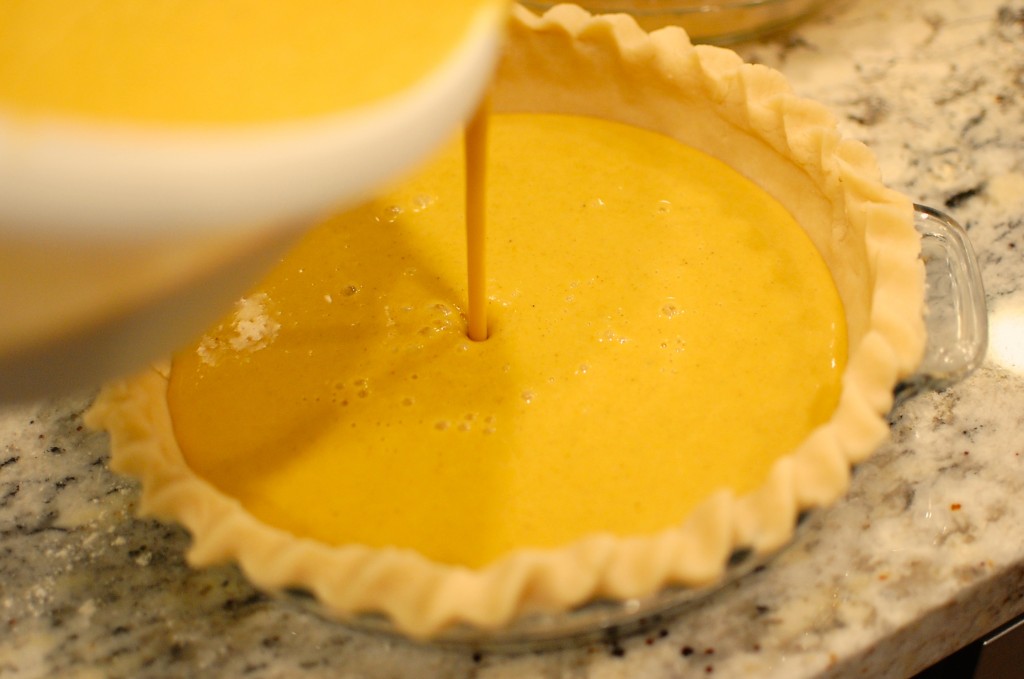
15. Pour the prepared pumpkin filling into the unbaked pie crusts. Place the pies into the oven, and bake at 425 degrees for 15 minutes.
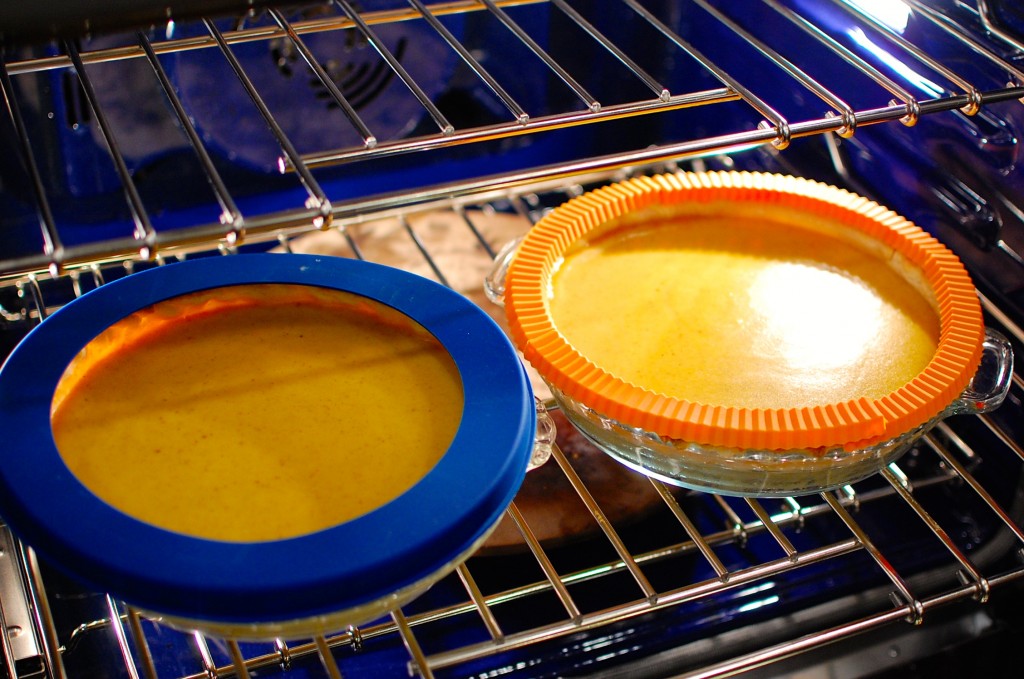
16. After 15 minutes, open the oven and check the pie crust edges – they might be starting to brown at this point. Cover the pie crust edges with a silicone pie crust protector. I have two kinds: the blue one is one whole piece you slide on top of the pie. Blue = Norpro Silicone Pie Crust Shield for about $6. Orange = Casabella Silicone Pie Crust Shield for about $6. The orange version on the right comes in 4 to 5 pieces – you carefully place the four pieces around the edge to prevent burning. If you don’t have a pie crust protector, then make your own temporary version by covering the pie crust edges with double thickness pieces of aluminum foil.
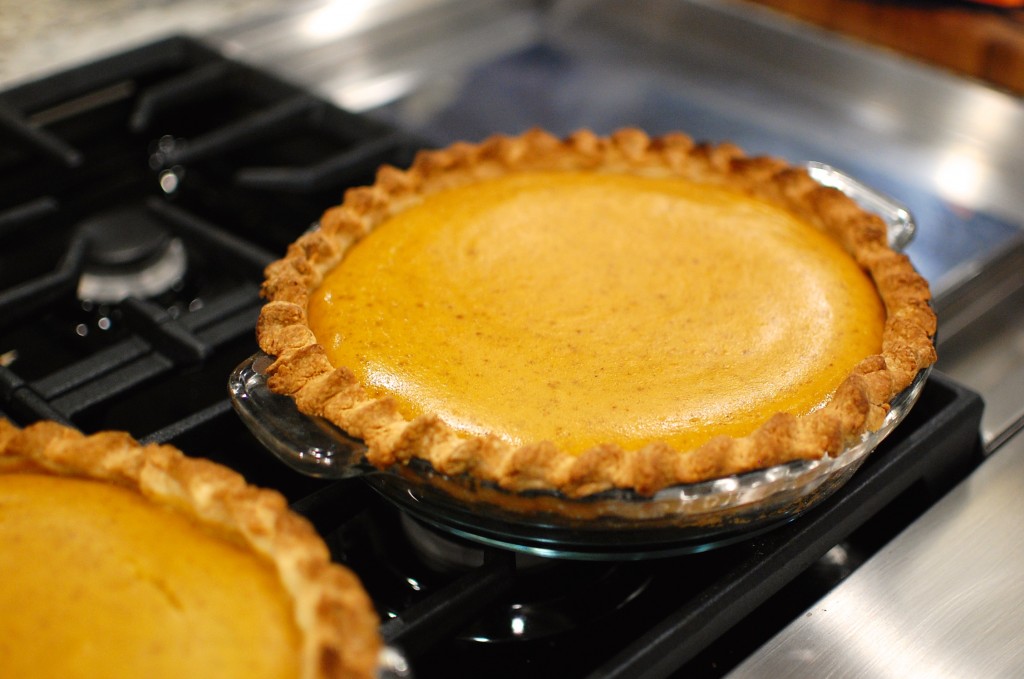
17. Reduce the oven heat to 350 degrees, then continue to bake the pies for another 25 minutes. Check the center of the pies… if the center is still quite jiggly, continue to bake for another 5-10 minutes until the center of the pie is just barely set. (The pies will continue to cook when cooling, so keep that in mind and don’t overcook your pies.) For my pies, I ended up baking them 35 minutes in this step until the center was set. Remove the pies to the stove top or a hot pad and cool completely.
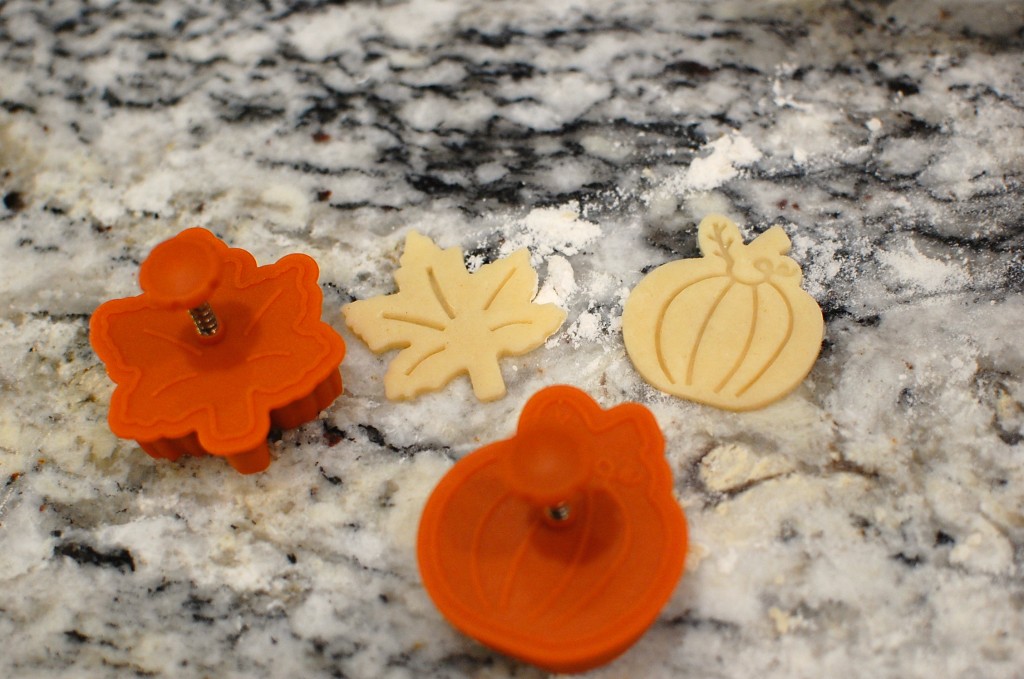
18. If you have any leftover pie pastry dough, roll it out and use small cookie cutters or pastry stamps to make some cute shaped cutouts to decorate your pie slices with later – bake for 5-10 minutes until done. I got these Pie Press Cutters from amazon.com (for about $20 you get a pumpkin, maple leaf, holly leaf, and apple).
19. Refrigerate your pies overnight (or at least 4-6 hours until thoroughly chilled) before serving. You can pipe some fresh whipped cream around the circumference of the pie to hide any gaps between the crust and the filling an hour or two before serving.



yippee . Thanks Mika, just in time for Thanksgiving. Wishing you and your family a happy Thanksgiving . In light of what happen in the past few days I guess we have a lot to thankful for .
Thanks! Happy Thanksgiving to you and your family too!
Awesome recipe Mika! Looks delicious! What restaurant have you had the best pumpkin pie? Remember to add it to your Besty List! http://www.thebesty.com/the350degreeoven