For my latest project, I decided to tackle homemade croissants. I thought I would try using a really easy dough, like the Master Bread dough recipe that I posted not too long ago… because when you are making something complex like croissants… the easier you can make all the steps the better. But I don’t want to make it sound like it’s difficult to make croissants… to the contrary, I found it pretty easy. The most time consuming step was rolling the dough out to create layers of flaky puff pastry… but that only took about 15 minutes, so it wasn’t that bad. Try it – and you might be surprised how easy it is to make croissants!
To make croissants, all you need is dough, butter, and any filling you might want to use. Make sweet or savory croissants by changing up the filling. For sweet fillings, chocolate or marzipan (almond) are my favorites. For savory filling, garlic & parmesan or ham/cheese (black forest ham + brie cheese) also work well. You can also just make plain croissants to serve with jam or nutella… or use the plain croissants to make sandwiches. Bon appetit!
Homemade croissants (10 medium sized croissants):
- 1/2 recipe of Master artisan bread dough
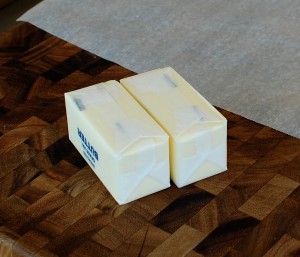
- 2 sticks cold unsalted butter (1 c. total)
Egg wash:
- 1 yolk + 1 T. water
Filling ingredients (optional):
- chopped good quality chocolate
- marzipan + chopped almonds
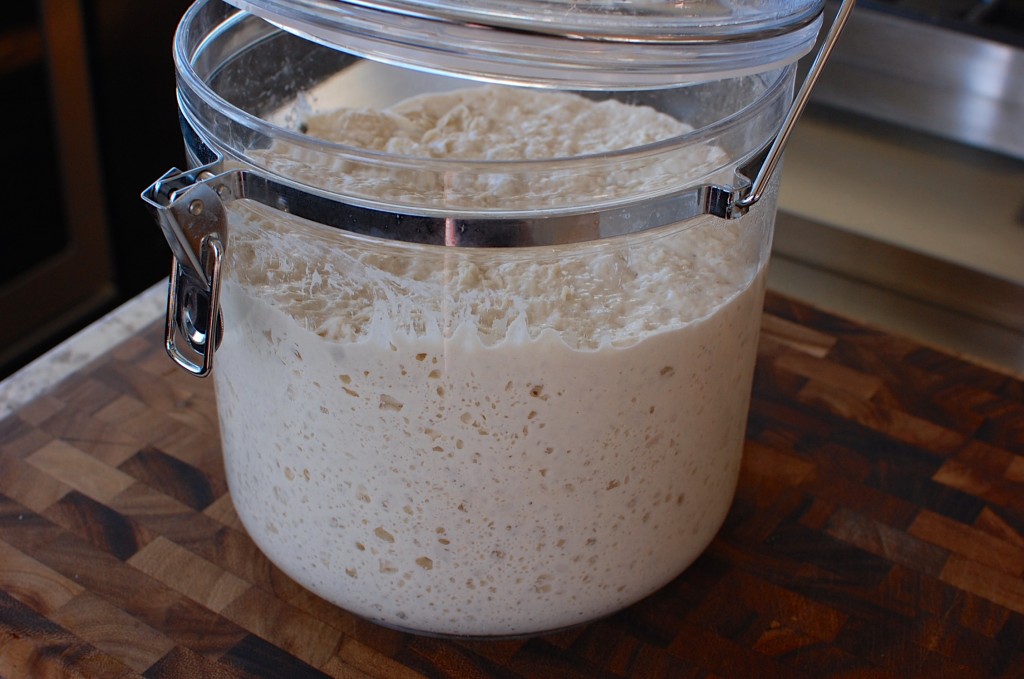
1. See my post on making Artisan Bread from an easy (no knead) overnight Master Bread Dough recipe (basically just water + flour + yeast). You will want to mix the dough together the day before you make these croissants, so that the dough has been refrigerated and is nice and cold to start working with. You can make this dough up to 2 days ahead of time, after that – the dough will turn more sourdough like and will make wonderful bread loaves, but will be unfit for making croissants. (If you want to make a double recipe to make 20 croissants total, you can use all of the dough – use half to roll out your first batch of croissants, then use the second half to roll out your second batch of croissants.)
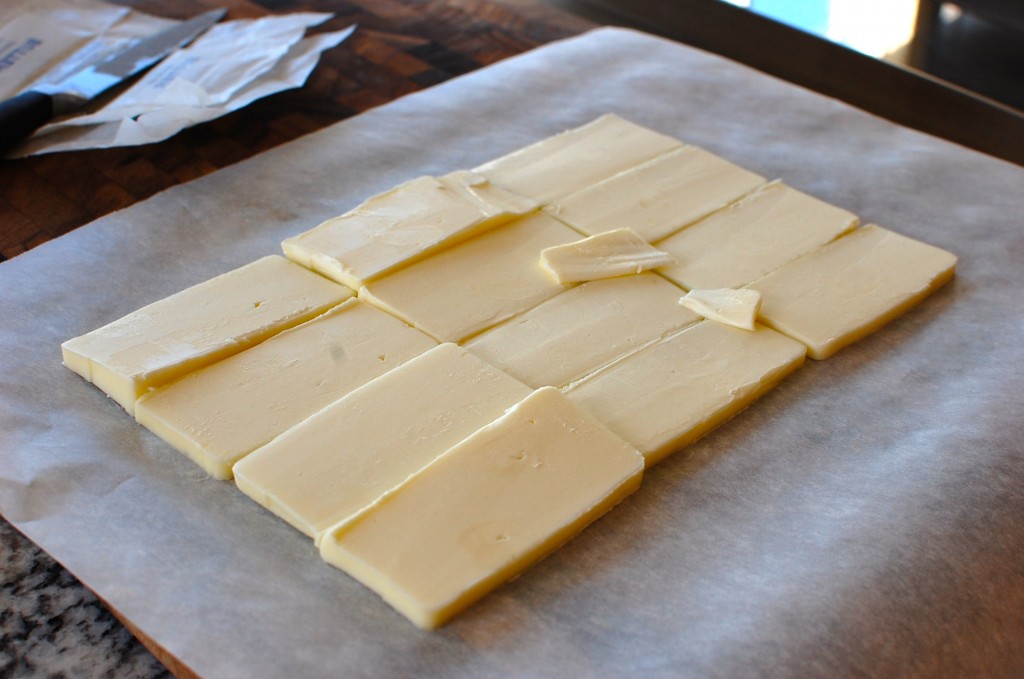
2. Cut your cold sticks of butter (lengthwise) to create 12 equal slabs of butter. Place the rectangle slabs of butter down on a piece of parchment or waxed paper to create a long rectangle – three rows of four butter slices. (If you have some areas of butter that are too thick, you can shave them down a bit and use to patch areas where the butter slice is on the thinner side.)
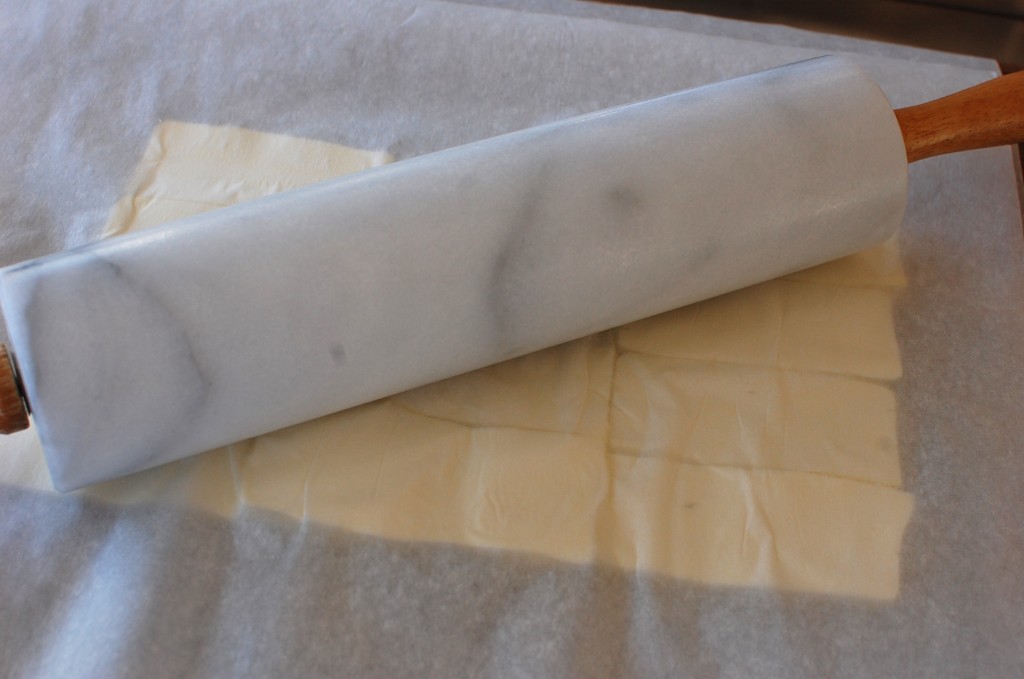
3. Cover the butter rectangle with another sheet of parchment or waxed paper, and use a heavy rolling pin to lightly “smash” the butter pieces together, rolling slightly. You don’t necessarily want to roll the butter out into a larger rectangle – the goal here is just to smash all the edges of the butter together so you create one large piece that is all connected, not 12 little pieces that are separated. Place the butter sheet back into the refrigerator.
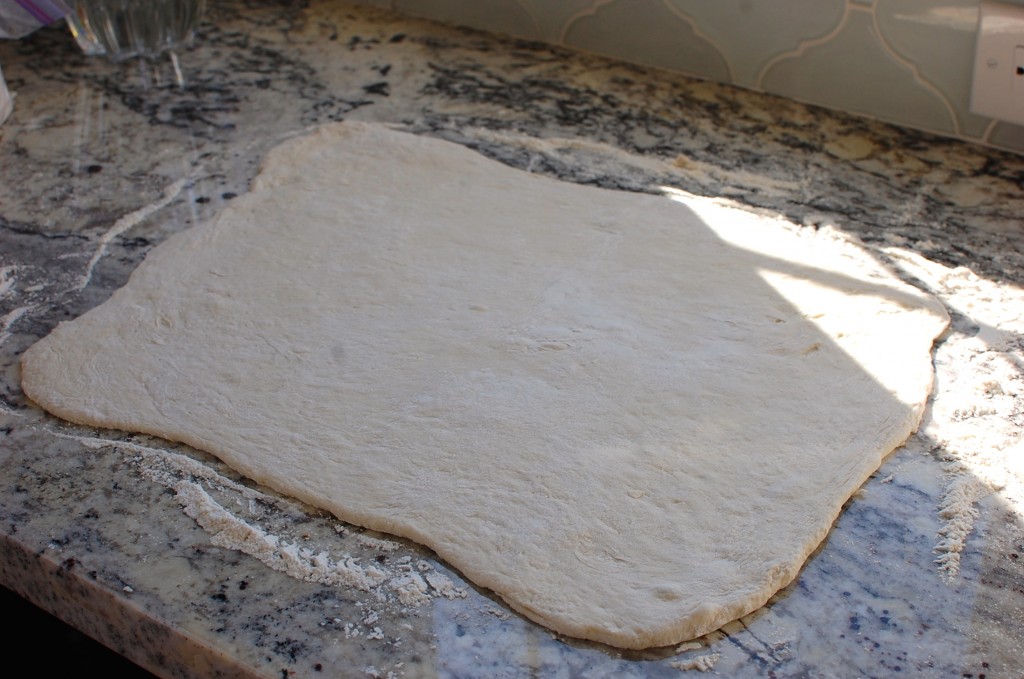
4. Remove the dough from the refrigerator and place on a floured surface. (If you made a full recipe of Master Bread Dough, you will need to cut it in half – and only use that portion to make one recipe of croissants.) Dust the dough with flour, and roll it out to be a little bit larger than the same length and double the width of the butter sheet you created.
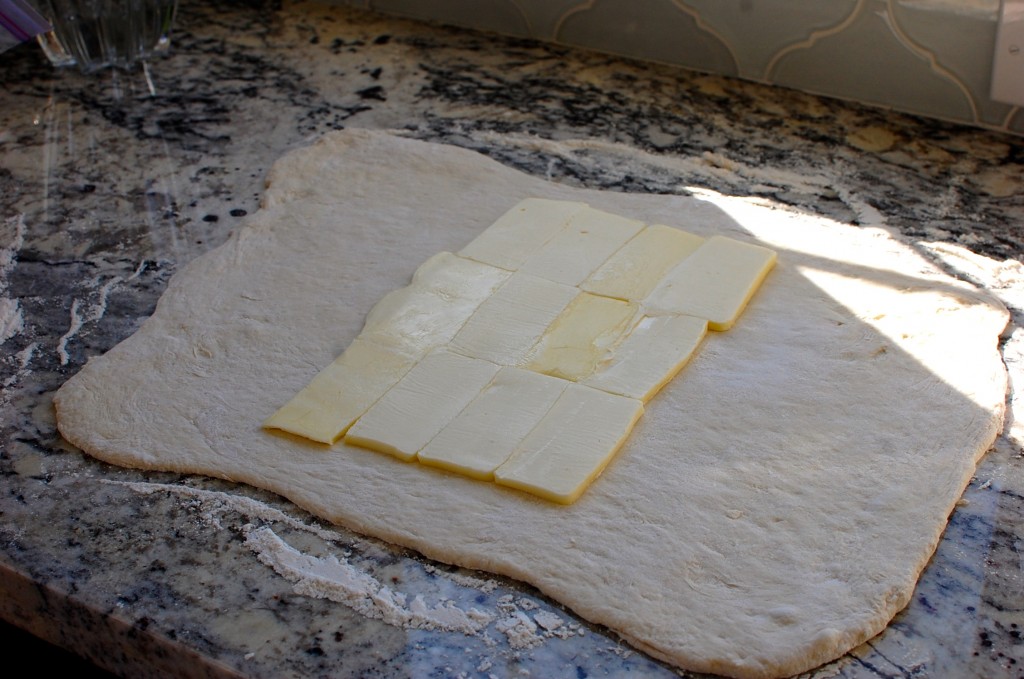
5. Remove the butter sheet from the refrigerator. Carefully remove the top layer of parchment, then place it butter side down onto the center of the dough rectangle. Then, peel off the remaining parchment paper.
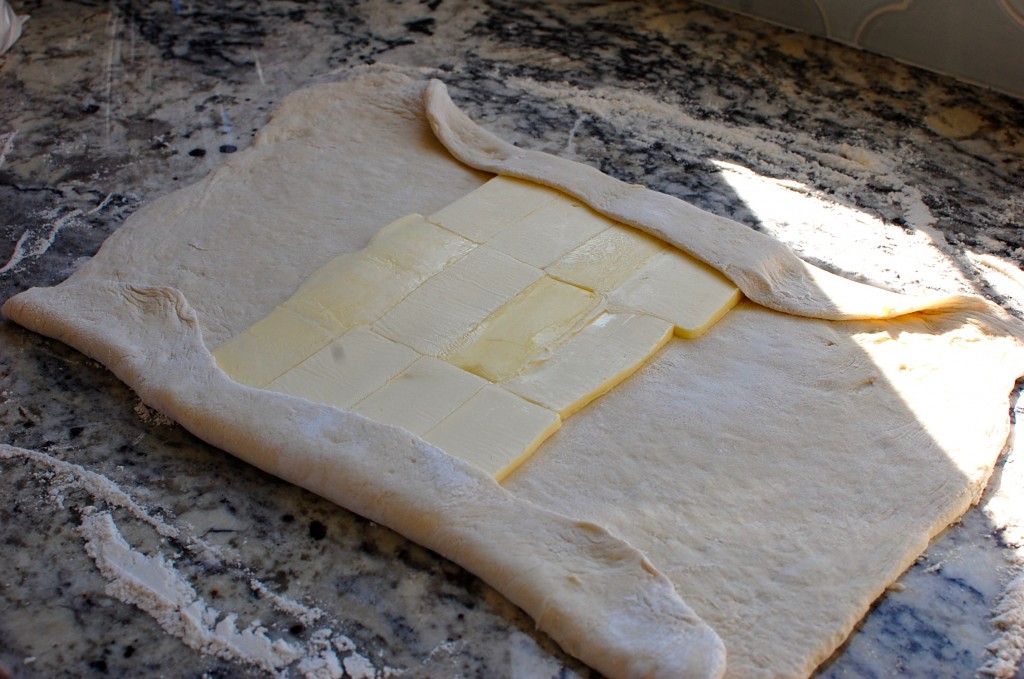
6. Now you will enclose your butter into the dough. Fold the top edges over the butter.
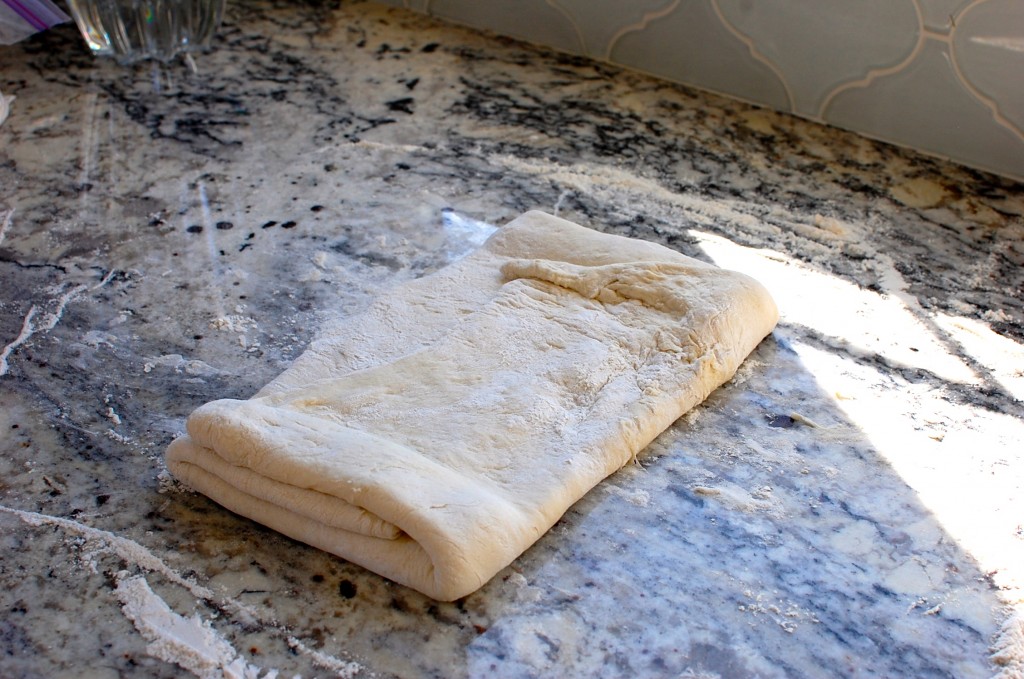
7. Next fold the left and right sides over the butter.
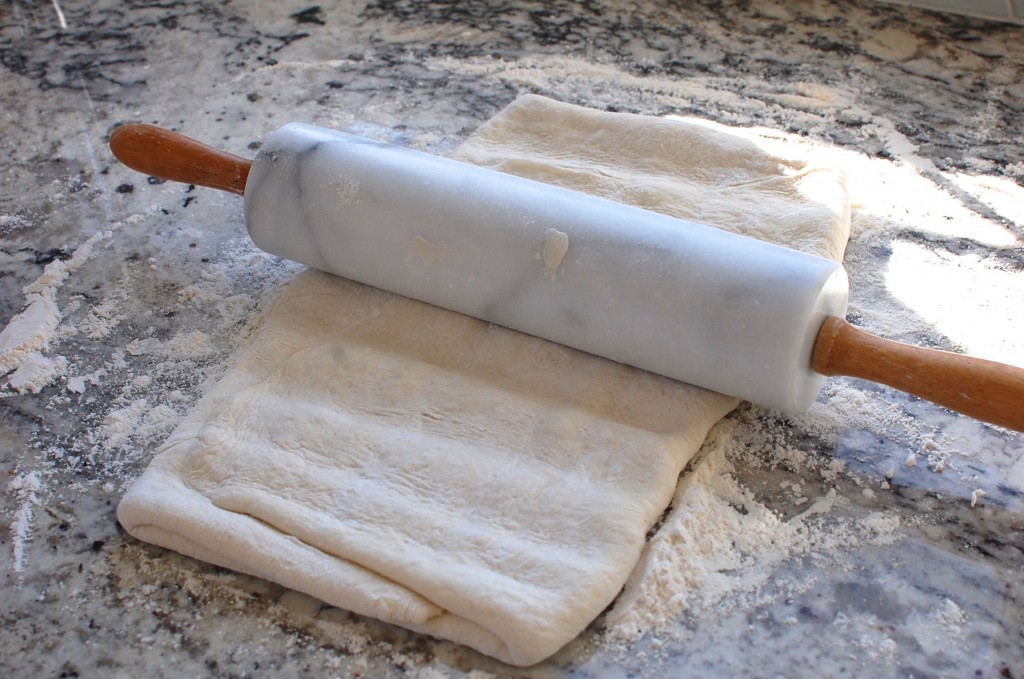
8. At this point, you don’t really want to “roll” the dough. Use the rolling pin, in pulses of up and down (gentle) hitting motions, smash down along the length of the rectangle to create a much longer and slightly wider rectangle. The picture below shows the marks from the rolling pin hitting it… more towards the beginning stage. I ended up hitting the dough (not too hard) into a rectangle that was about 30% longer than what you see in the picture below.
(***IF AT ANY POINT IN THE ROLLING OUT PROCESS YOUR DOUGH STARTS TO WARM UP AND THE BUTTER SOFTENS – STOP WHAT YOU ARE DOING AND PUT THE DOUGH BACK INTO THE REFRIGERATOR (OR FREEZER) FOR A FEW MINUTES TO FIRM UP.**) If it’s a cold morning, and I work quickly – I can make it all the way through from start to finish without refrigerating. However, if it’s a warm day, or you are working slower… you may need to chill the dough between some of the steps.
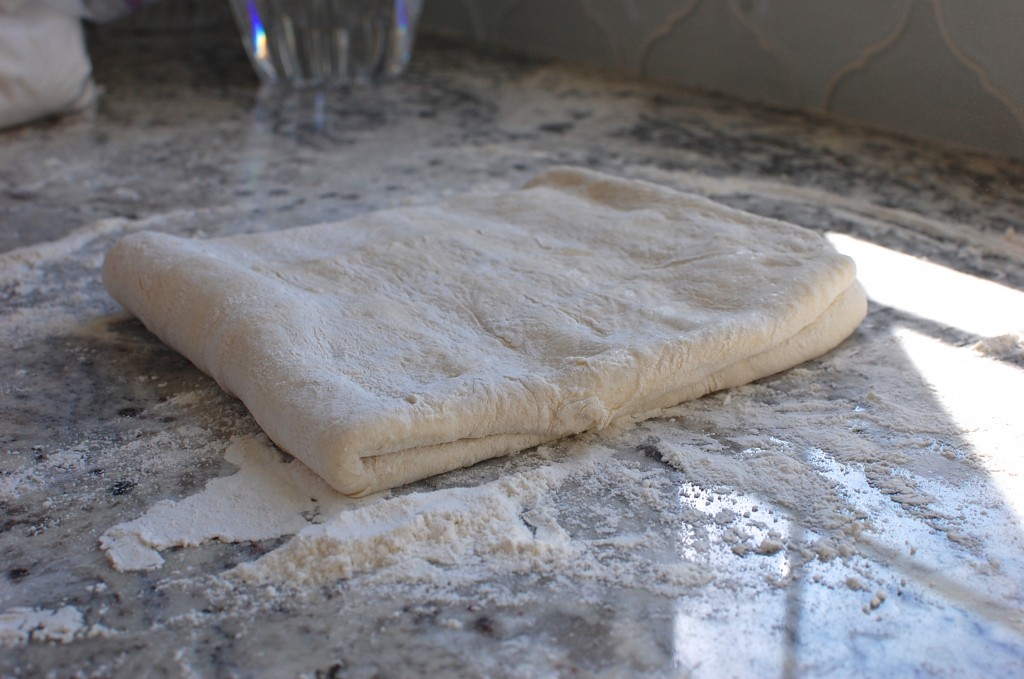
9. At the midpoint of the dough, lift the center of the dough rectangle upwards and fold it in half horizontally. You want the bottom surface of the dough in the picture above to now be the interior of your folded dough.
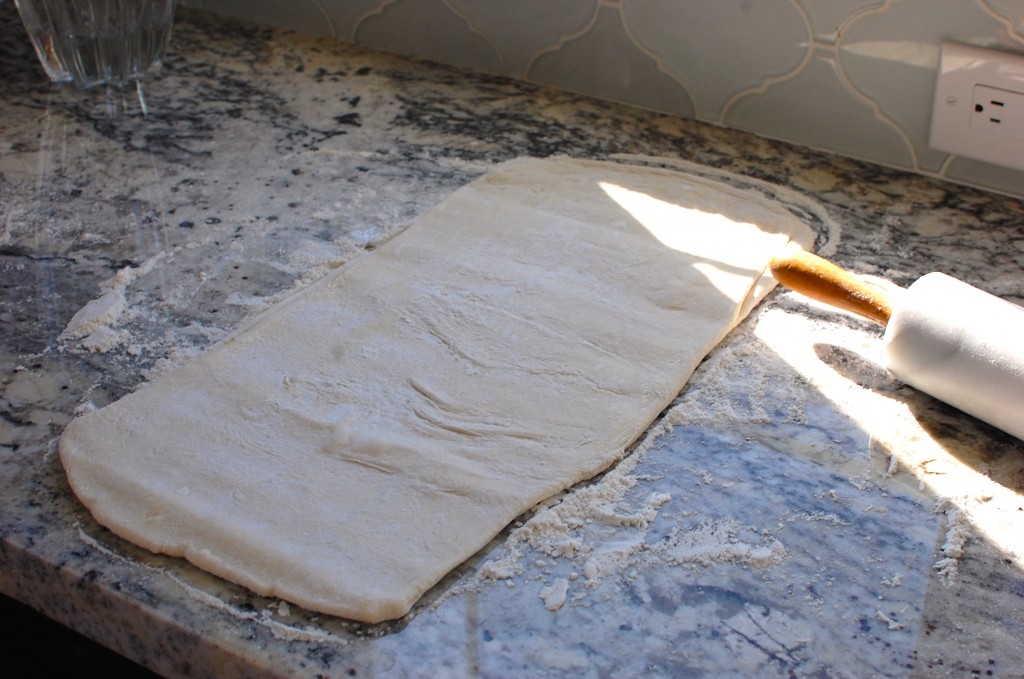
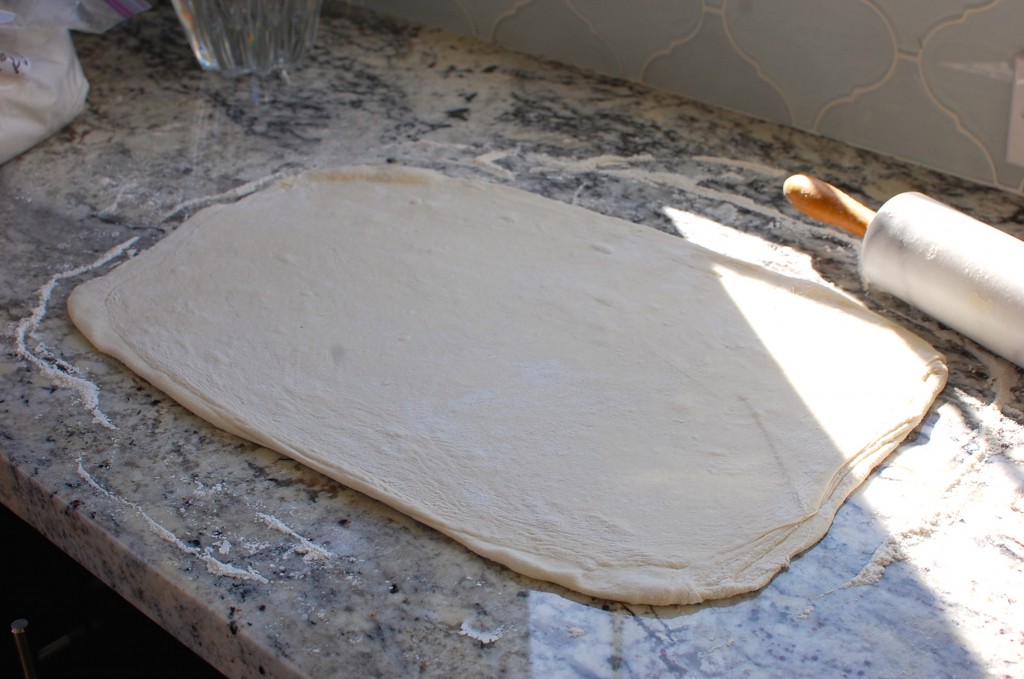
10. Now, using a combination of gentle hitting motions, and rolling motions, you will roll this rectangle into another long rectangle.
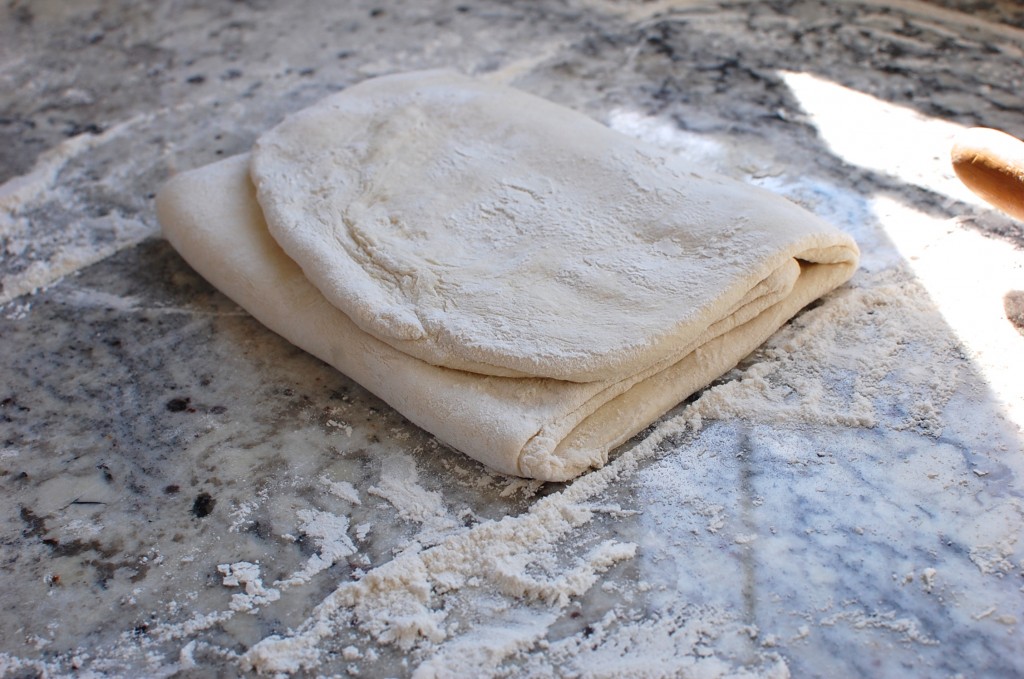
11. Fold the bottom of the dough up 1/3 of the way, then fold the top of the dough down 1/3 of the way.
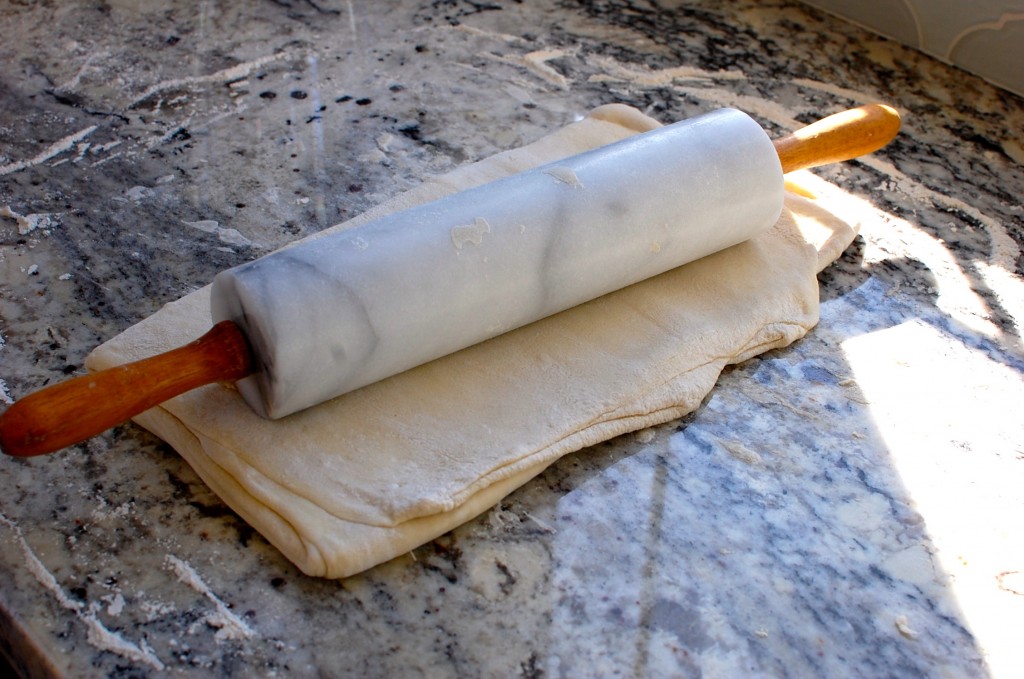
12. You will roll out the dough into a rectangle again. However, this time, instead of rolling vertically to create another long rectangle, you will roll horizontally to create a large wide rectangle.
13. Fold the right side 1/3 of the way over the center, then fold the left side 1/3 of the way over the center.
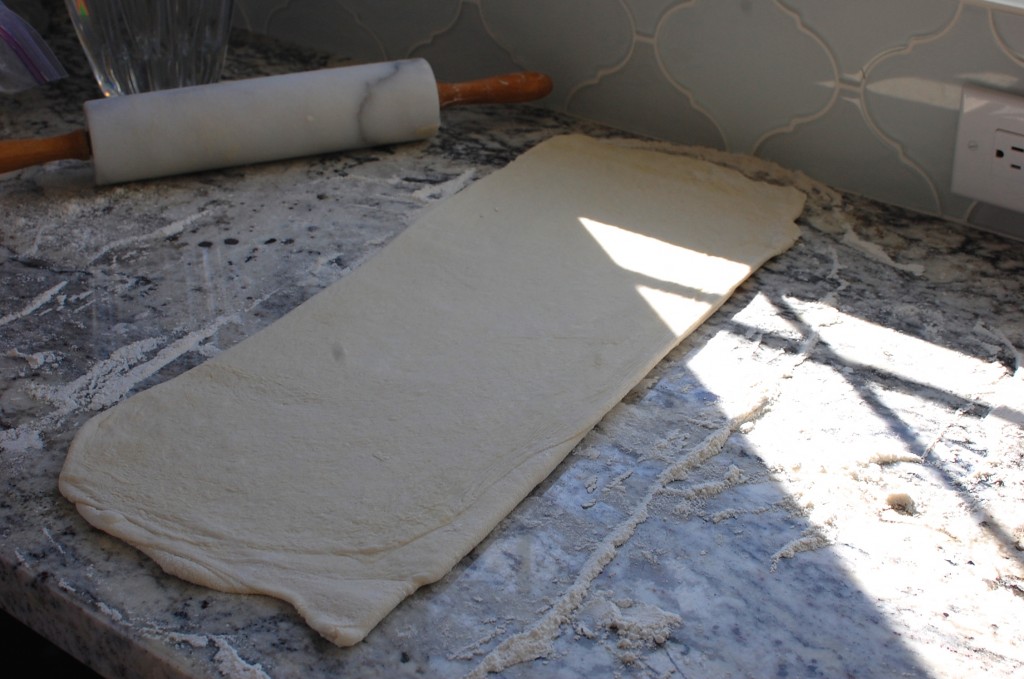
14. Now you will roll it up and down vertically (and a little bit horizontally) to create a long vertical rectangle. This rectangle was about 20 inches long X 9 inches wide.
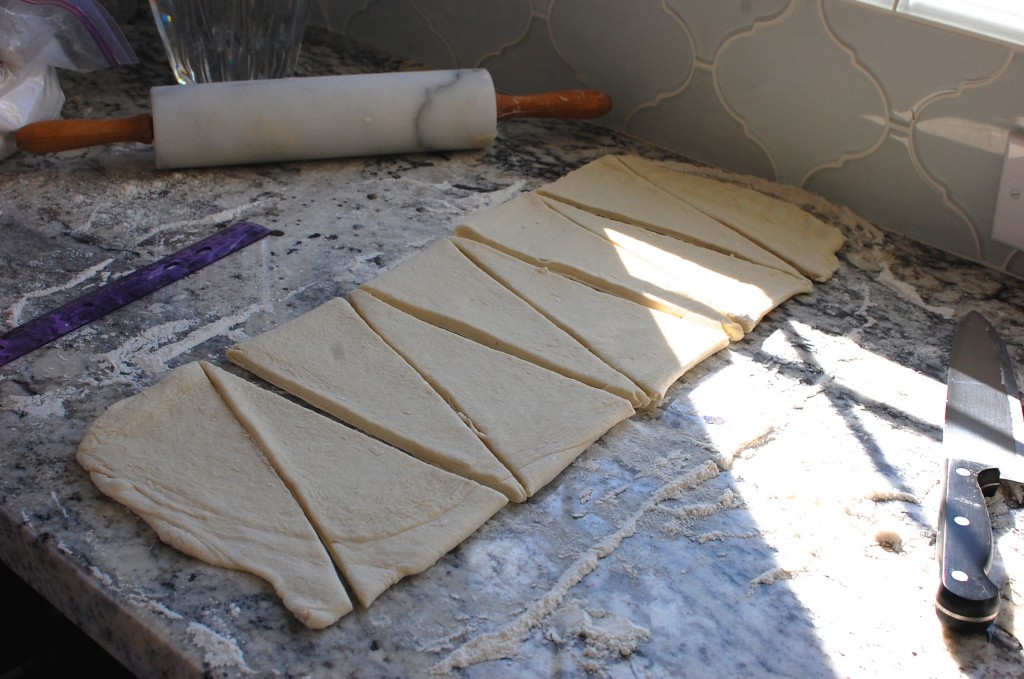
15. To make your croissants, you will cut the dough horizontally into about 5 rectangles, then cut those across diagonally to create wedges. You can measure to be more precise (create horizontal cuts down the dough every 4 inches) – or you can eyeball it if you don’t care that the croissants might not be exactly uniform in size. (Your wedges will not be perfect triangles, because you are essentially cutting each rectangle diagonally in half… but it’s close enough and won’t matter too much in the end.)
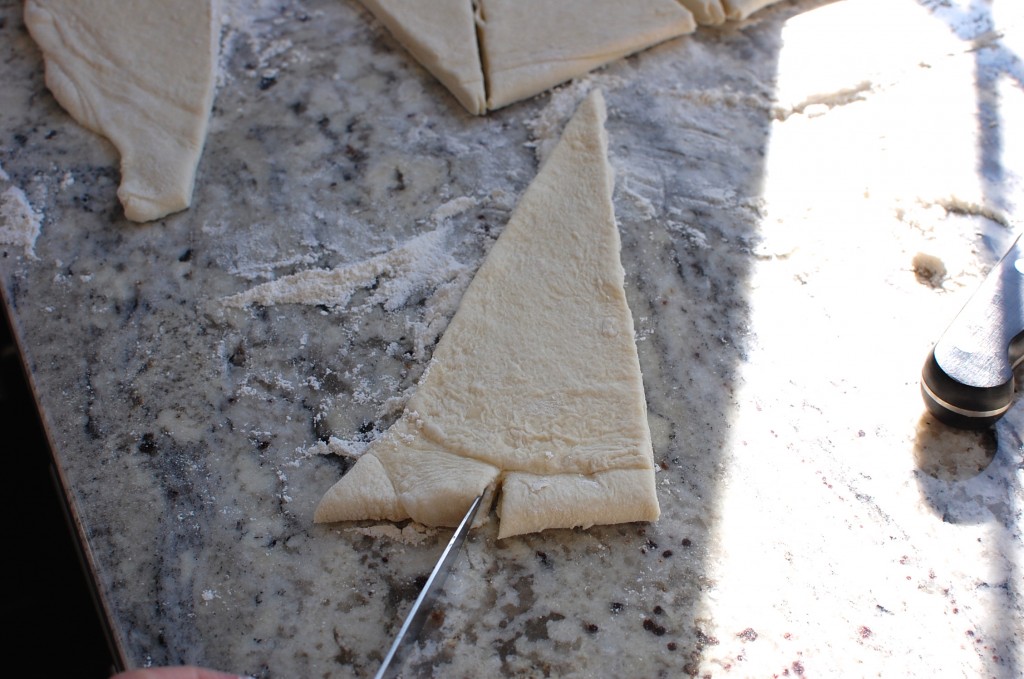
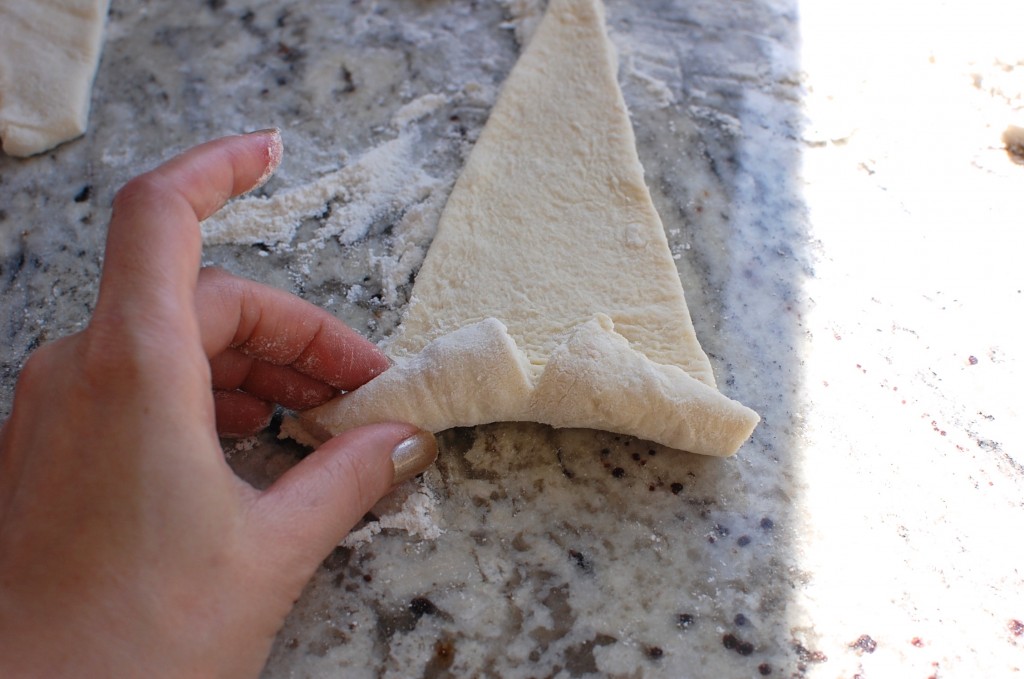
16. Cut a notch in the middle of the wide end of the wedge. (Doing this will help you roll into a crescent shape.)
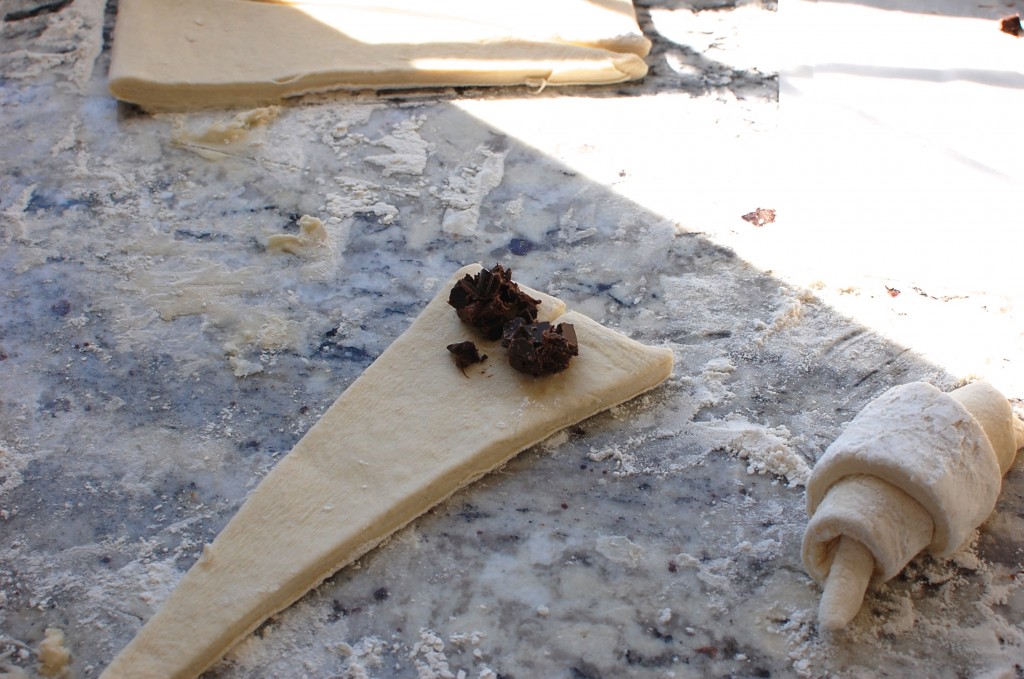
17. Roll up your croissant from the wide end of the wedge up to the pointy end.
18. (OPTIONAL STEP: If you want to add a filling like chocolate or marzipan, add 1 T. filling to the wide end of the wedge before rolling up your croissants.
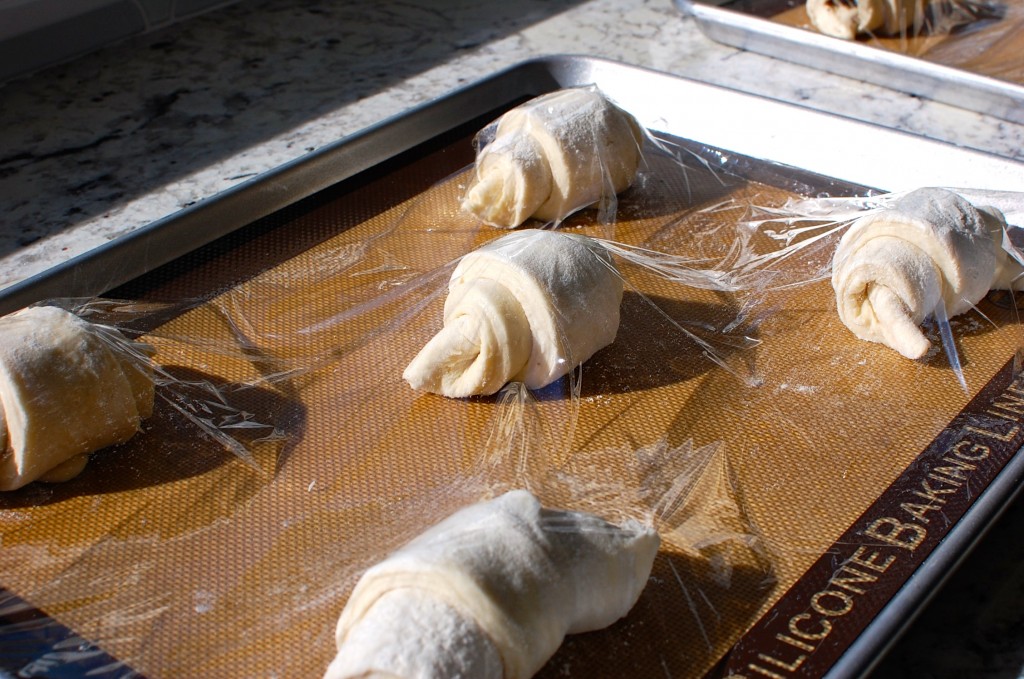
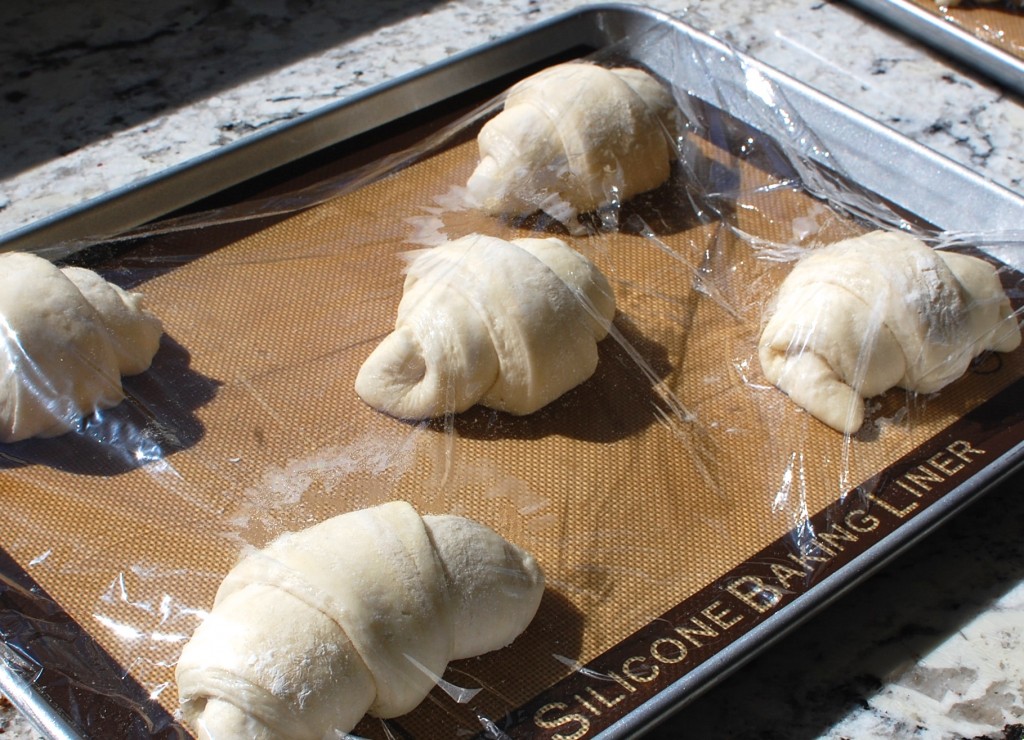
19. Place the croissants (pointy tip underneath) on a silicone lined baking sheet, 5 croissants to a sheet. Loosely cover with plastic wrap, and set it to rise in a warm place for about 90 minutes to 2 hours.
20. After rising, your croissants will look a bit bloated and puffy, and will jiggle a little if you move the baking sheet back and forth.
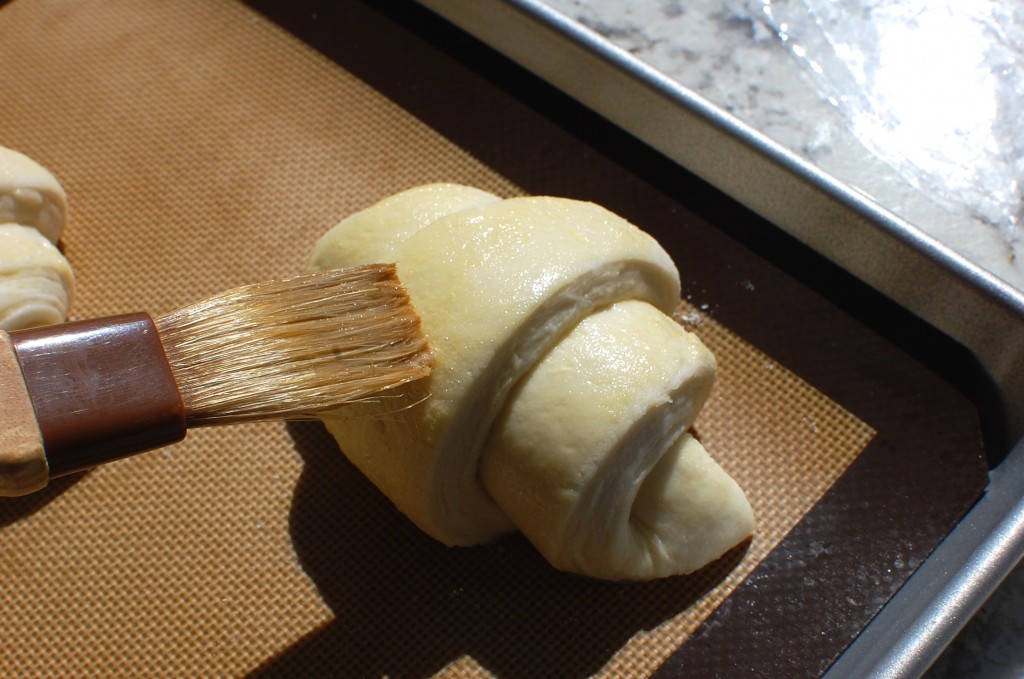
21. Preheat the oven to 400 degrees. Brush the croissants lightly with egg wash.
22. Place your two sheets of croissants into the oven – one on the upper rack, the other on the bottom rack. Bake for 15 minutes, then open the oven and trade places.
23. Bake the croissants another 15 minutes, then remove to a wire rack or cutting board to cool. Enjoy your croissants!






Hi Mika,
I stumble upon your website when I when I posted my cheesecake recipe on Facebook today.
I love your recipe (as it is very much different from mine in Malaysia) and besides cooking, I love to bake too.
Your tips “in pulses of up and down (gentle) hitting motions” to roll croissant dough is very use especially I live in a tropical country and always struggle with the warm weather when making pastry and croissant. Thanks a lot for your great tips.
KP Kwan
tasteasianfood.com