Over the weekend, we visited the Carlsbad Strawberry Company‘s “U-Pick” strawberry fields. For $20, they give you a large KFC sized paper bucket (and two adult admission tickets), and you can go down the rows of strawberries to pick and fill up your bucket. This was a really fun experience – our little nephew had a blast picking his own strawberries. (You can probably get strawberries much cheaper from the market or a farm stand… but the pick your own field was quite fun, and worth the $20 price tag just for the experience.) With a bucket full of fresh-picked strawberries, I thought it was time to make some fresh strawberry jam!
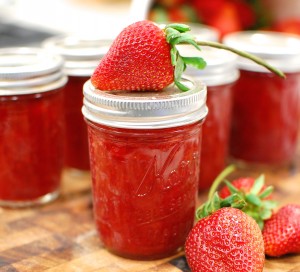
When making jam, I prefer low sugar recipes because the flavor of the fruit comes out better… and because I’m not a huge fan of the overly sweet “regular” jams. This recipe will make about 6 half-pints of jam – which you can preserve using the water bath canning method. To water bath can your jam for pantry storage, you don’t really need a lot of fancy equipment. A Water Bath Canning Kit is definitely useful, but not necessary – but the kits are great if you think you might do a lot of canning. In reality, though, you just need a really large stock pot, a small metal rack to go into the bottom, and Half Pint Canning Jars. You can reuse the jars and rings over and over – but the lids need to be new in order to ensure a proper seal.
Looking for other jam or fruit preserve recipes? Try my pineapple jam, peach jam, white grape jam, kumquat jam preserves, sweet orange marmalade, lavender flower jelly, lemon curd, or spiced apple butter recipes.
If you are looking for something to do with strawberries… try my homemade strawberry ice cream, strawberry bread, fresh strawberry custard cream pie, or asian style strawberry cake!
Fresh Strawberry Jam:
- 2 pounds (32 oz.) fresh strawberries
- 1 c. water
- 3 T. lemon juice
- 4.5 T. Low Sugar Pectin
- 1/2 tsp. salt
- 2 c. sugar
- 1/2 T. butter (optional)
- few drops of red food coloring (optional)
Hardware:
- half pint canning jars (approx. 6)
- new lids
- rings
- large stock pot with rack
- large tongs
- ladle
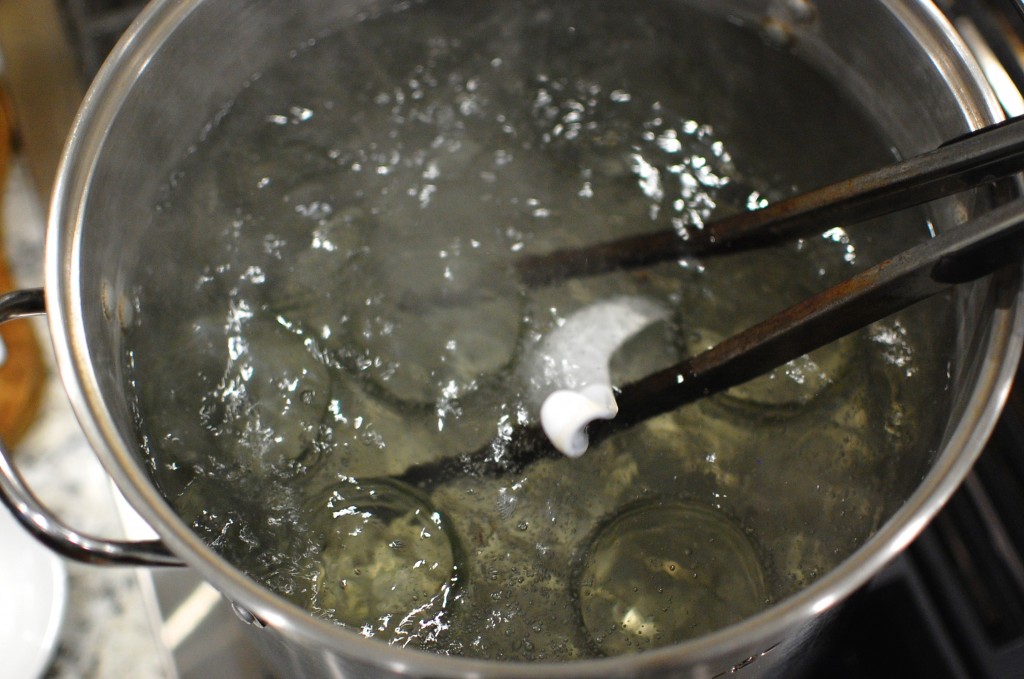
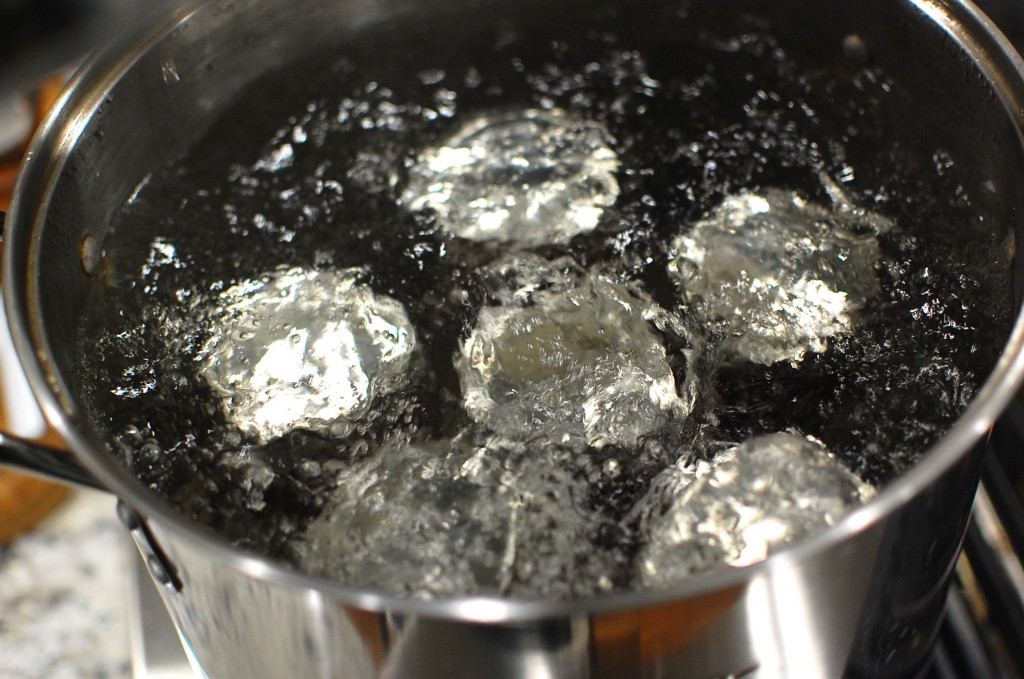
1. To make the jam, first sterilize your jars. Put the clean jars on top of a rack inside a large stock pot. Add the tongs, ladle, and rings, then fill up the pot with water. Bring the pot to a boil, and allow all of the materials to sterilize for about 10-15 minutes in the boiling water. (You only need to sterilize your jars if you are planning on water bath canning your jam. If you plan to store in the freezer, or use right away, you can skip the canning steps.)
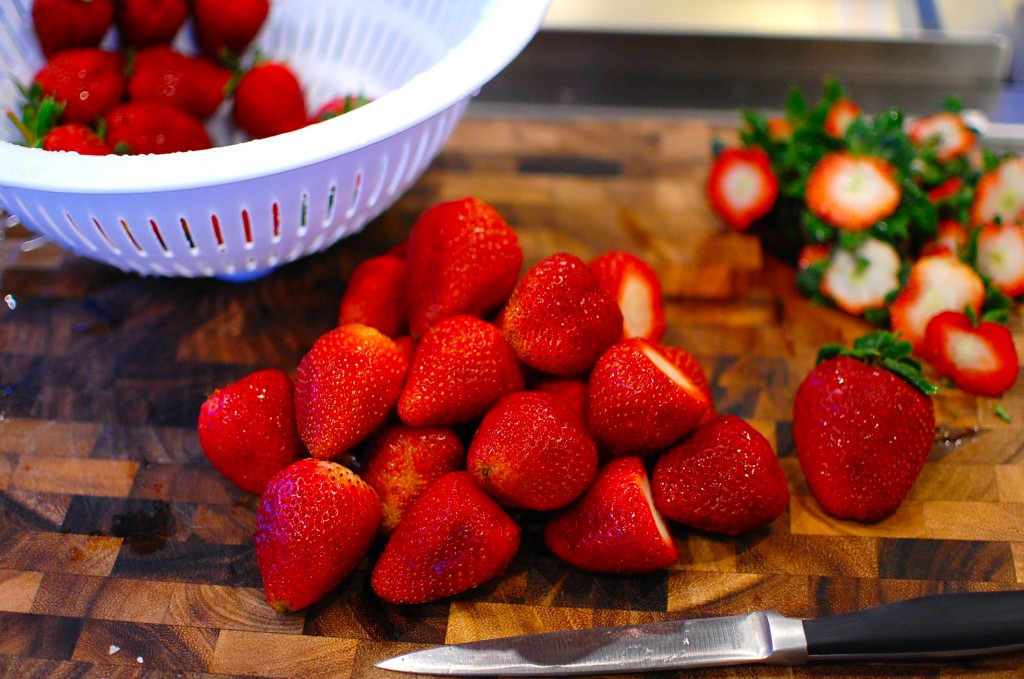
2. Wash and remove the stems from your strawberries.
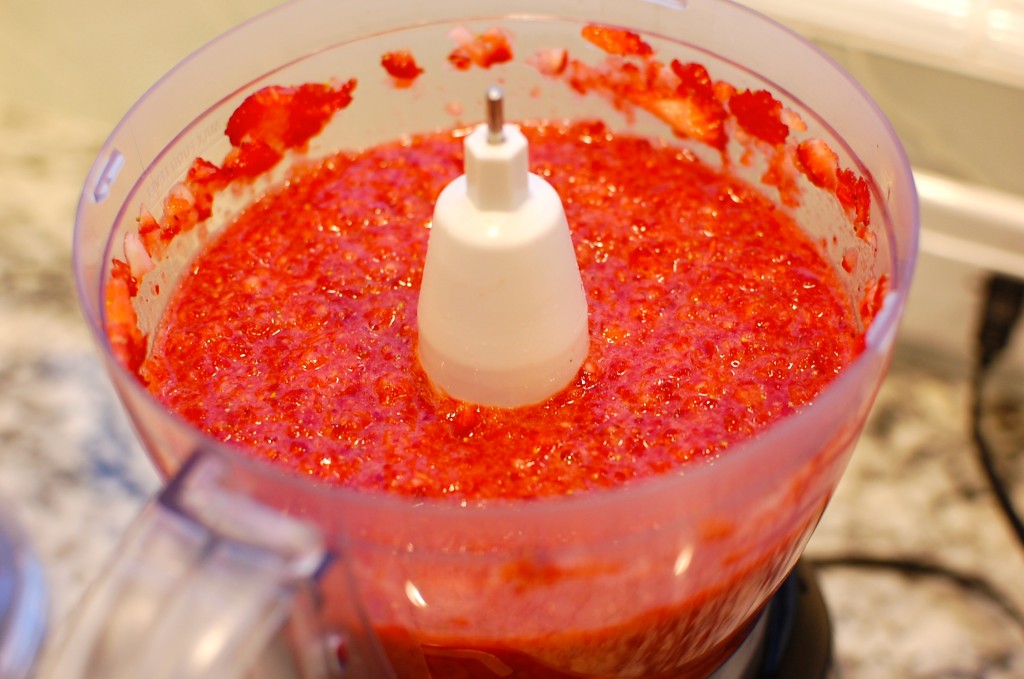
3. Pulse the strawberries in a food processor until the consistency of a chunky puree. You should have about 4 cups of strawberry puree. If you have less, add water to make it equal 4 cups.
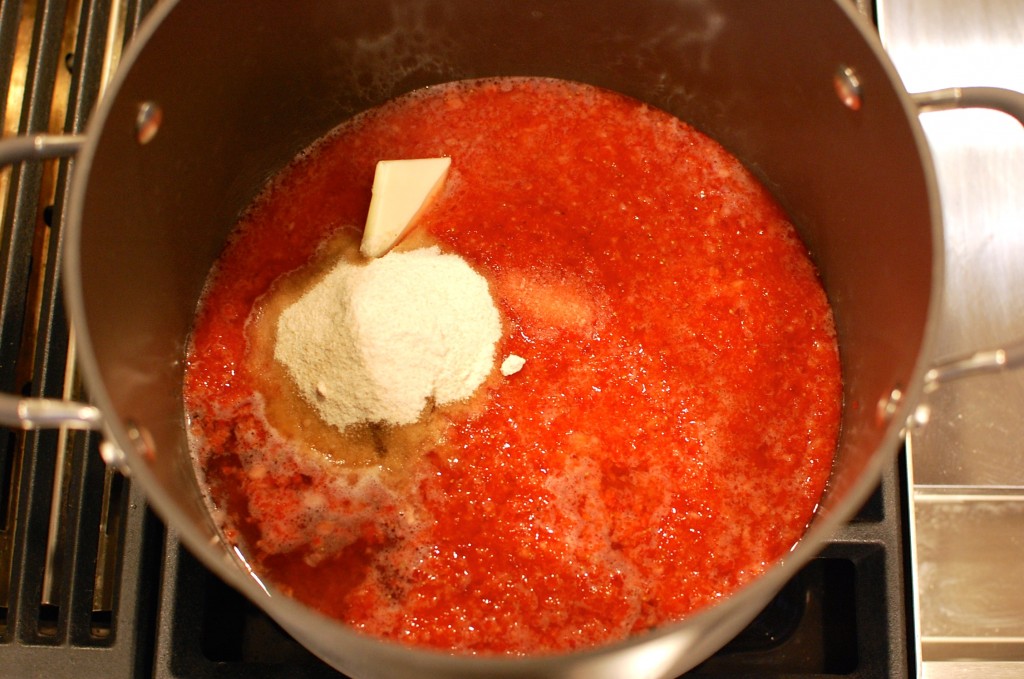
4. Put the strawberry puree, 1 c. water, lemon juice, butter (optional to reduce foaming – omit if you are vegan or need to avoid dairy), pectin, and salt into a pot. Bring to a boil over medium high heat, and cook for about 5 minutes, stirring occasionally.
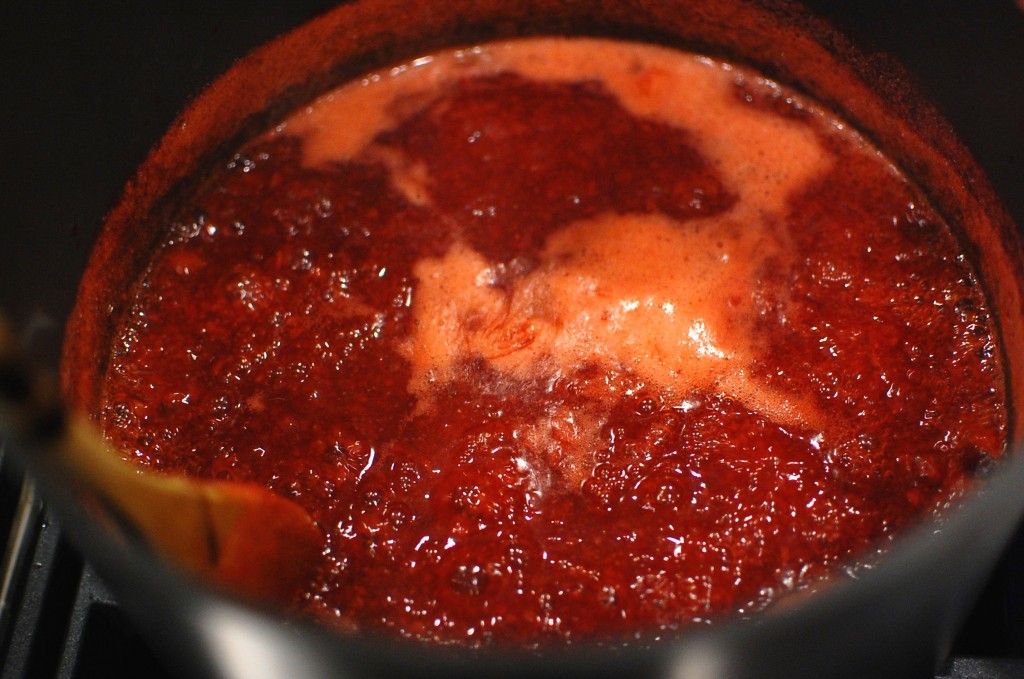
5. Add the sugar, then bring back to a boil. Boil hard for 1 minute. Turn off the heat and allow the jam to cool slightly for 5-10 minutes. (At this point, if you want your jam to be more “red” in color, you can add a few drops of red food coloring. You don’t need to add food coloring if you prefer a more natural jam… but it may end up a bit more on the “reddish brown” side… not quite as bright red as many of us are used to with commercial strawberry jams. Low sugar jams can have the tendency to darken or turn more brown over time, so consider adding red food coloring to offset some of the browning if you think you might store your jam longer than 6 months.)
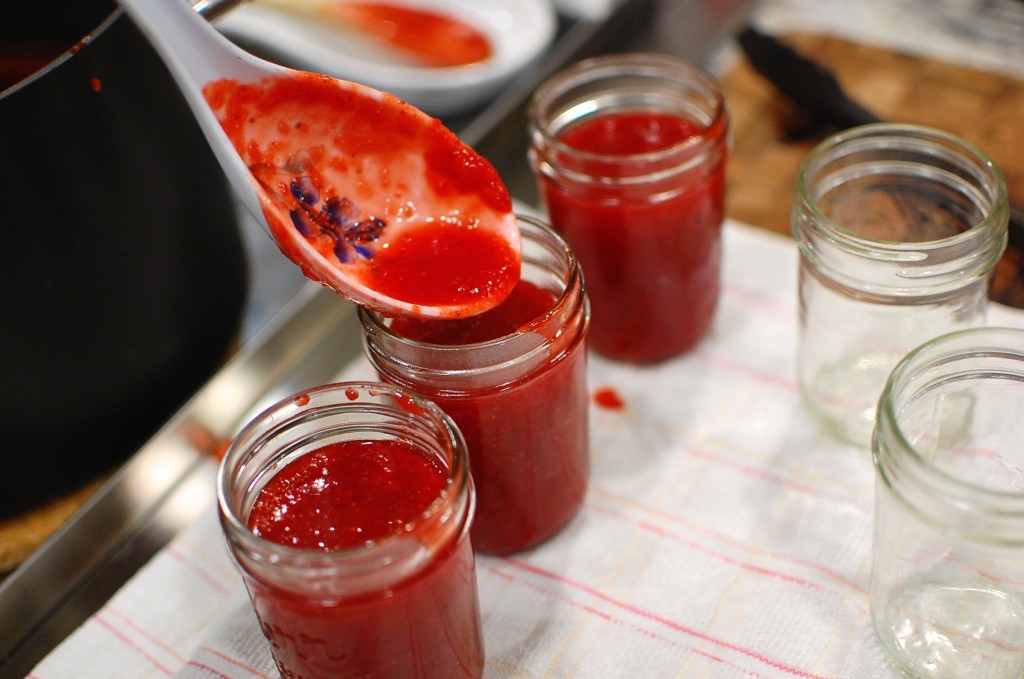
6. Remove the hot sterilized jars to a clean towel on your counter. Using the sterilized ladle, fill the jars with the hot jam, leaving a 1/2 inch head space. Meanwhile, put your clean lids back into the hot water to soften the adhesive and sterilize.
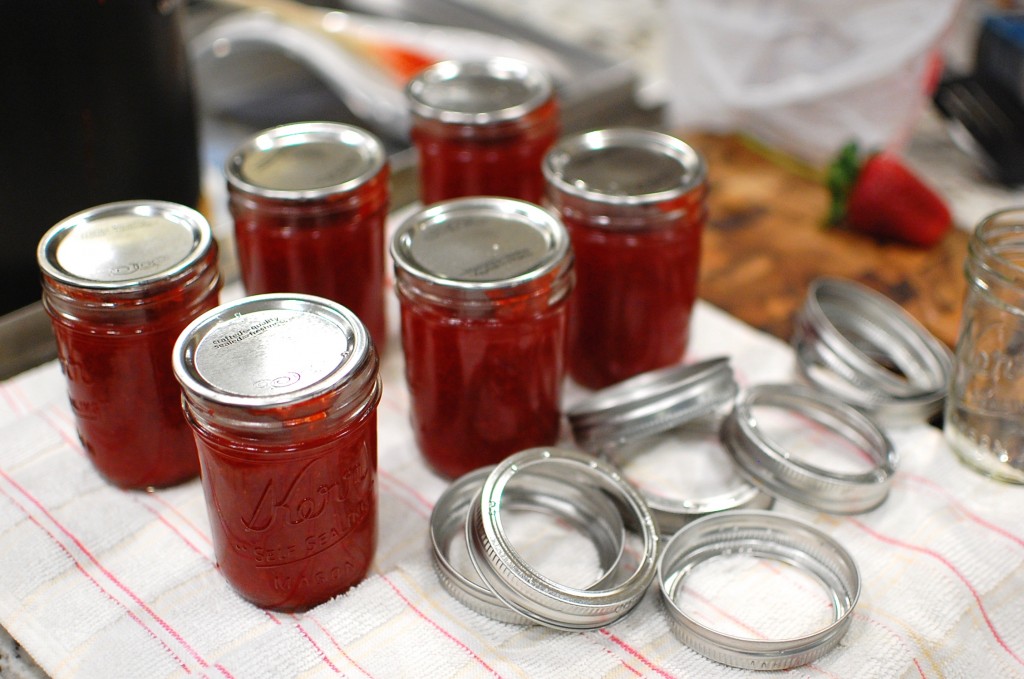
7. Wipe the rims with a clean paper towel (moistened with the hot boiling water), place the hot sterilized lids on top, then screw the rings on finger tight.
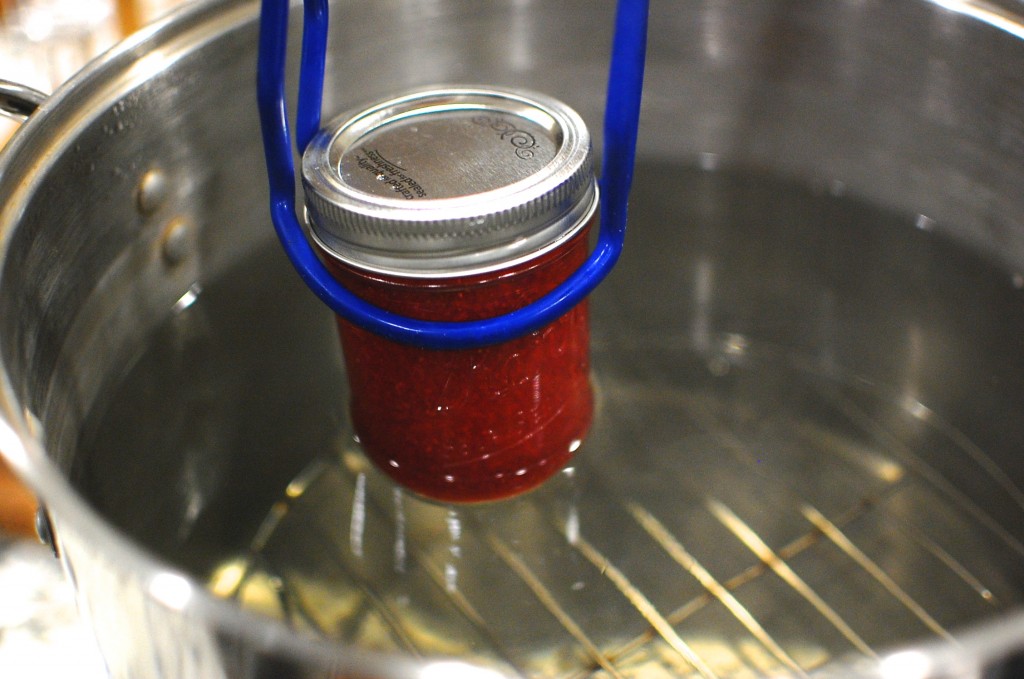
8. Put the filled jars back into the pot of hot water, and bring back to a boil. You can do this with large BBQ tongs (be careful because these are not very stable) or using a jar lifter from a Water Bath Canning Kit.
9. Make sure you have at least 1″ of water covering the top of the jars. (Air bubbles will be released from the sealed jars – do not let those escaping bubbles fool you into thinking the water is boiling.) Boil for 10 minutes (covered) to sterilize and seal. You may need to add extra time depending on your particular elevation.
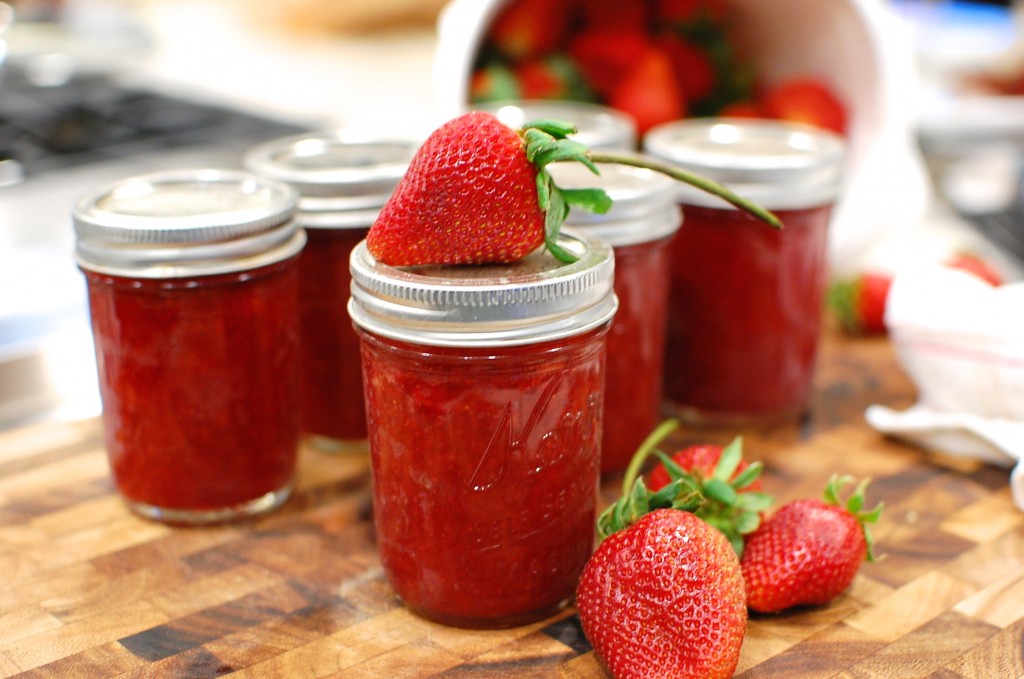
10. Once you have boiled the jars for 10 minutes, turn off the heat, and use the tongs to carefully remove the hot jars to a towel on to the counter top to cool. Leave the jars undisturbed overnight. Check the seals in the morning to make sure the top of the lid doesn’t move when you push down on it. You will probably get about 6 half-pint jars of jam with one batch.




Hi Mika,
Just wonder what is the texture of your jam like? I made it yesterday and taste test it today . The texture seems to be on the thin side. Also, just curious as to why you add in a cup of water? Would it thin out the favor of the fruit. I tried the water bath canning method for the first time and find it was not as complicated as I thought except for having to boil a large pot of water. Btw, since you admitted to be a kitchen gadgets’ junkie, just thought you like to know Ball comp sell a Freshtech automatic jam and jelly maker that have rather good reviews. Again, thank for posting the recipe. I might start my jamming phase this summer
The texture of my jam is somewhat thick, similar to store bought jam. I add the water as a medium to help dissolve the sugar and meld all the flavors together… there is a certain amount of liquid that I find is helpful in the process. Plus, in the cooking phase, some of the liquid evaporates so the water helps replace what is lost.
And you are right… the boiling water seems to be the hardest part of jam making… just waiting for that huge pot of water to boil! Lol. I’ll have to check out the Ball jam maker… thanks for the tip!