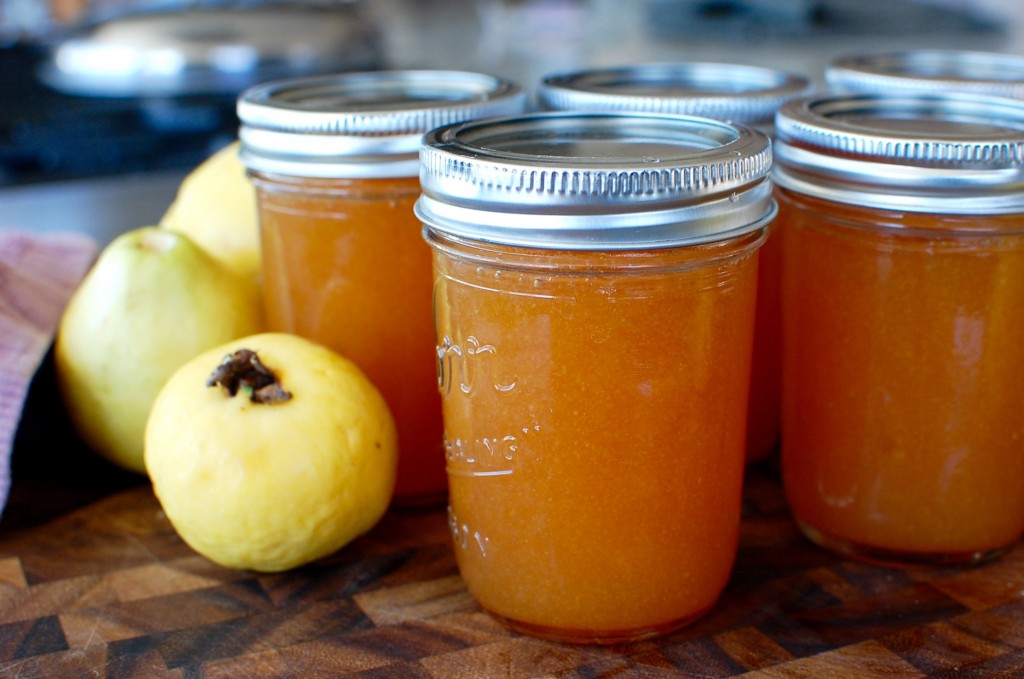
Last week, some friends gave us a bag of guavas from their backyard tree. The guavas were perfectly ripe, and very fragrant… Great timing, as I was planning to make some fall jams and jellies to give away during the holidays!
While some guava jam recipes don’t call for added pectin… I think it’s a bit riskier to go that route because you can’t guarantee that the pectin level in your fruit is high enough to make the jam gel. Store bought pectin speeds up the process and makes it more foolproof that your jam will gel. I like to use “low sugar pectin” because I’m not a fan of super-sweet jam – the amount of sugar called for in this recipe is more than enough!
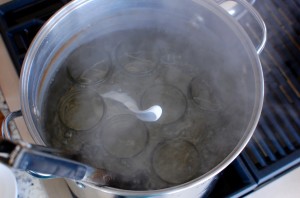
If you’ve never made jam at home before, it’s not hard to do… just a little bit time consuming. (The worst part for me is waiting for my giant pot of water to boil to sterilize the jars and process the jam in the water-bath canning step!) However, if you don’t intend on canning your jam, then it’s quite quick – either use the jam up quickly, or freeze your extra jam instead of going through the process of canning for pantry storage. But if you do want to water bath can your jam – it really is easy – all you need is a deep stock pot with a metal rack in the bottom, and some canning jars. Pack the hot jam into sterilized jars, seal, then boil the jars for 10 minutes – and voilà, you have home canned your jam!
Try this jam on some buttered sourdough toast… my new favorite breakfast! This also makes a nice filling for crepes, or a delicious topping for pancakes.
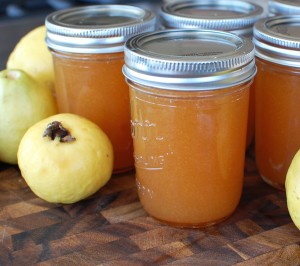
Guava Jam (makes about 6-7 cups):
- 4 c. diced guava (about 1.5 lb.)
- 4 c. water
- 3 c. sugar
- 1 1/2 T. apple cider vinegar
- 3 T. lime juice
- 3 T. Low Sugar Pectin
- 1 tsp. salt
- 6-7 Half Pint Canning Jars
- large stock pot with metal rack
- tongs or jar lifter
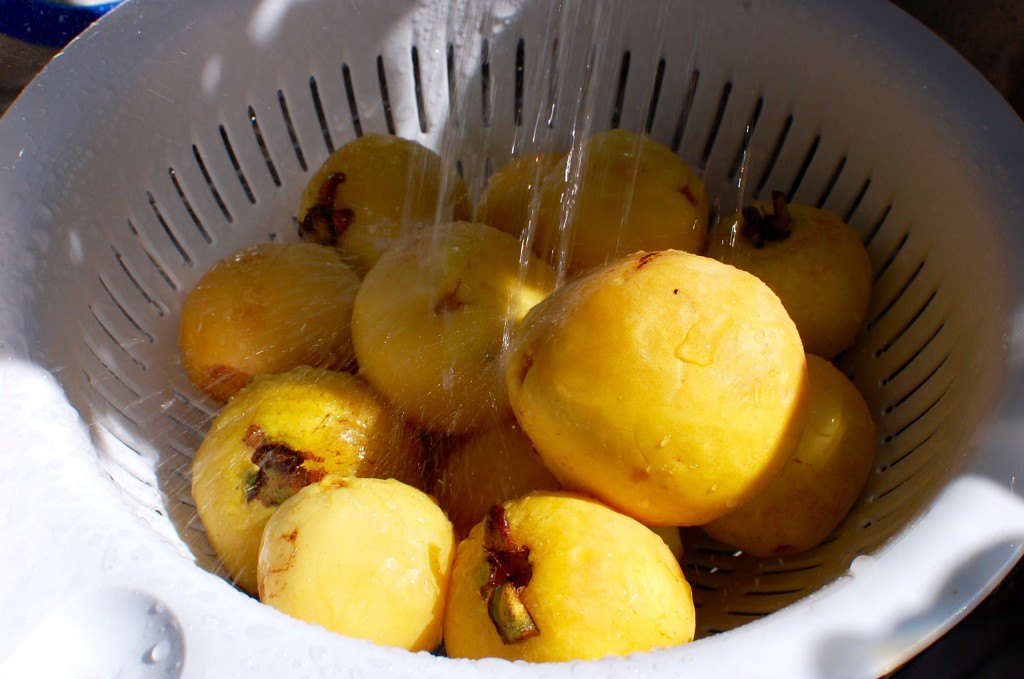
1. Wash the guavas under cold running water. (While most of the guavas should be ripe for the best flavor, it’s best to have a few (green) un-ripened guavas in the mix for higher pectin content – which will help your jam to set.)
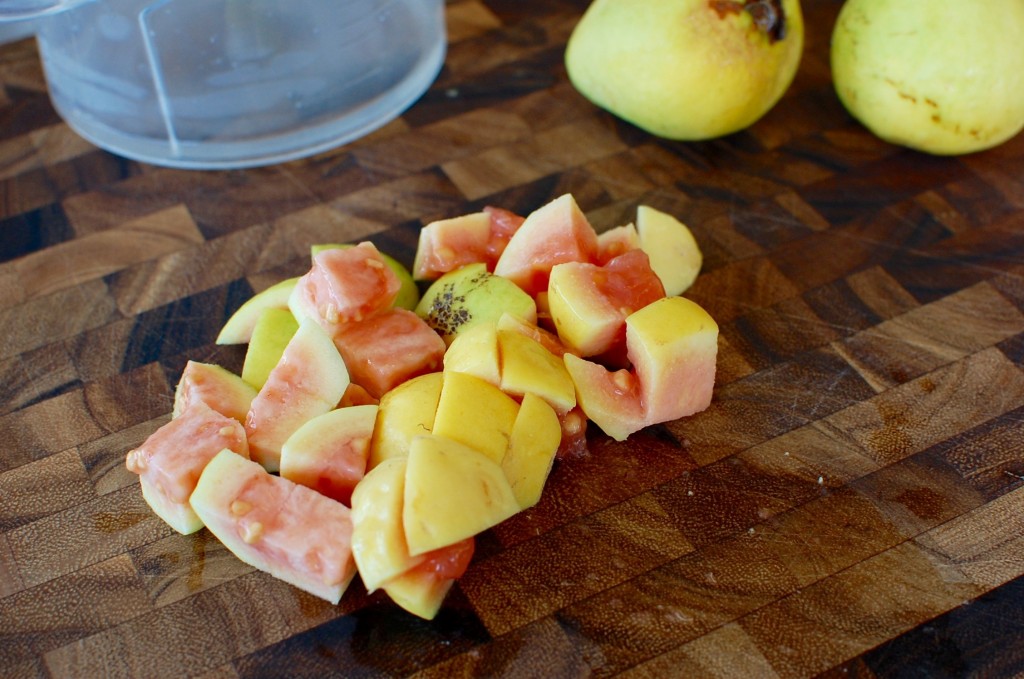
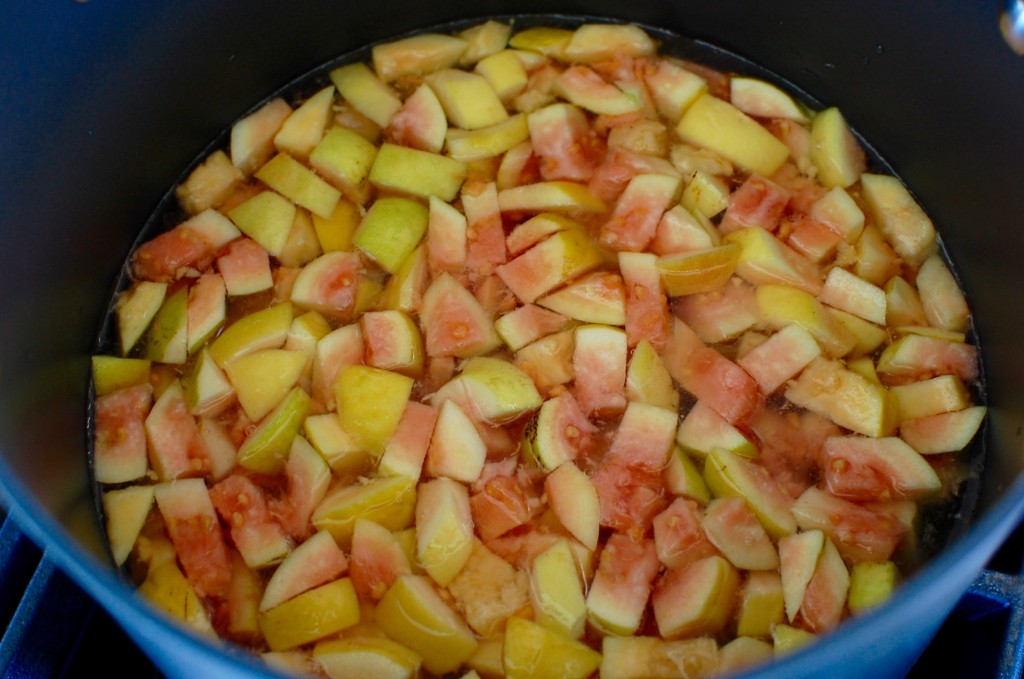
2. Remove the stem and blossom ends, then cut the guavas into dice sized pieces.
3. Add the guava, water, vinegar, lime juice, and salt to a large pot.
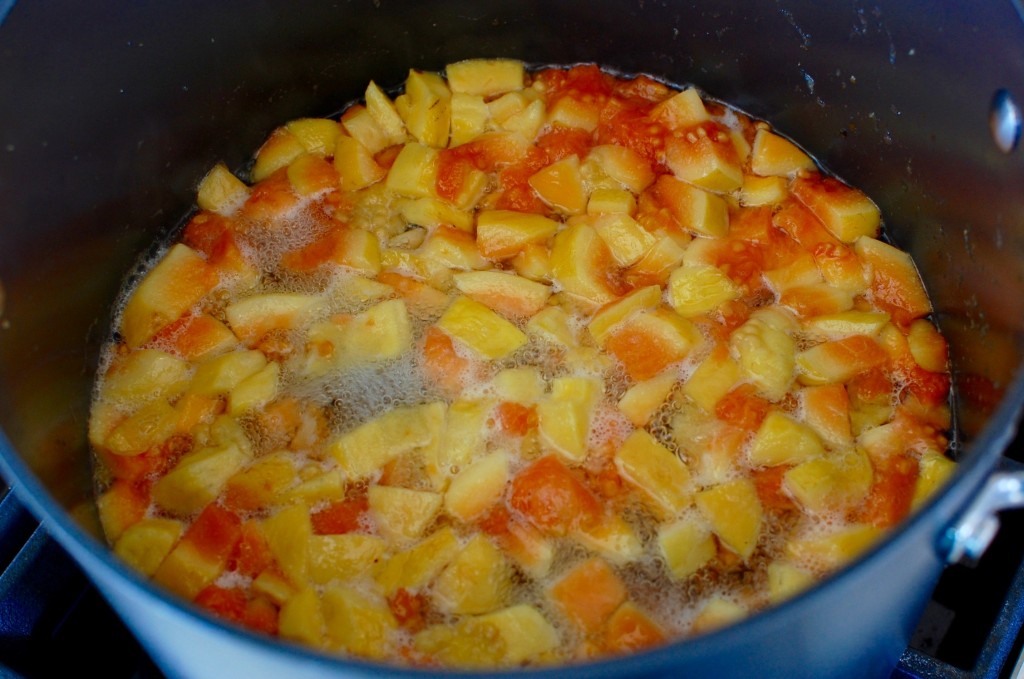
4. Bring to a boil, then reduce the heat to simmer (covered) for about 30 minutes.
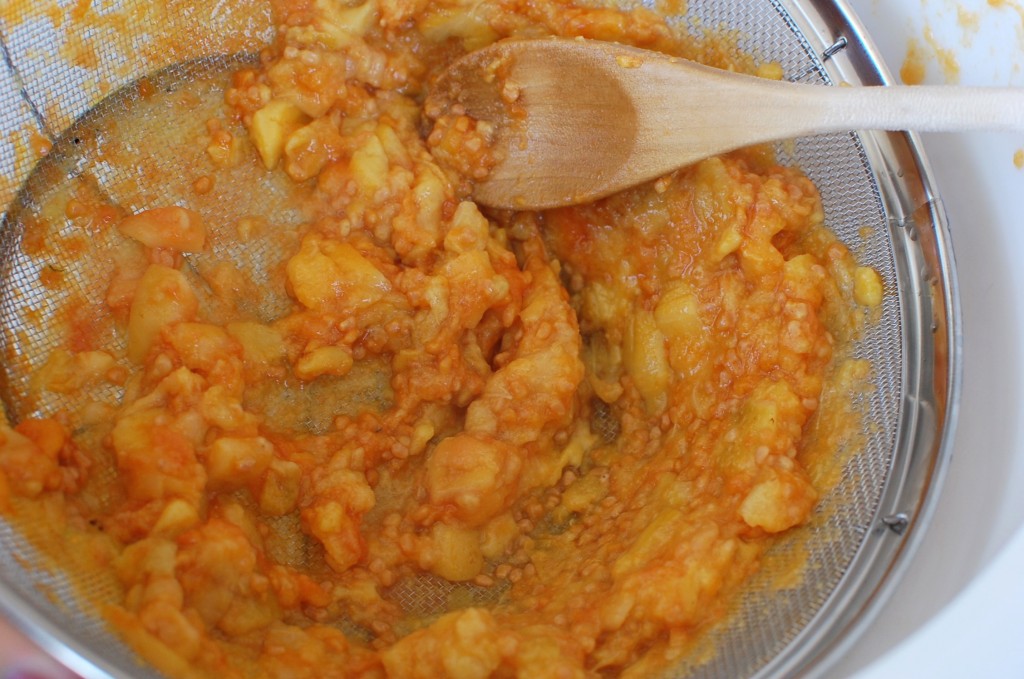
5. Cool the mixture (so that you can handle it without burning yourself), strain the liquid (reserve this liquid – do not throw it away!), then push the cooked fruit through a sieve to remove the seeds and skin (use the back of a wooden spoon).
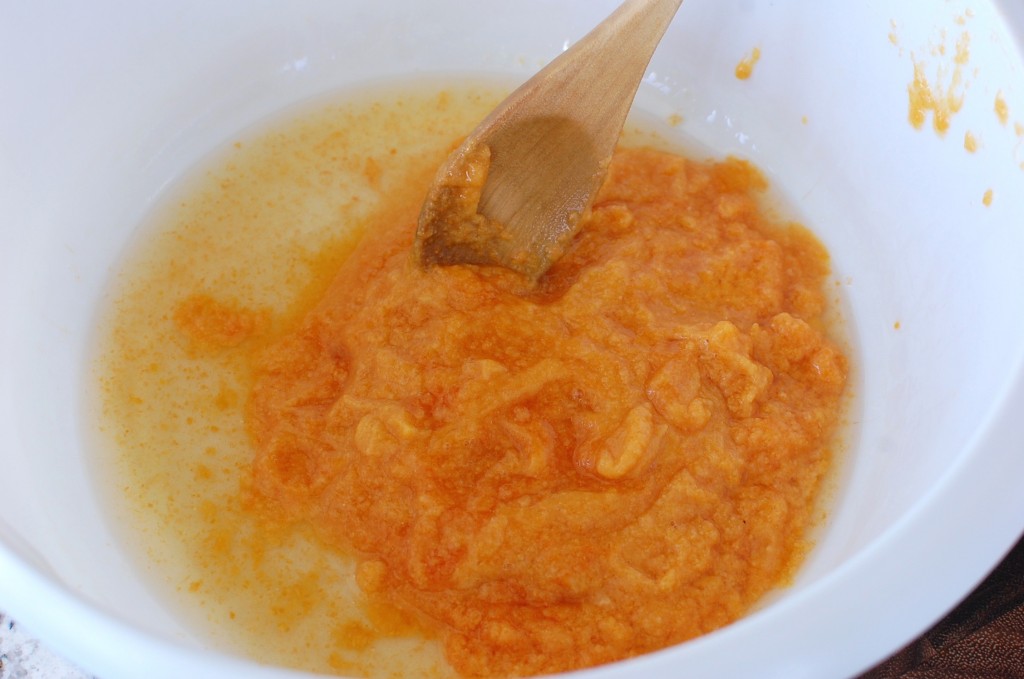
6. Measure strained guava puree and add the reserved strained liquid to make 4 cups of “guava liquid” total. (If you have less than 4 cups total, then add water to make 4 c. total liquid). The photo below shows the strained guava puree before adding the reserved strained liquid back in.
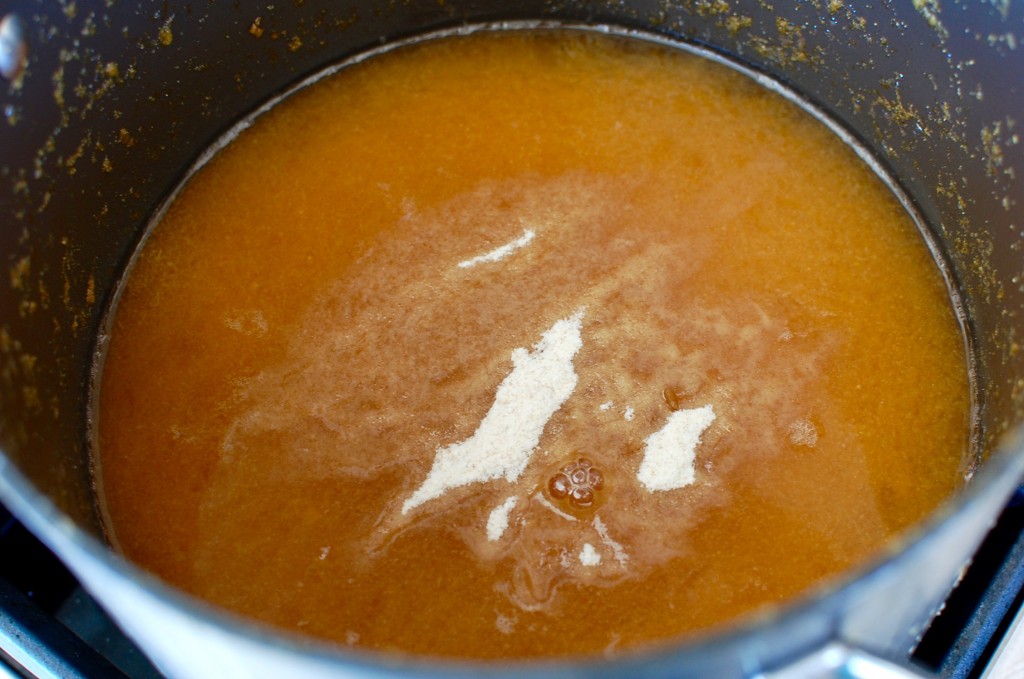
7. Return the 4 c. of guava liquid back into the pot, add 3 T. low sugar pectin and simmer another about 5-10 minutes while stirring to dissolve all the pectin.
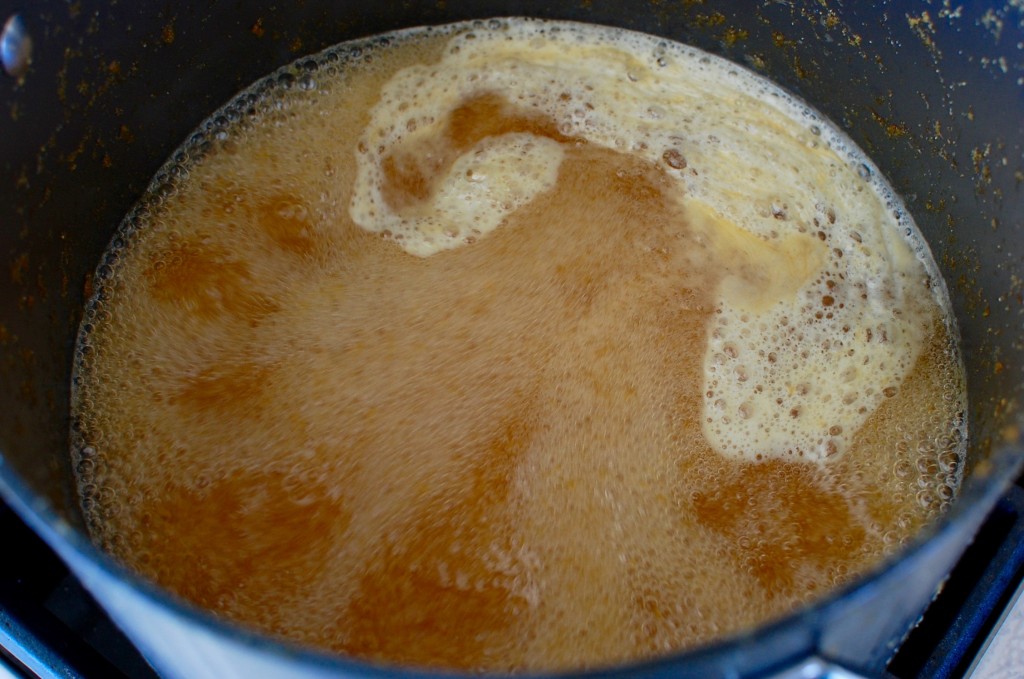
8. Add 3 cups of sugar, turn up the heat and boil hard for 1 minute.
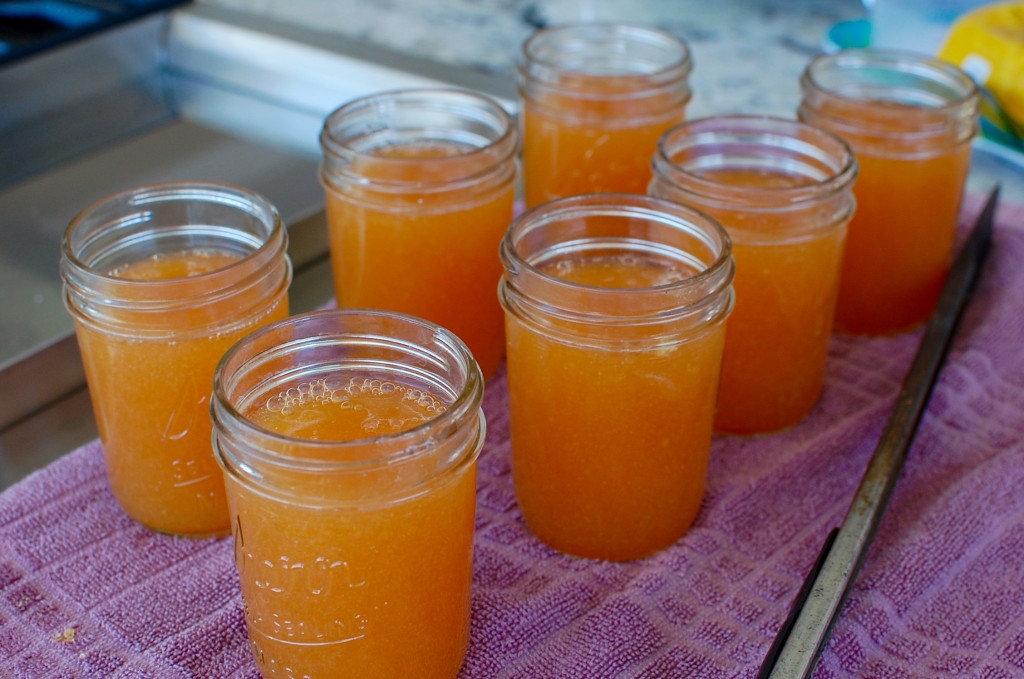
9. Turn off the heat, and allow the jam to cool slightly. Skim any foam off the top. Carefully pour into sterilized jars. (Sterilize jars in hot boiling water before filling). If you plan to use up your jam quickly, or you don’t want to can your jam, you can refrigerate at this point (or freeze).
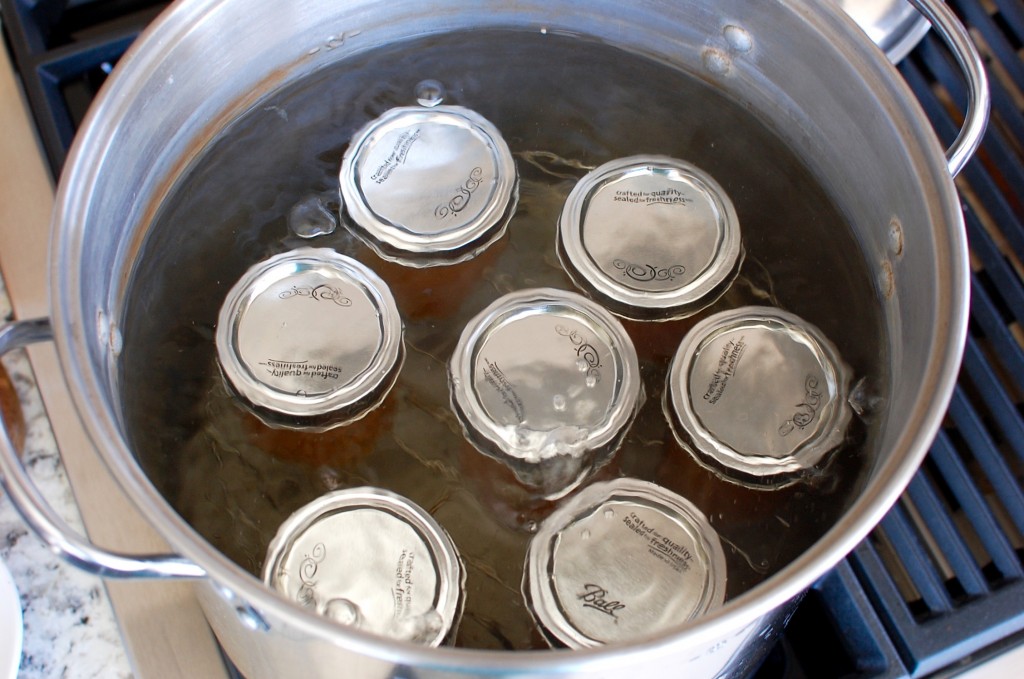
10. If you want to water-bath can your jam for longer shelf life, wipe the rims of the jars, then seal the jars (finger tight only) with sterilized (new) lids and sterilized rings. (Remember, these canning jars and rings are reusable, but you will need to use new jar lids every time!) Place the jars into a hot water bath (basically a tall stock pot with a rack in the bottom), making sure the hot water covers the jars by at least 1 inch. Return to a boil (don’t be tricked by air bubbles escaping your jars), cover with a lid, and process (boil) for 10 minutes. (You will need to process longer if you are at a higher elevation – adjust time depending on your elevation.)
11. Remove from the hot water carefully using tongs or a jar lifter, and set aside to cool. You will hear a popping sound as the jars form a vacuum seal. When the jars are completely cool (12-24 hours later) you can test the seal by pressing on the top of the lids – (if they move, and you hear a clicking sound – your jar is not sealed properly). Properly sealed jars can be stored in a pantry for up to a year - but note that as the jam ages, it may discolor. For more information on home canning jams and jellies, see the National Center for Home Food Preservation website.



I love this recipe! it was quite easy. In the Caribbean (Puerto Rico) we can buy guava paste but its too sweet and not quite fresh. Also takes more time on the stove to get it right (It didn’t work!). On the contrary, this jam is lighter and better to perform with. Makes an excellent sauce and it goes perfectly on roasted pork. Thank you!
You’re welcome!
Mia what’s the expiration date of this jam
I find jams last longer if stored in a cold place like the refrigerator. I would say 6 months to a year?
Hi Mika
How much puree can you get out from the 4 cups cooked guava? Also , do you have a trick to strain the puree more easily. I can only squeeze out 2 cups of puree and add the whole 2 cups of strained liquid. Also it take forever to strain the puree because there are so many seeds. I even chop the cooked guava in the food processor to make it finer and it is still hard to strain the pulps out. Is the jam sweet because it seems to be a lot of sugar for 6-7 1/2 pint jars. Just curious, because I just finish my guava jam batch this evening. Since I don’t do the water bath canning ( because it is late in the evening) , should I let the jam cool completely before I close the lid and put in the refrig or can I close the lid and let it cool before put it in the refrig? I hope this turn out well because I was gifted with half a brown bag of guava and this batch only make a dent of a 1/4 of a amount in the bag. As usual, thank you for posting the recipe. Amy
Hi Amy! As far as extracting the guava puree, the amount of puree you get will depend on the guava… some will contain more/larger seeds, so it’s hard to predict. Try a coarse strainer to get the seeds out of the puree, push the puree through the strainer with the back of a spoon. Fine sieves will take much longer.
As far as the sweetness goes, I don’t find the jam too sweet… but that’s my subjective opinion. (It’s definitely less sweet than store bought jam, if that helps!) If you are not planning to can your jam in a water bath – just pack the hot jam into the clean sterilized jars, put the lids on and seal, then refrigerate once the jars have cooled.
If you have a ton of extra guavas, you can always make guava juice! (Puree the guavas, then mix with sugar and water to taste once you have strained out all the seeds).
I also make guava syrup – cut up a bunch of guavas and put in a pot of water to boil (1:1 ratio, I usually eyeball it). Simmer for about 20-30 minutes covered, then strain the liquid and pulp through a coarse sieve. Measure the liquid extracted, add an equal amount of sugar, then boil briefly. You can cool the syrup and store in the refrigerator (or freezer). I use this syrup to make flavored martinis, but you could also use it on pancakes/waffles, as a dessert topping, or mix it with fizzy/carbonated water to make a sparkling guava “soda”.
I have one suggestion Mika, I made some guava jam but instead of cutting or chopping the guava,
grated it and left the thing peeling out it was much easier to strain them as well. Just add water according to the quantity and continue as the recipe says.
Hope this is easier.
Good advice! Thank you!
Did you grate the skin and all? We eat skin and all but I do not know how it will affect the jam.
Yes, I used the skin.
In every recipe for guava jam/jelly it seems that people struggle with removing the seeds. Here’s my tip…’use a food mill’. Mine is an OXO Food Mill that I bought on Amazon for $35. They’re probably more now, but I’ve also seen mills on Amazon for $20 that will probably also do the job. I can remove the seeds from 12 cups of guava pulp in less than 5 minutes. Here’s another tip…’don’t peel the guava’. Remove the stem and blossom part. Quarter the guava and then mix them in a blender until you have a puree. Run the puree through the food mill and then boil the ‘now-deseeded’ puree per the Mika’s recipe.
Hi Amy;
If it helps, I use this recipe at least twice a year, and ALWAYS with wonderful results. instead of pushing the guava through a sieve, I use a food mill, with the smallest/finest of the screens that it comes with. Works like magic every single time!! Using the food mill, I always get a high yield, as only the seeds and skins are left behind. So give a food mill a try!!
I have a guava tree and make jams.
I separate the seeds and the fruit in two pots.
I cook the seeds twice to extract all the juices and add it to the cut-up fruits
then discard the seeds, no sweat.
Boil the fruit till they’re mushy then start straining. I do small portions so they are manageable
I use too mini blender or immersion blender (what chefs use)
My real problem is cooking which takes a loooong time to jell consistency.
I made Guava jam today lets see how it will be
I fudged up many times during the recipe process—added sugar way early and let it boil too long a couple of times—but the recipe seems pretty idiot-proof. My grocery store only carried the Pomona Pectin https://www.amazon.com/dp/B001IZICO2?psc=1&smid=ABUX1LH52S4Z6 which is a slightly confusing process because it comes with a calcium packet you have to mix, but I found just used the same 3 T pectin, 3 T calcium water per their instructions and it seems like it is jelling fine. Will report back if I’m wrong after it cools!
Thanks!
Hi I made this jam today and the flavor is great but its really liquidy, is there anything i can do to make it thicker? do i have to re boil it?
Did you add the pectin? The purpose of the pectin is to thicken the jam… it will be much thicker after cooling.
I have a huge tropical pink guava tree in the backyard (Phoenix AZ) and have been eating guavas nonstop for the past month (in smoothies mostly) but they were still piling up. I picked about 30 fresh-off-the-tree (including 4 big limes off my Bearss Lime tree) last night and made your recipe – it turned out absolutely delicious! I multiplied everything by 2.5 and ended up with 8 pint jars – did the water bath, beautiful texture, maybe just a hair sweet for my taste but my wife and son think it’s perfect. Agree that pressing through a fine seive was a big pain in the butt, I’m going to try a different method next time. Thanks for posting a fabulous recipe!
I made your jam last week. Turned out perfect! Everyone loved it. Went to make it today but wanted to double everything because I had so many guavas. Thought I’d do the canning wash and put them up for gifts. In relooking over the recipe I realized I forgot to double the sugar. Now I have these beautiful jars of jam that I’m pretty sure aren’t going to turn out.
Sorry for the late reply. How did it turn out? If it didn’t gel well, you could always use it as pancake syrup or ice cream syrup?
Suggestion…. we make lots of guava jam, so we invested on a hand crank food mill which we use to strain the pulp after the first boil. We had already broken a couple of strainers using the strainer method. I am not promoting this one… but this is what we have: https://www.bedbathandbeyond.com/store/product/oxo-food-mill/1014398740 and it’s been great!
My guava bush is loaded but ripening at different rates. I have to collect as they ripen or the deer will strip it for me. I want to freeze the guava and make jam or jelly later.
Any suggestions would be appreciated.
Thank you.
I would think you could wash and cut the guava, then store in an airtight ziplock bag and freeze for later?
This recipe looks great. One vital piece of information is missing however – what headspace is required for canning. The photo looks to have a 1 inch headspace, but jams and jellies typically have 1/4 inch.
I would usually go about 1/2 inch for head-space when water bath canning.
What other fruits can I used to make those kind of jams
Most fruits can be used to make jam. This recipe is for guava jam only, but the technique is similar for other types of jam. If you are looking for a specific fruit recipe, it’s best to google search recipes geared toward that specific fruit.
How can I freeze this jam instead of canning (I dont have all the things needed to can…….
You can buy freezer jars – just put them in the freezer jars, seal, and store in the freezer.
I followed the recipe but it didn’t set up the way I thought it would. I thought it would be a lot firmer. Any suggestions
Make sure you are using low sugar pectin. If you use regular pectin, the amount of sugar in this recipe won’t be enough to set. If that’s not the issue, you might try adding 1-2 T. more pectin and maybe a little more sugar on the next batch.
Can you omit the vinegar and sub more lime juice or something?
Yes, I think so – you just want to make sure you have something equally acidic.